How to Add an Absence (and sub) as an Admin
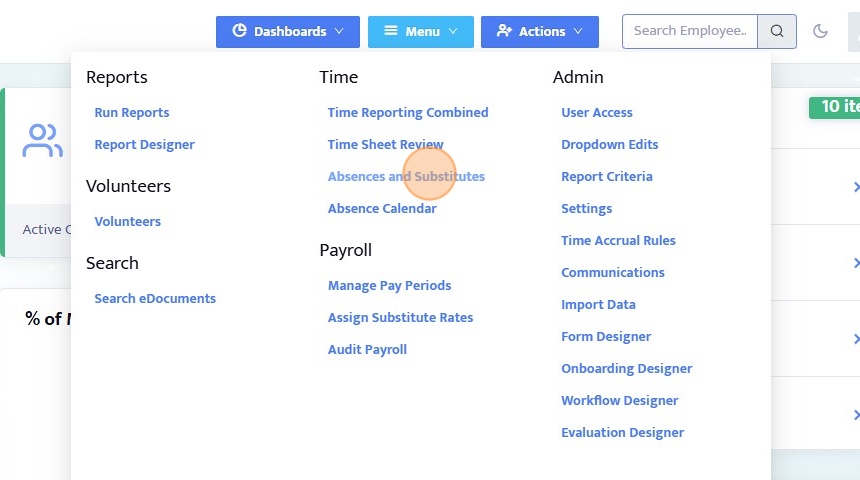
1. From the main menu, click "Absences and Substitutes"
2. Click "Add New"

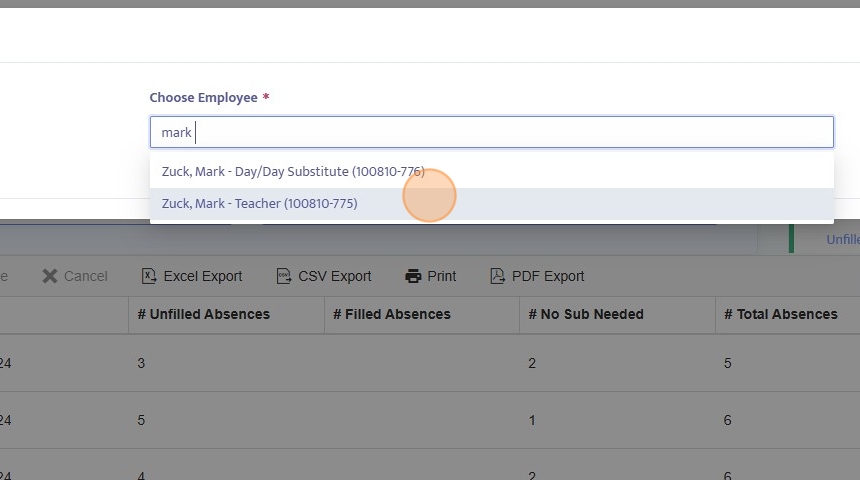
3. An absence can be added for an employee, or for a vacant position.

4. Once employee or vacant position is selected, type the name of the employee/position into the search bar and then select.
5. Enter the start and end date of the absence

6. Click "Next"

7. Now that the absence is populated, you can fill in the details (some optional, some required)
Note: to change the dates you must click the "Previous" button, OR once saved you will need to create a new absence and delete the old absence if it was entered for incorrect dates.
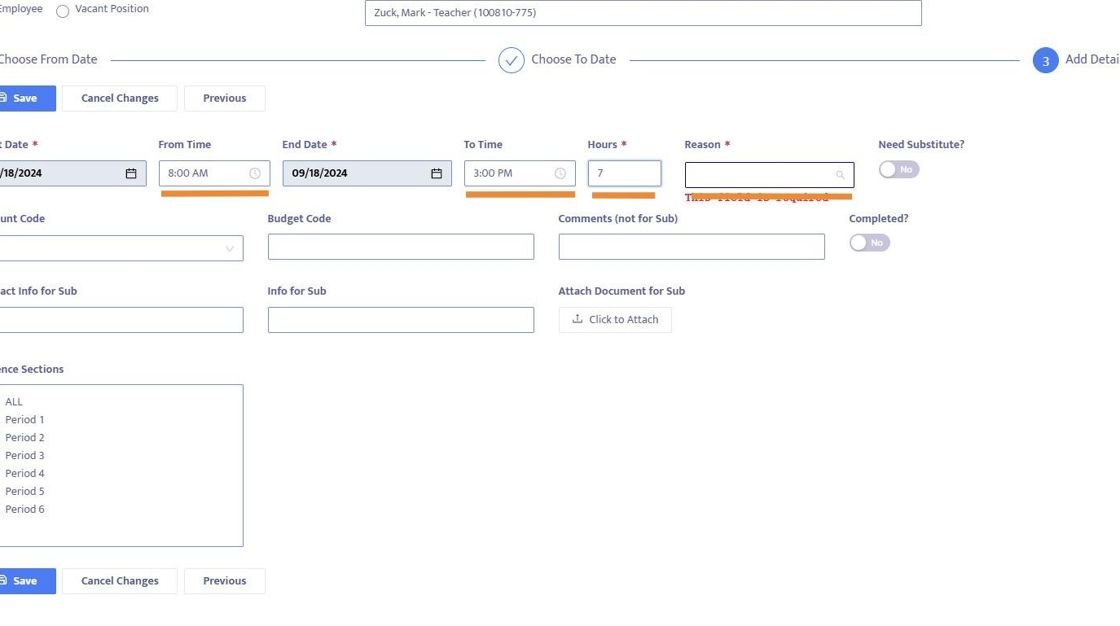
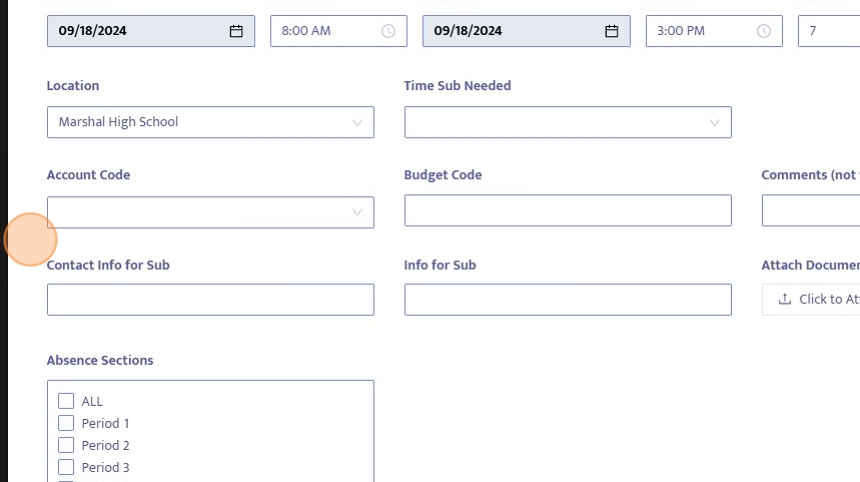
8. Toggle whether or not a substitute is needed (off by default)

9. There are a number of optional fields that you can fill in, these will be tied to the absence
10. Click "Save"

11. Once saved, you can add a substitute by clicking on the orange Substitutes button

12. This will pull up a list of all available matching Subs (based on certificated/classified, availability, special skills)
Note: clicking on the Subs name pulls up additional information like their profile and assignment history for more details.
You can also click on the phone ore message icons to send an automated phone call or message directly to the sub informing them of the available assignment.

13. Click "Assignment History"

14. To add a sub, click the checkbox next to their name
Note: you can select multiple subs for an assignment and split their hours

15. Click "Done"

16. Click "Save"
