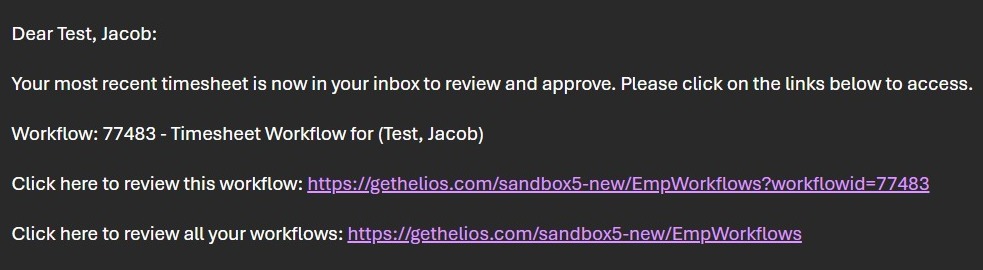
Customizing Workflow Email Notifications
This guide shows how to customize workflow notification emails. It explains how to add custom text, and insert workflow and form fields (like employee name, IDs, and direct links).
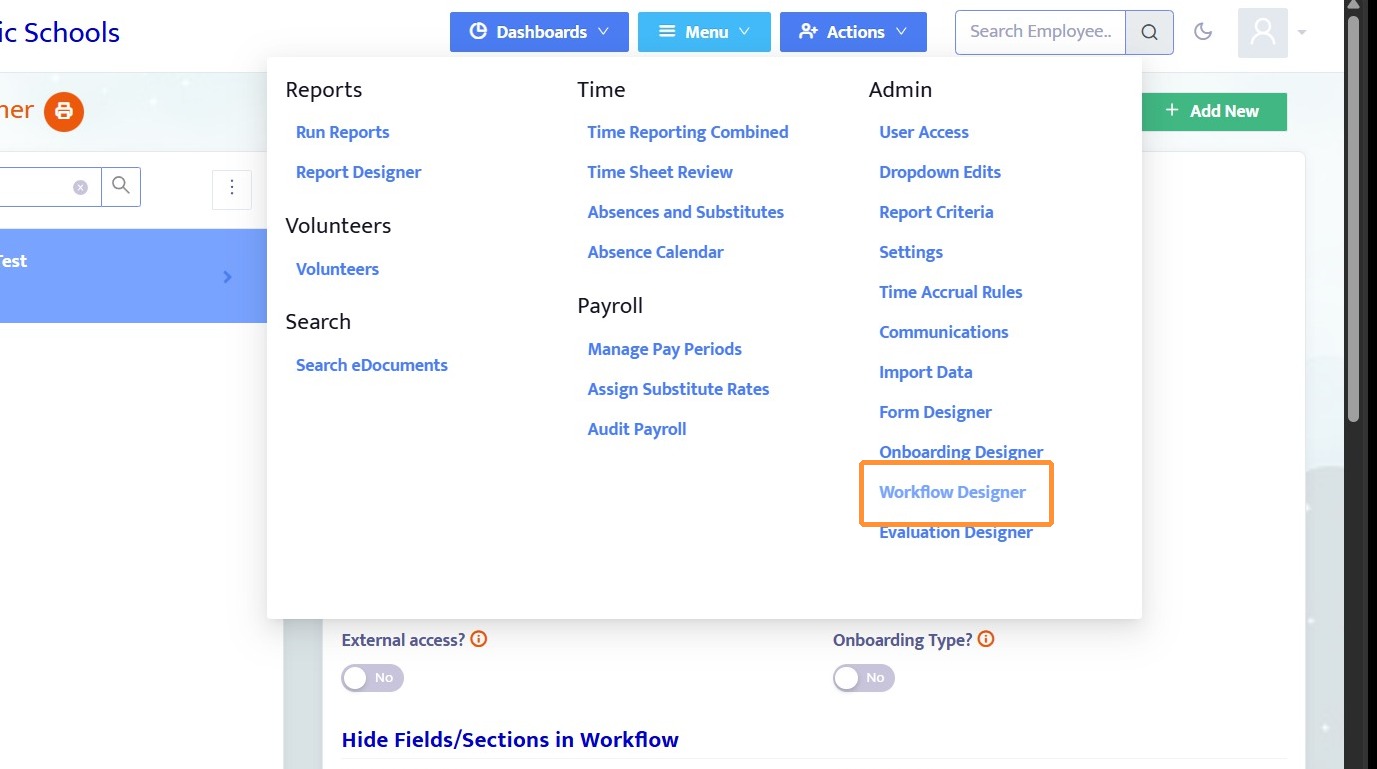
1. Navigate to the Workflow Designer
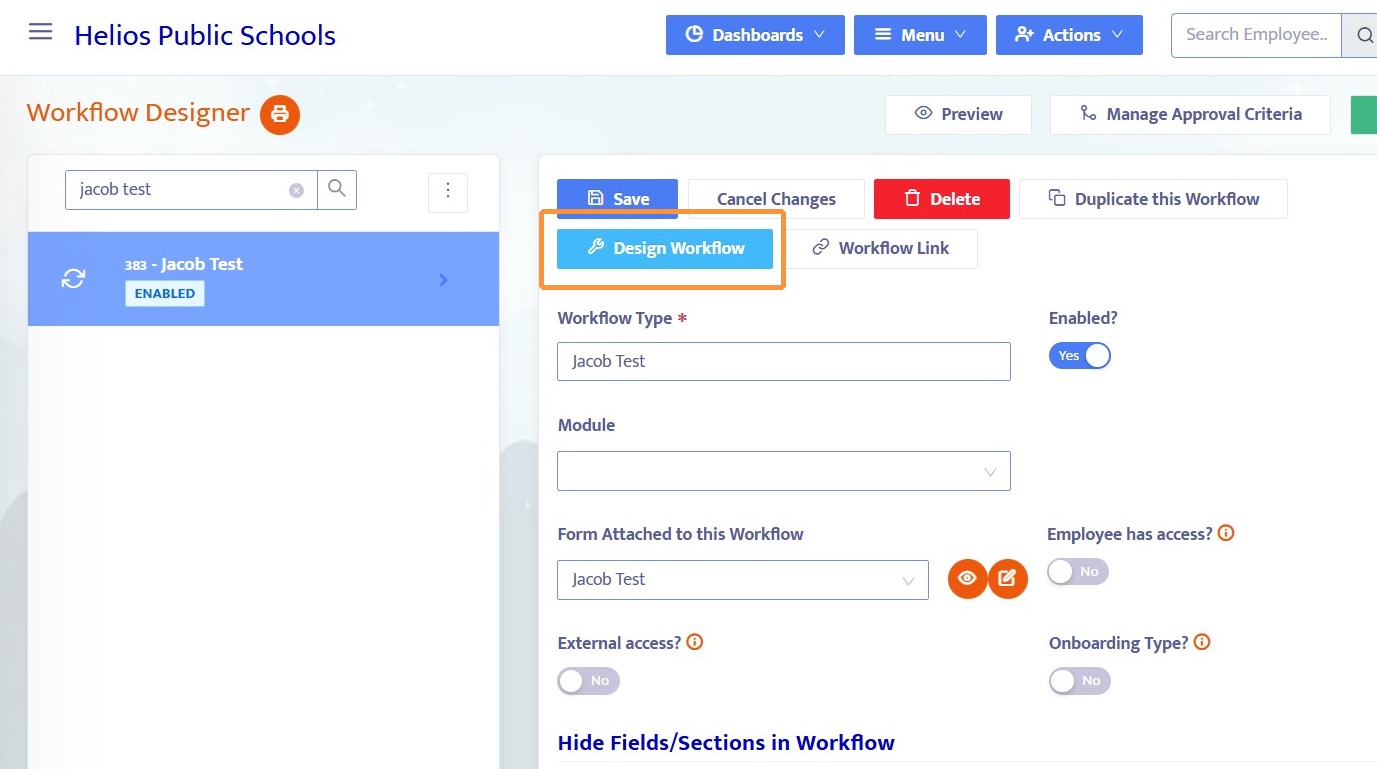
2. Select a workflow, then click Design Workflow
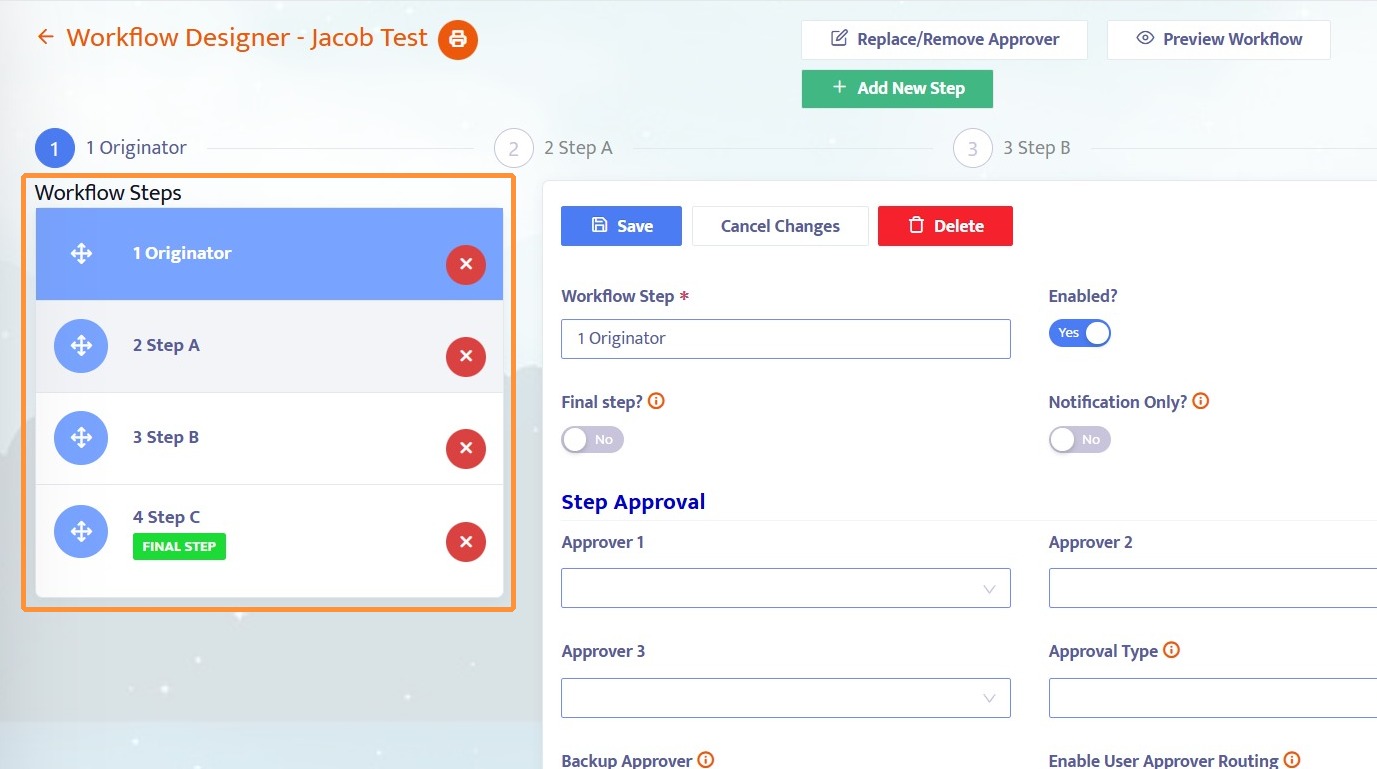
3. Select the workflow step to edit
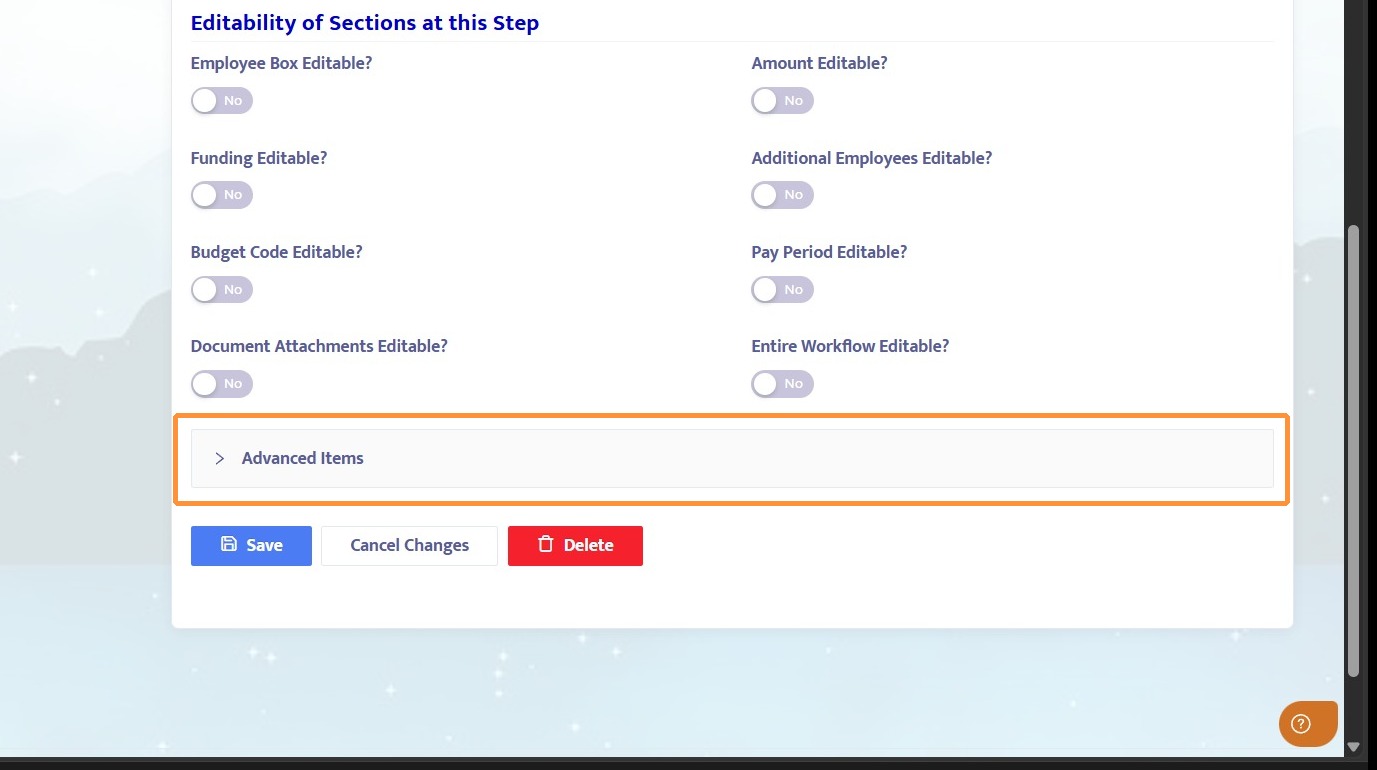
4. Scroll to the bottom of the screen and click Advanced Items. This will open a menu of additional options.
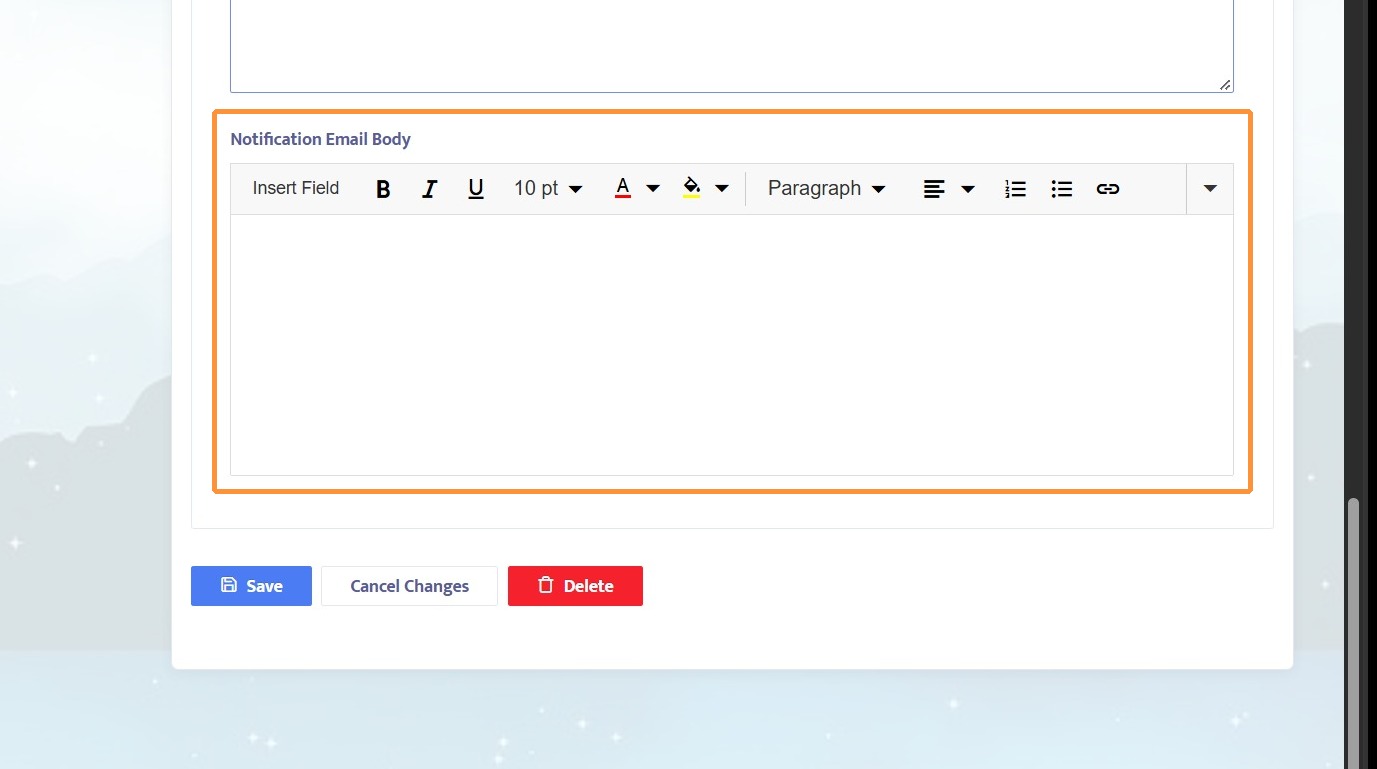
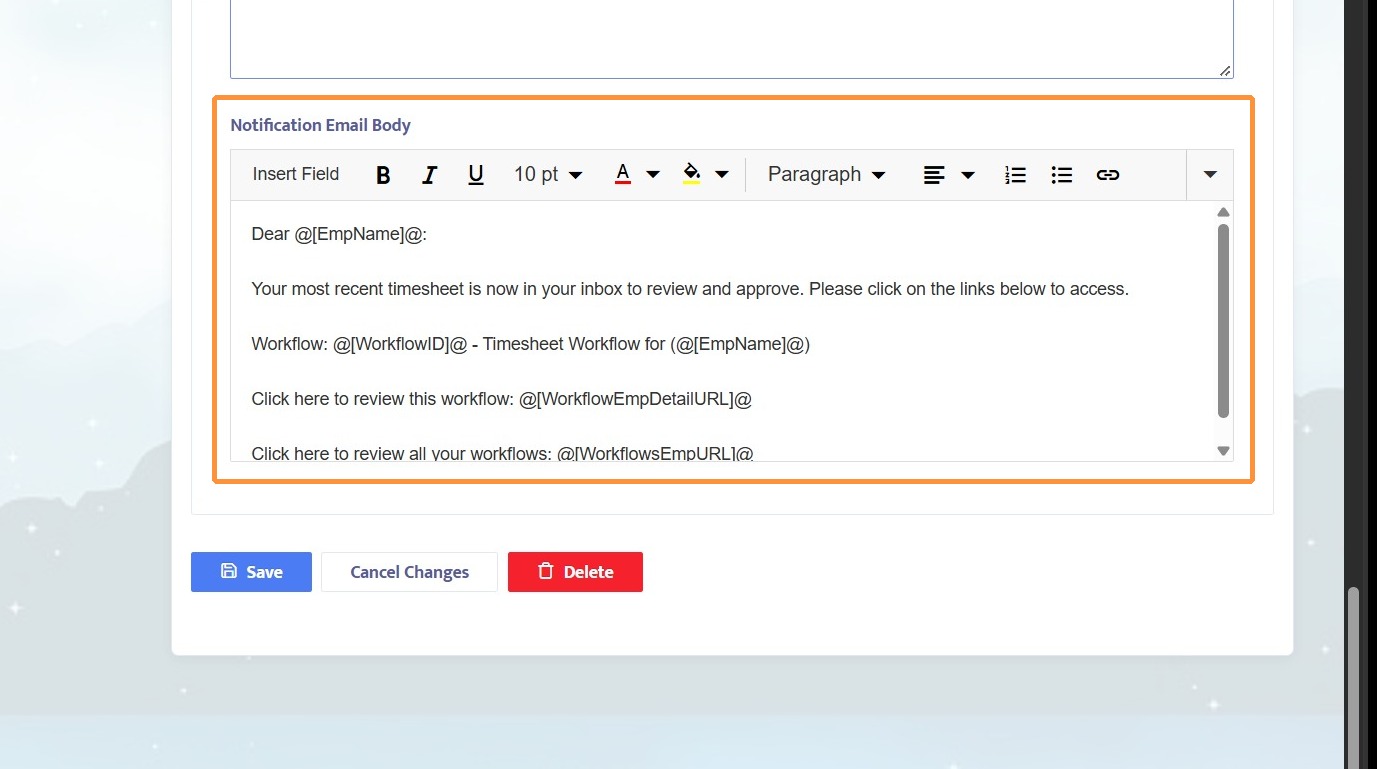
5. Scroll down to Notification Email Body. Here, you can enter a custom email notification message.
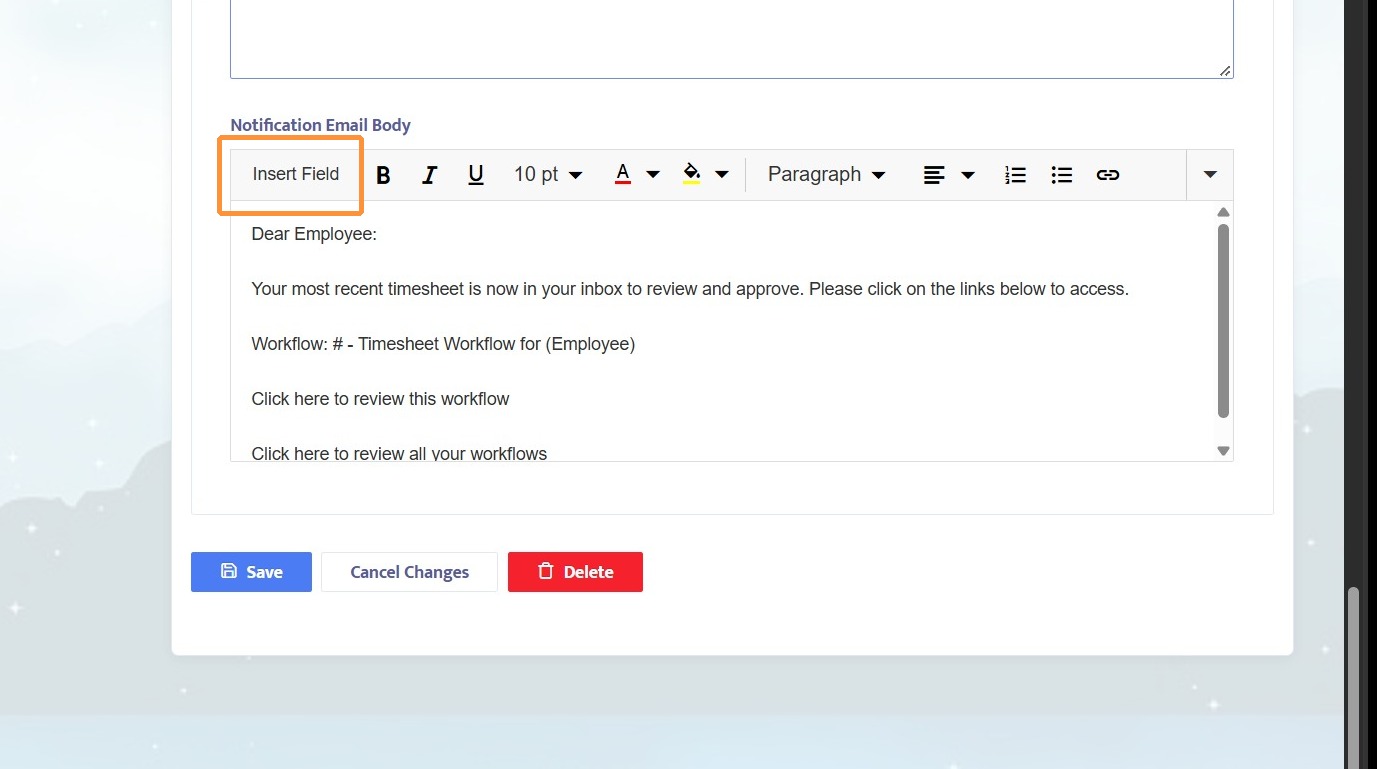
6. Click Insert Field to insert a workflow field that appear in the email.
7. There are many useful workflow fields to select from. In this example, we will select EmpName to display the employee's name.
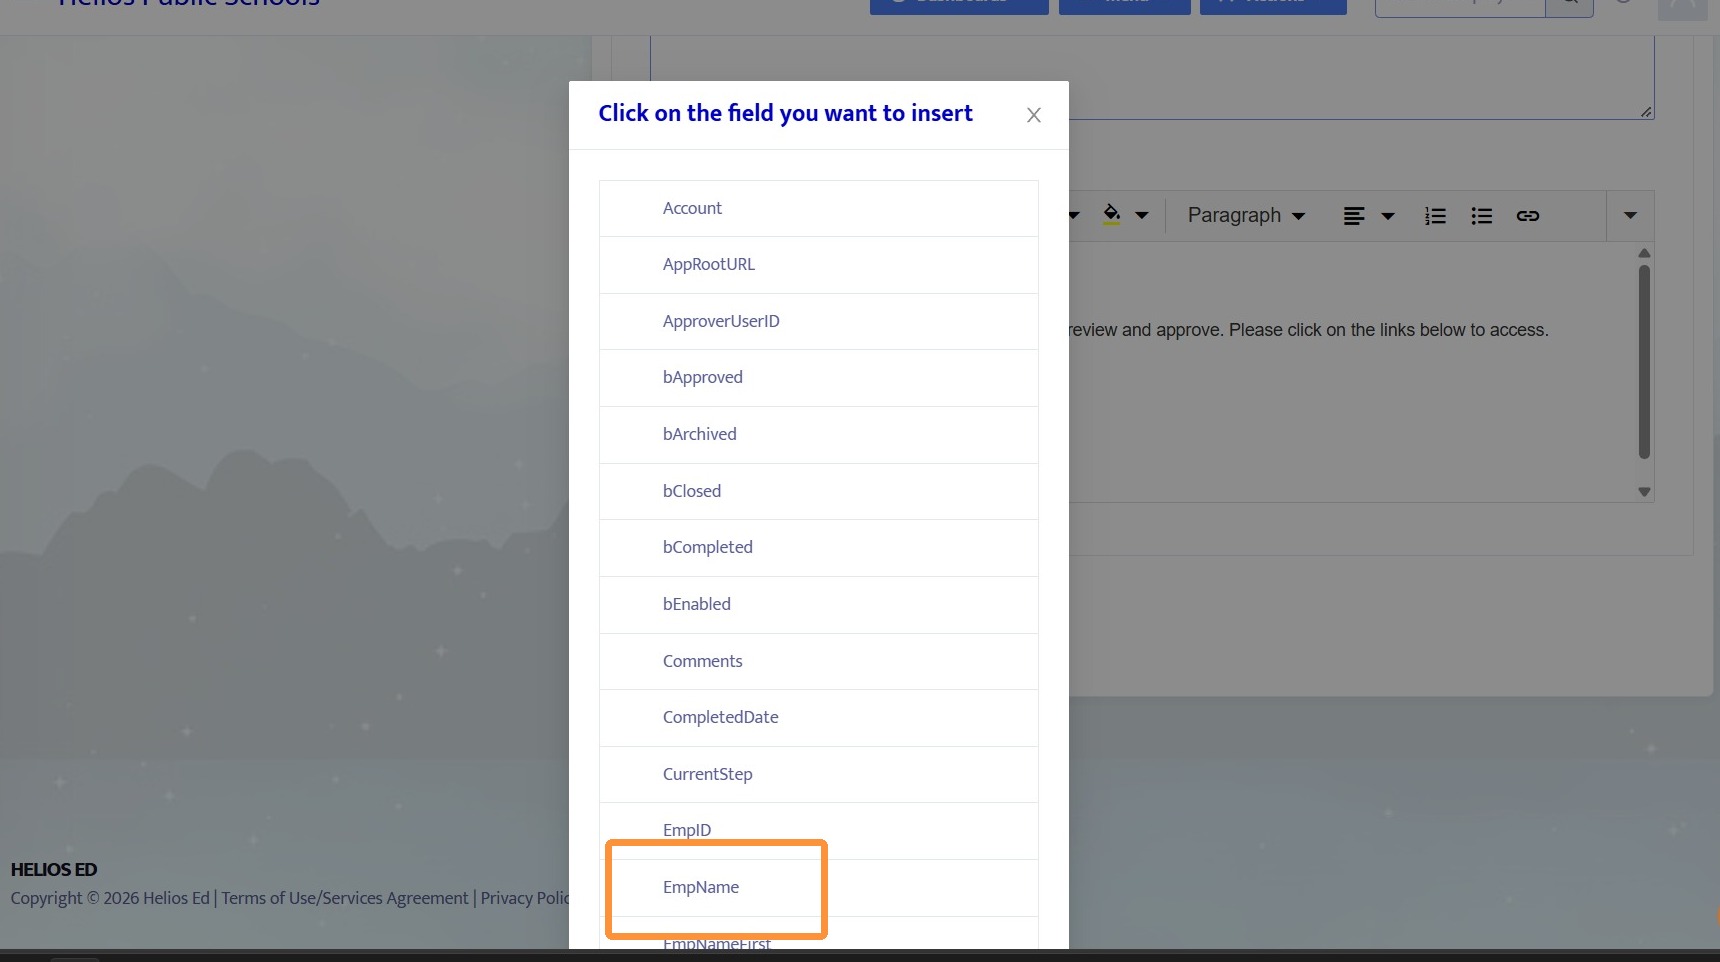
Tip: Useful workflow fields include:
- EmpID - Helios Employee ID (found on the employee profile page)
- WorkflowID - Helios Workflow ID
- WorkflowEmpDetailURL - Link to view the workflow in the employee portal
- WorkflowDetailURL - Link to view the workflow in the admin portal
- WorkflowsEmpURL - Link to view pending workflows in the employee portal
- WorkflowsURL - Link to view pending workflows in the admin portal
8. Form fields are also included, and will be formatted as "Form Name - Field Name"
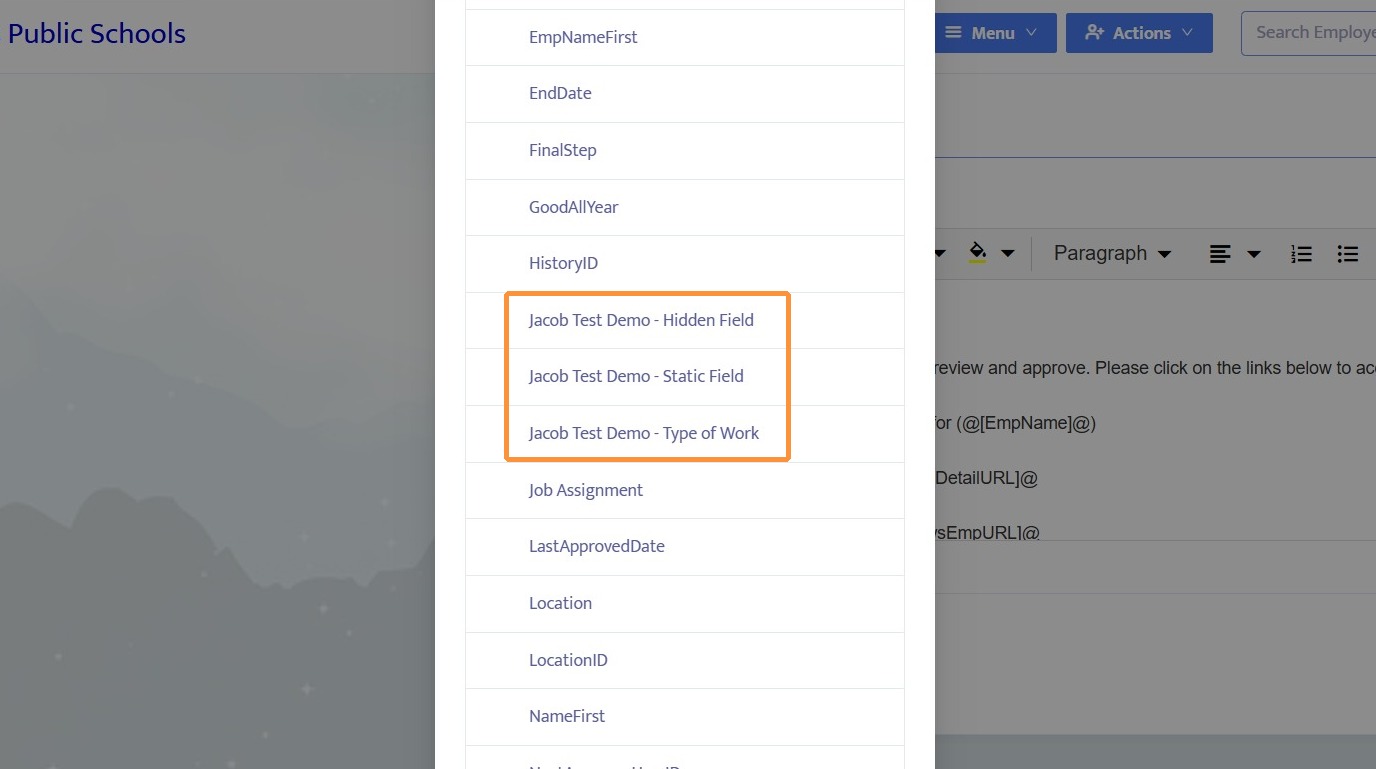
9. Inserted fields will appear as @[Field]@. These fields will only work in this text box and cannot be copied to or pasted from other text boxes.
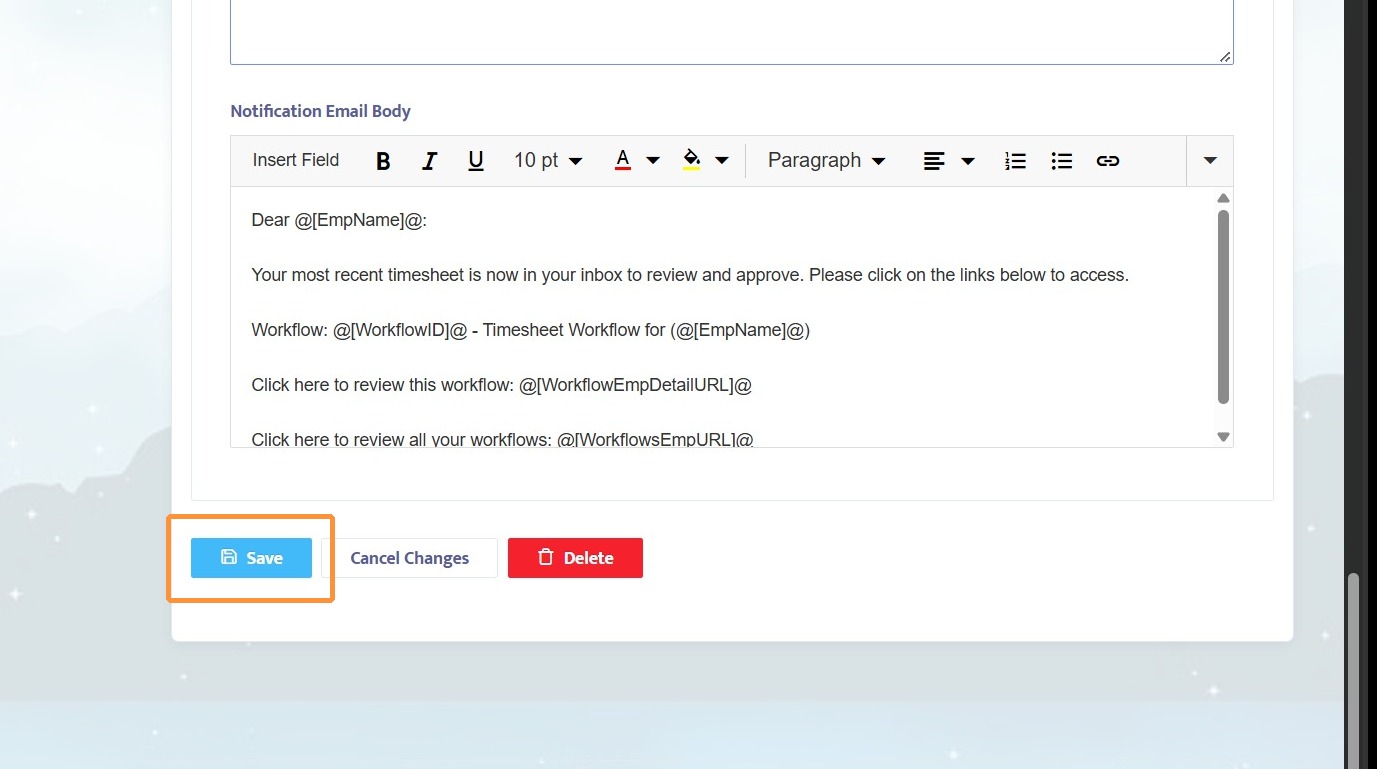
10. Click Save to save changes.
11. When an employee receives an email notification on this workflow step, it will have custom formatting. Example: