Enable User Approver Routing in a Workflow
This guide shows how to enable and test User Approver Routing in a workflow. It walks through configuring each step so submitters can choose to send a workflow to predefined approvers or route it to another user. This is useful when a step does not always need to go to the same person and may vary depending on the scenario.
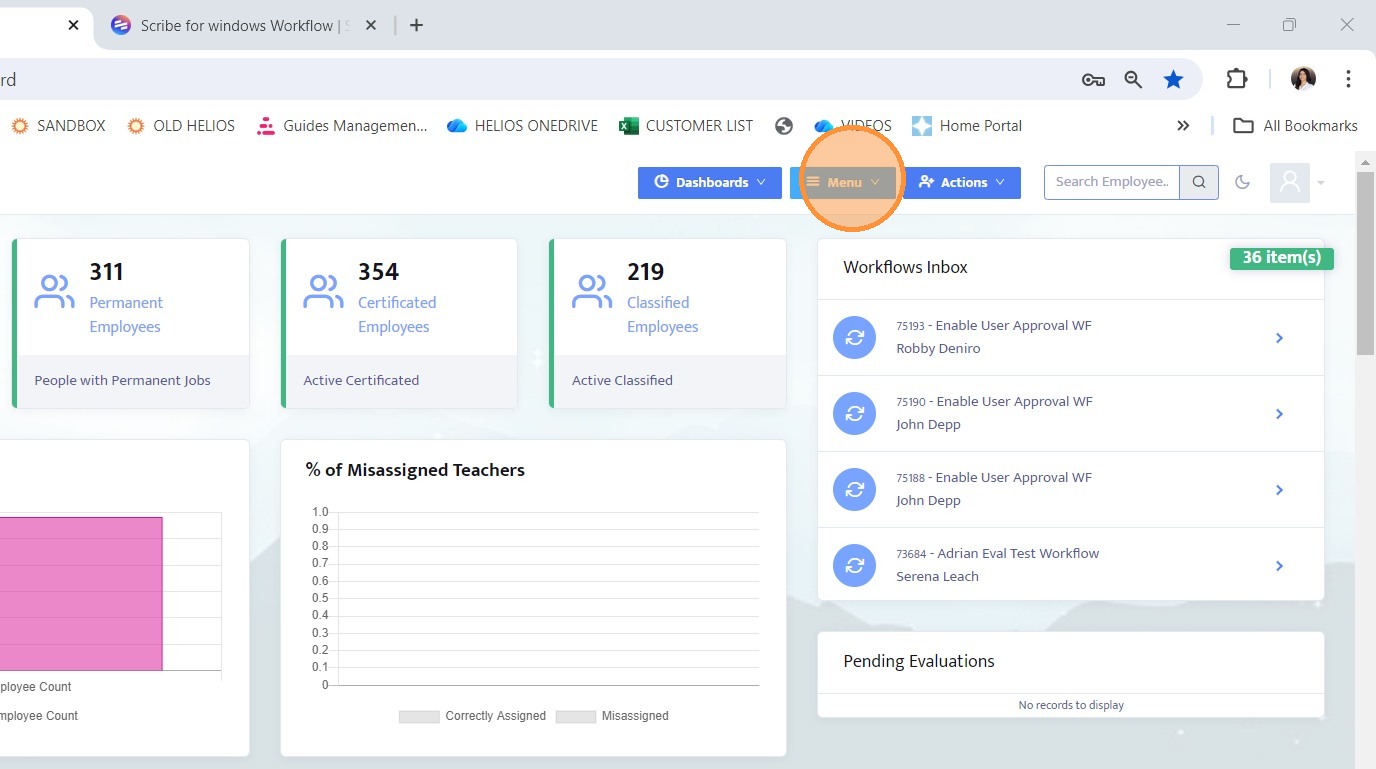
1. Click Menu to open the main navigation drop down.
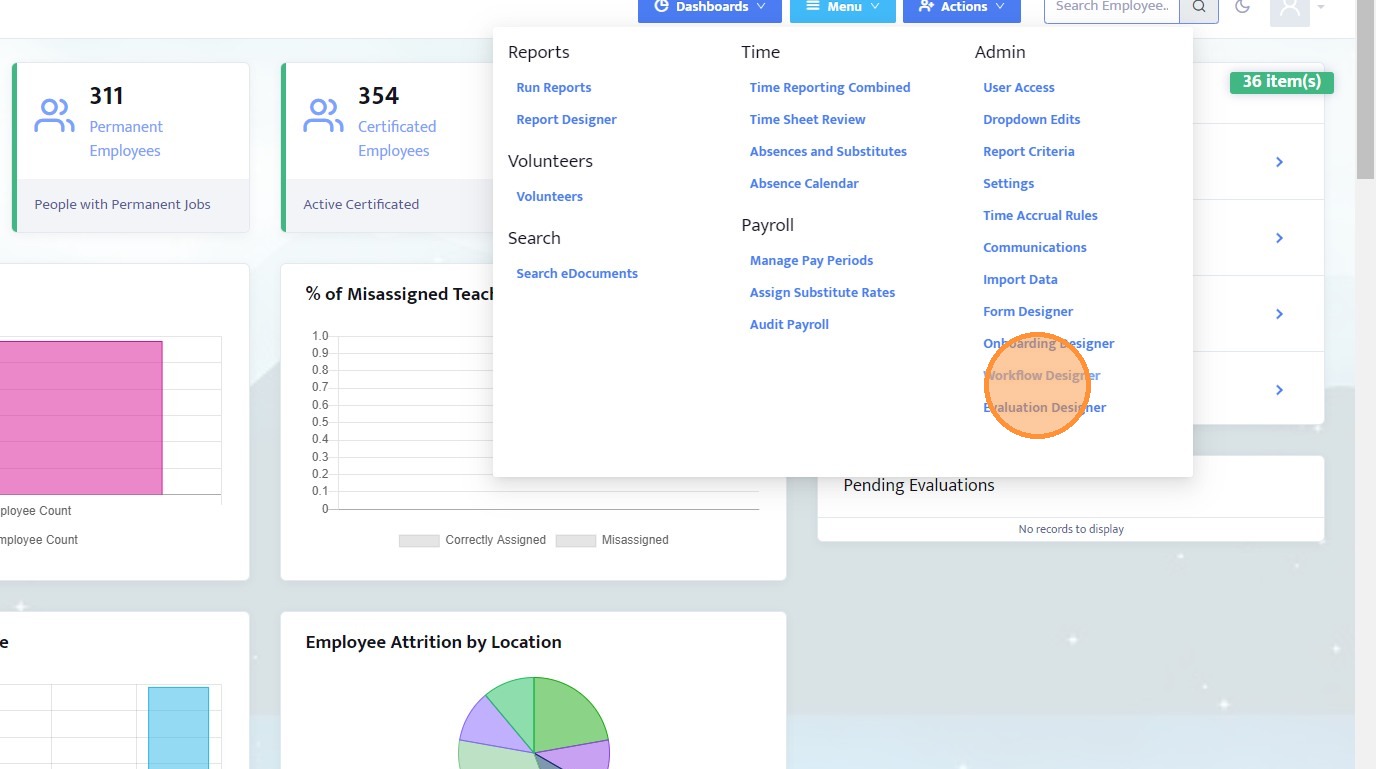
2. From the drop down, select Workflow Designer.
3. Use the search bar to locate the workflow you want to configure for user approver routing.

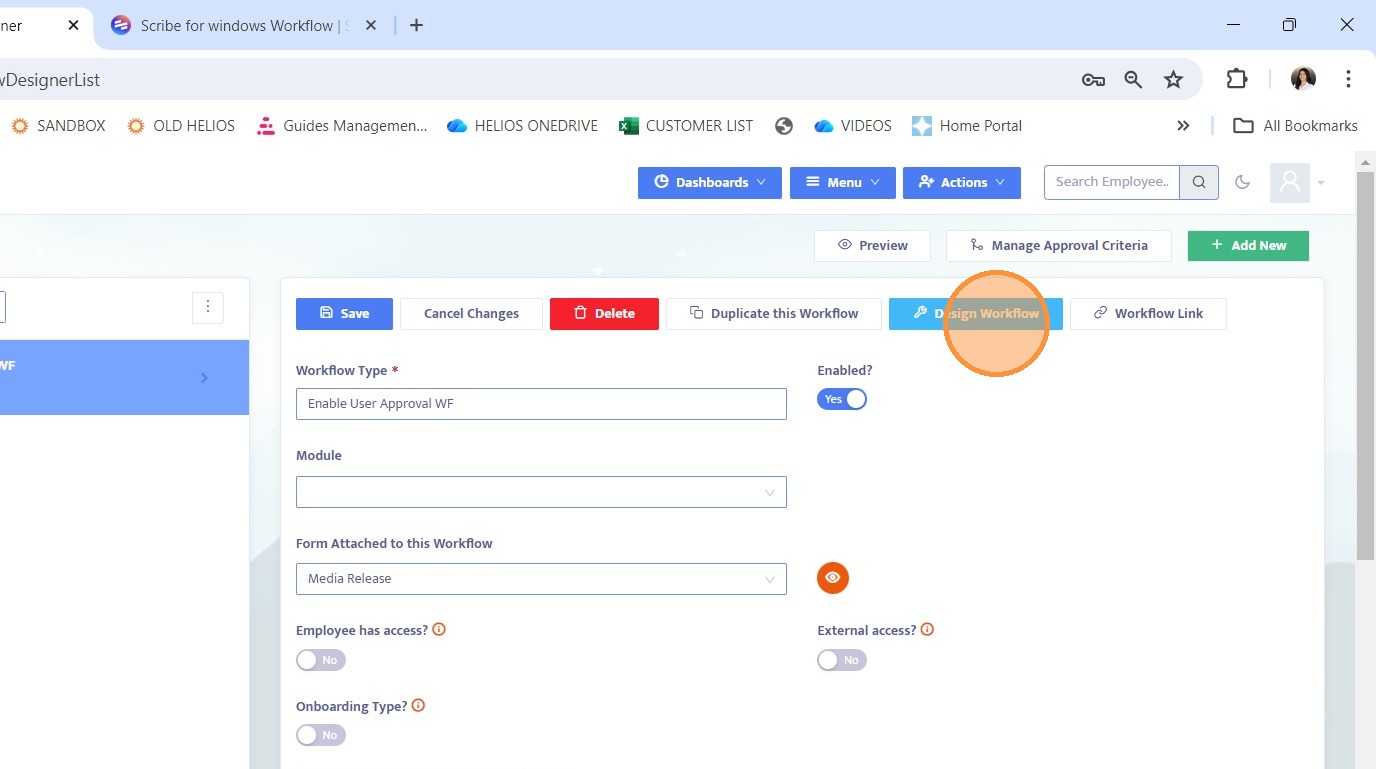
4. Click Design Workflow to enter the Workflow Designer for that workflow.
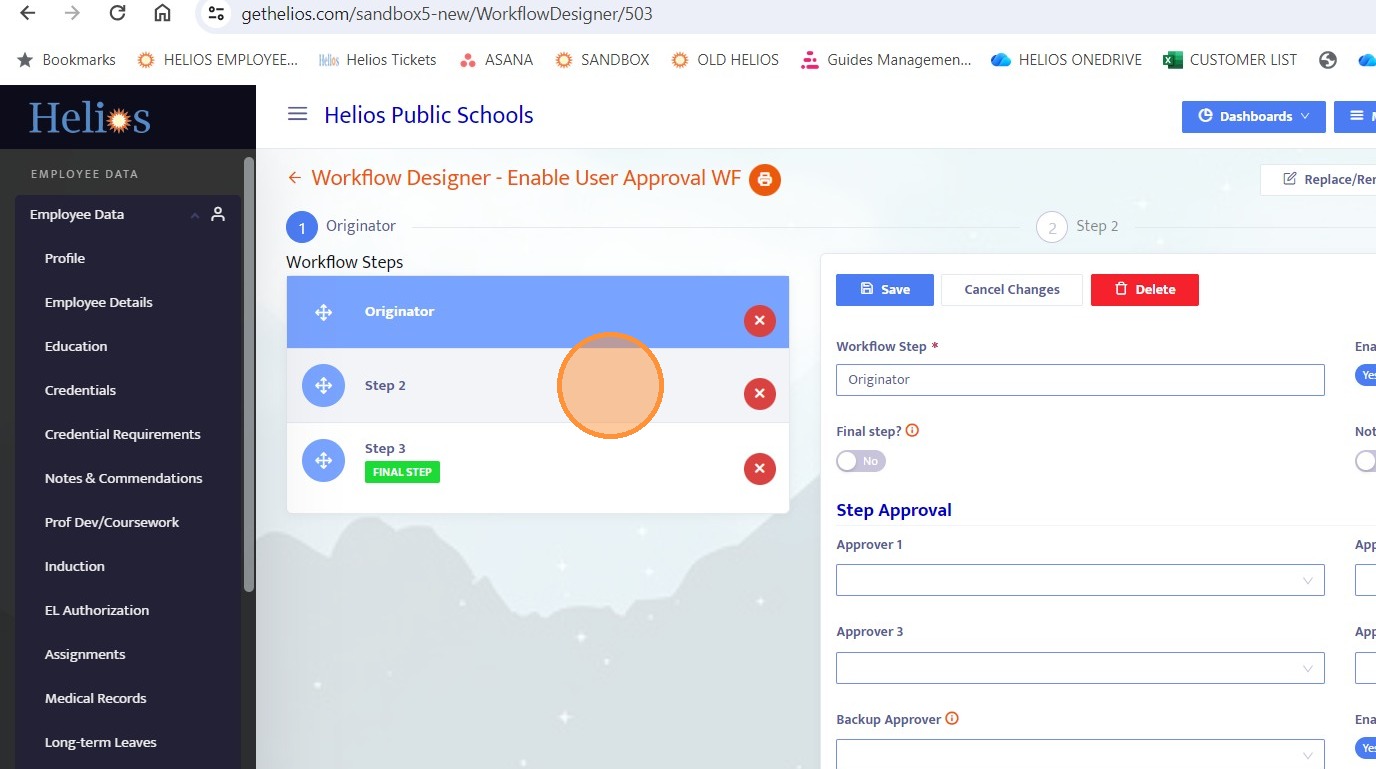
5. The first step in every workflow is the Originator step. This represents the user who initiates or kicks off the workflow.
6. Notice that no approvers are designated for the Originator step. This is intentional, since the originator is whoever starts the workflow and should not be limited by predefined approvers.
7. Locate the Enable User Approver Routing toggle and turn it on. Enabling this for the current step activates user approver routing for the following step. This allows the originator, upon submission, to choose whether to route the workflow to the predefined approvers in the next step or to any other user in the system.
An example of how this works will be shown later in the guide.

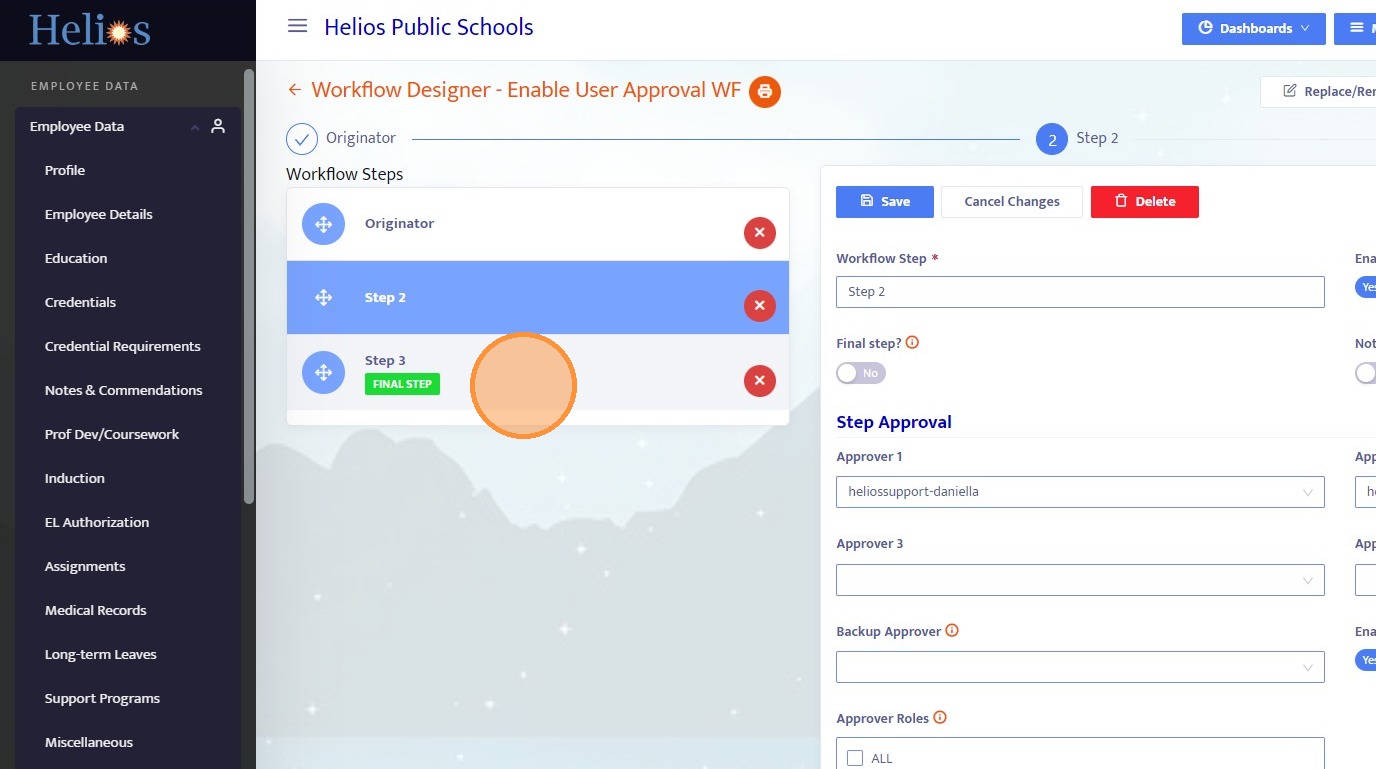
8. Navigate to Step 2 of the workflow.
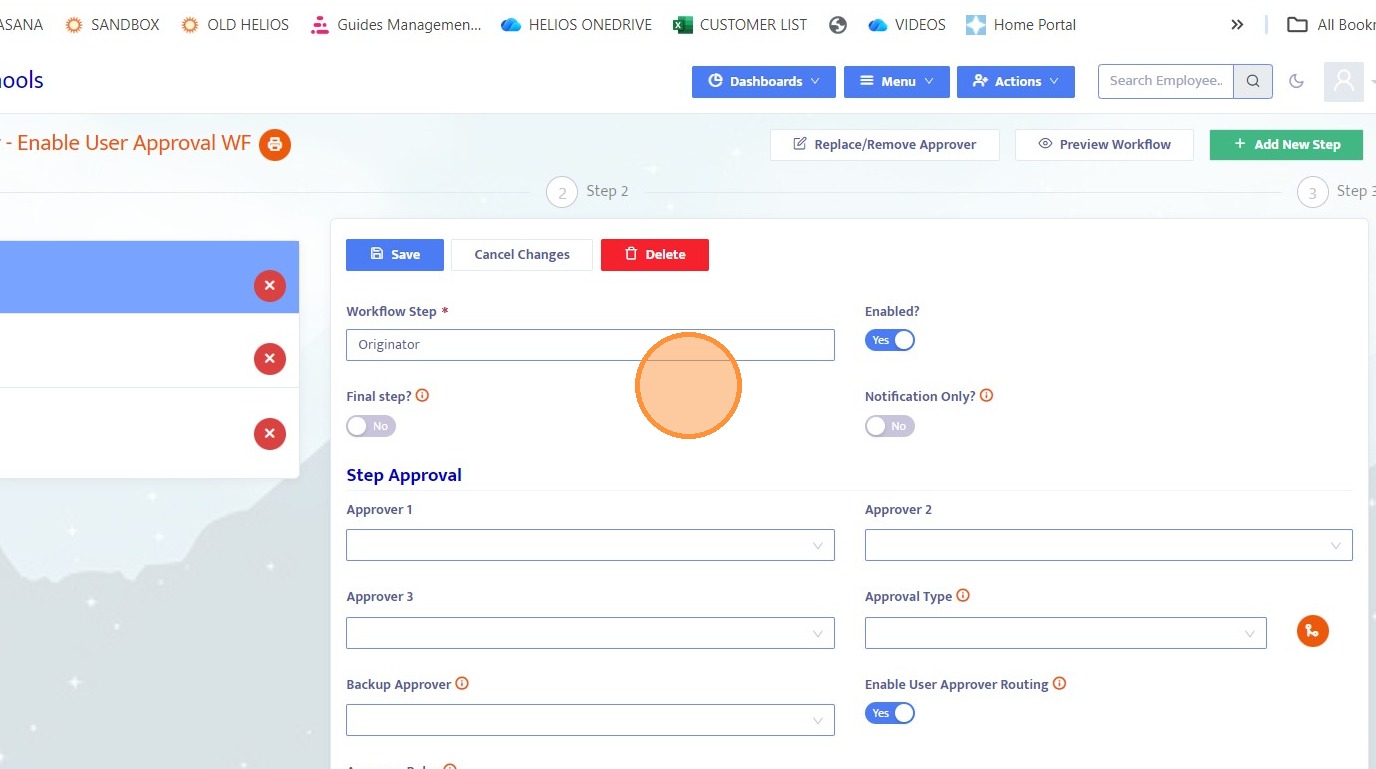
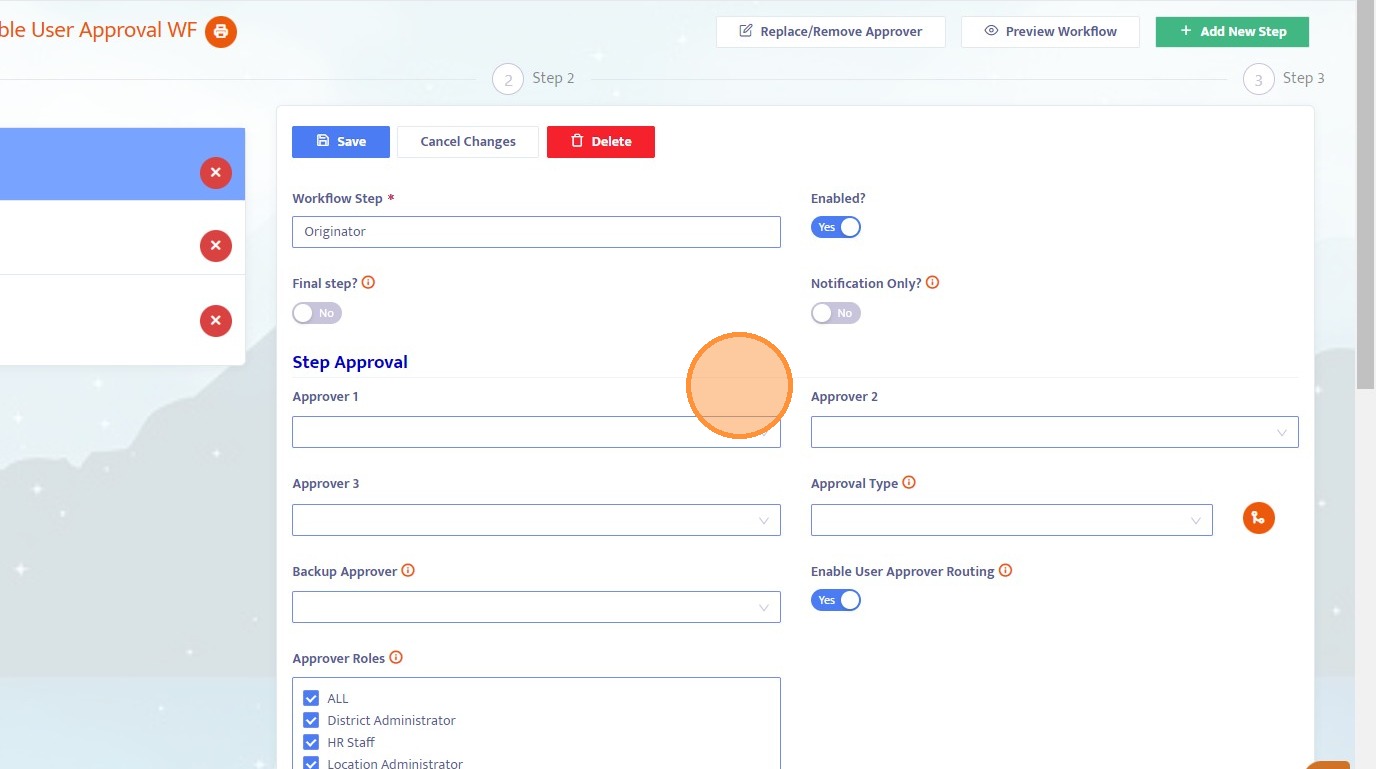
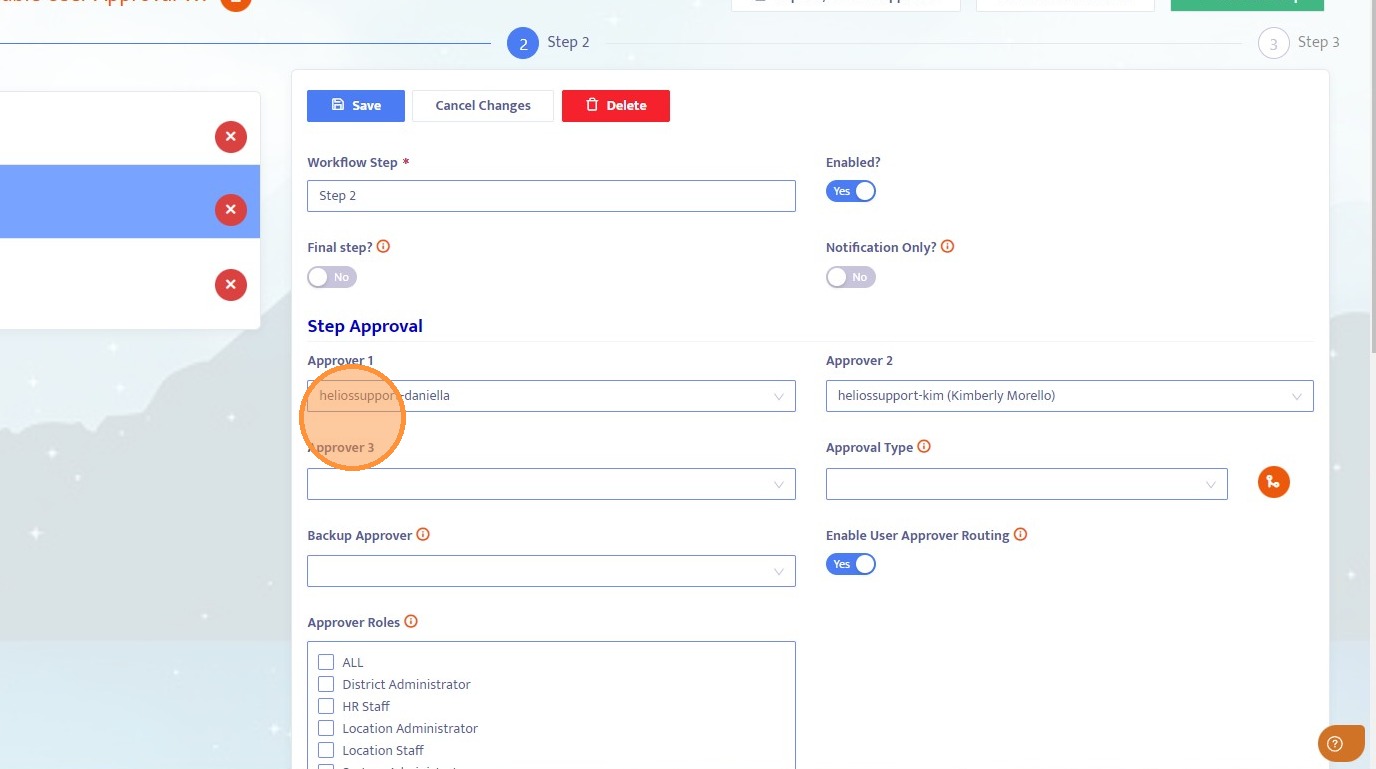
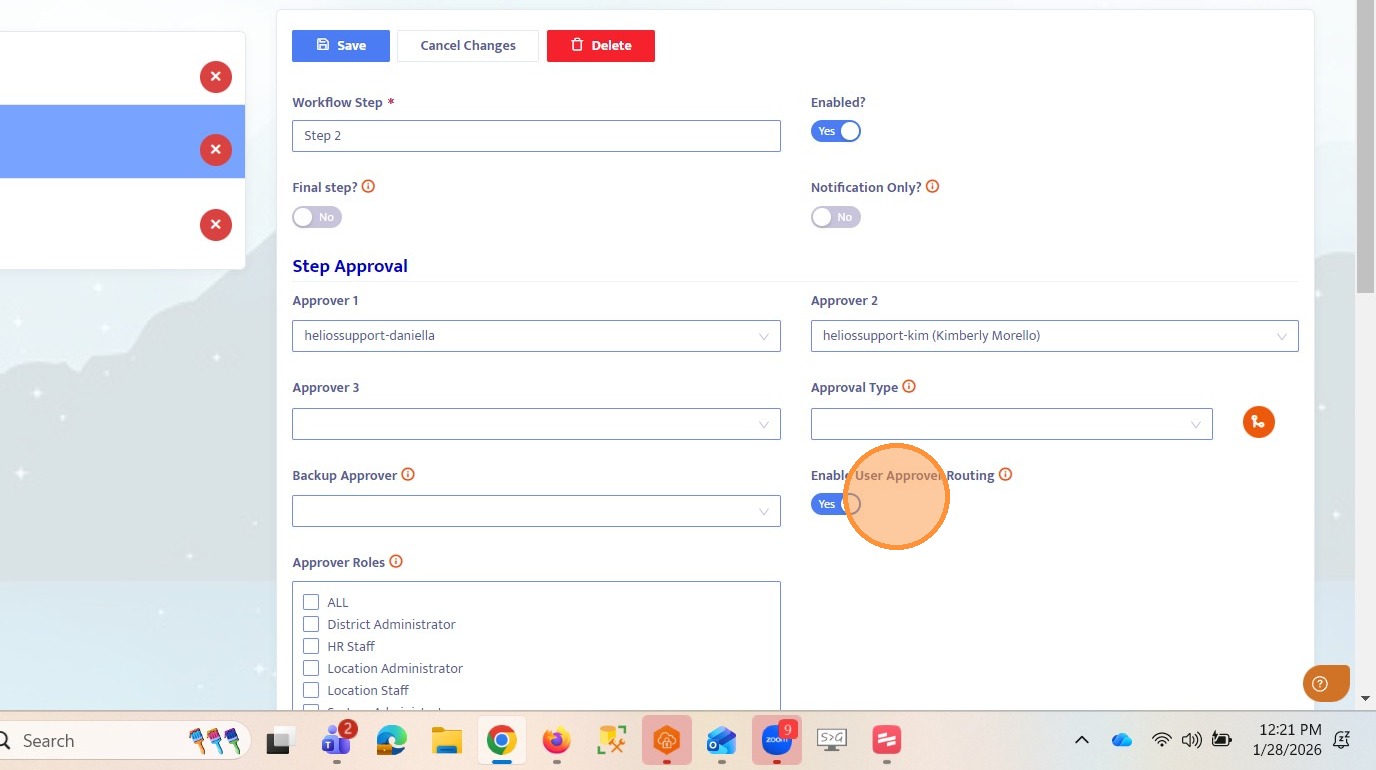
9. In Step 2, you will see predefined approvers listed, along with the Enable User Approver Routing toggle. The listed approvers define who the workflow can be routed to at this step. Because user approver routing was enabled in the previous step, the workflow can also be free routed to any other user in the system.
10. Toggle on Enable User Approver Routing for Step 2. This ensures that Step 3 will allow free routing to any user in the system.
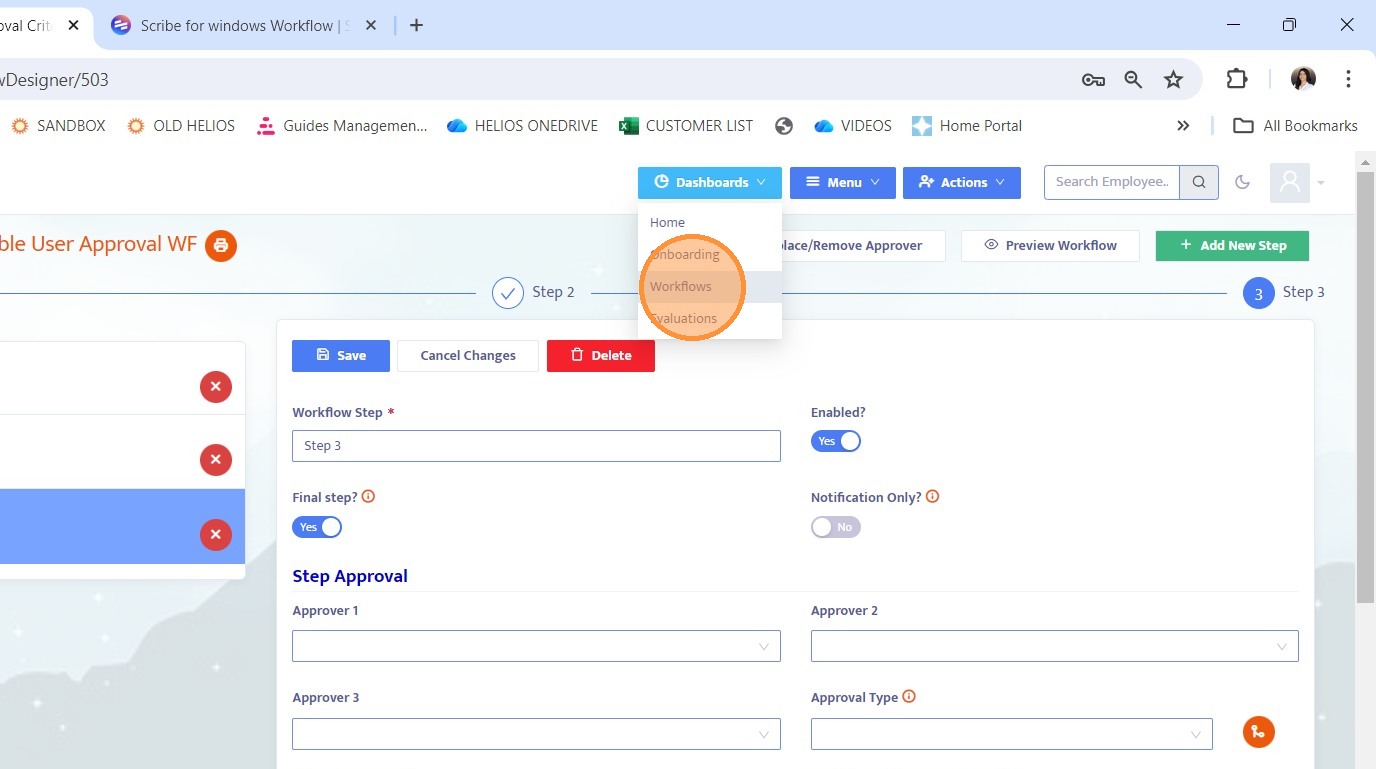
11. Click into Step 3 of the workflow.
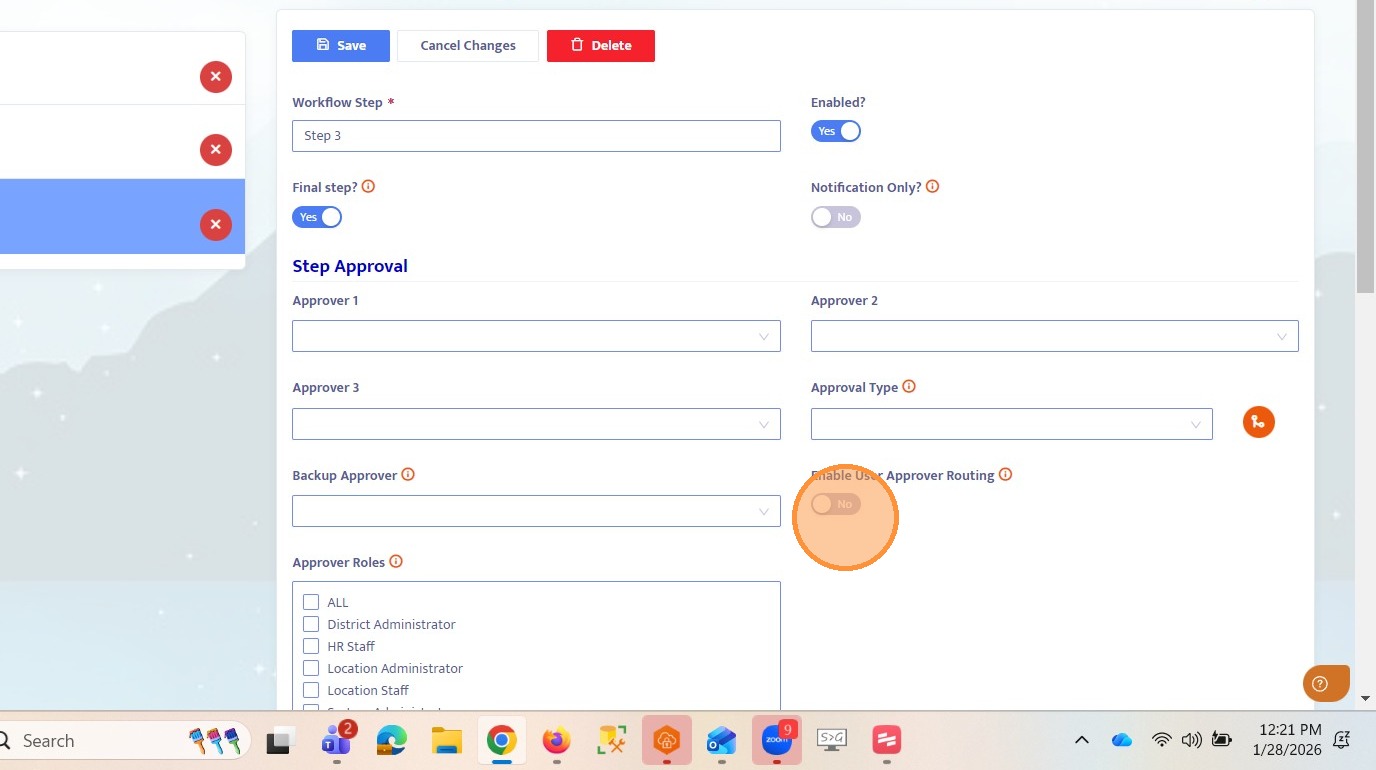
12. In Step 3, notice that no predefined approvers are listed.
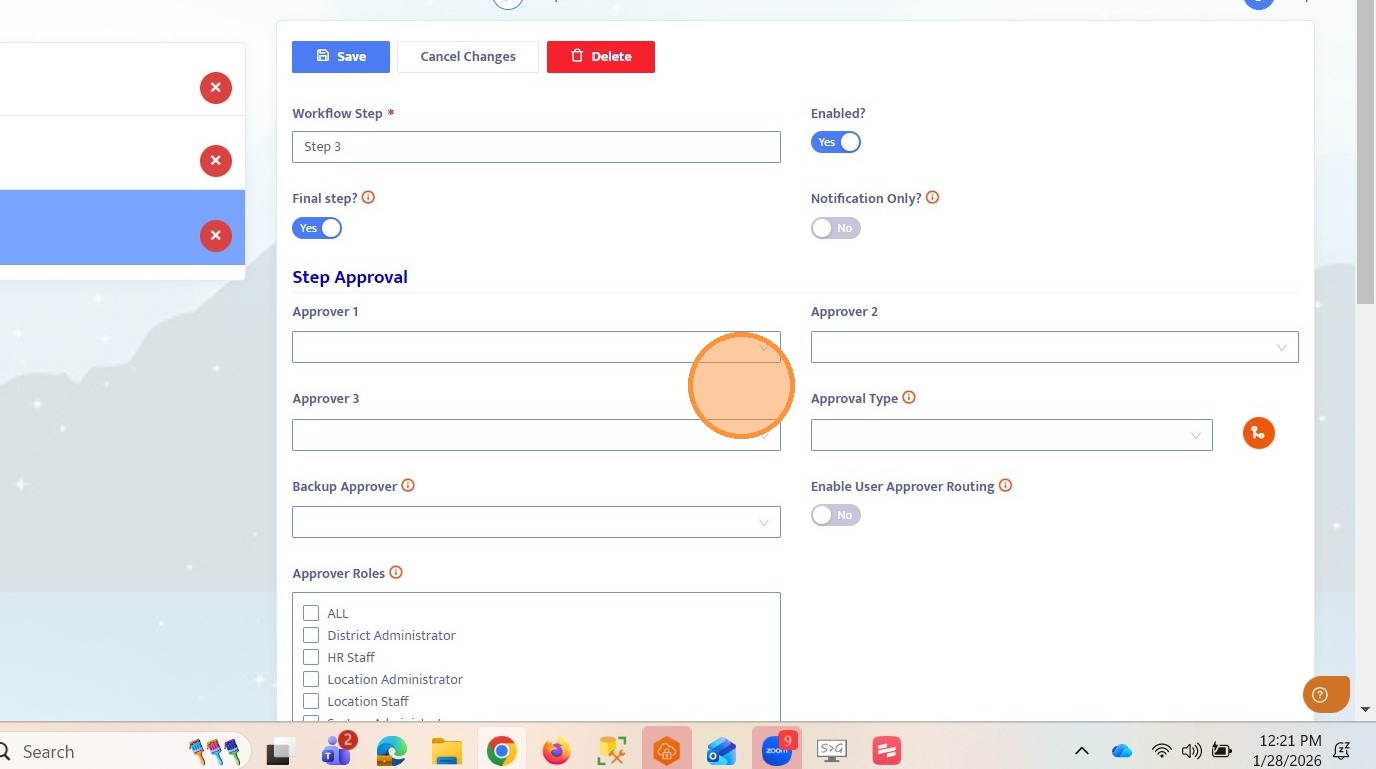
13. The Enable User Approver Routing toggle is not enabled for Step 3 because this is the final step of the workflow. User approver routing cannot be enabled on the final step since there is no subsequent step for it to apply to.
14. Return to the Workflows Dashboard.
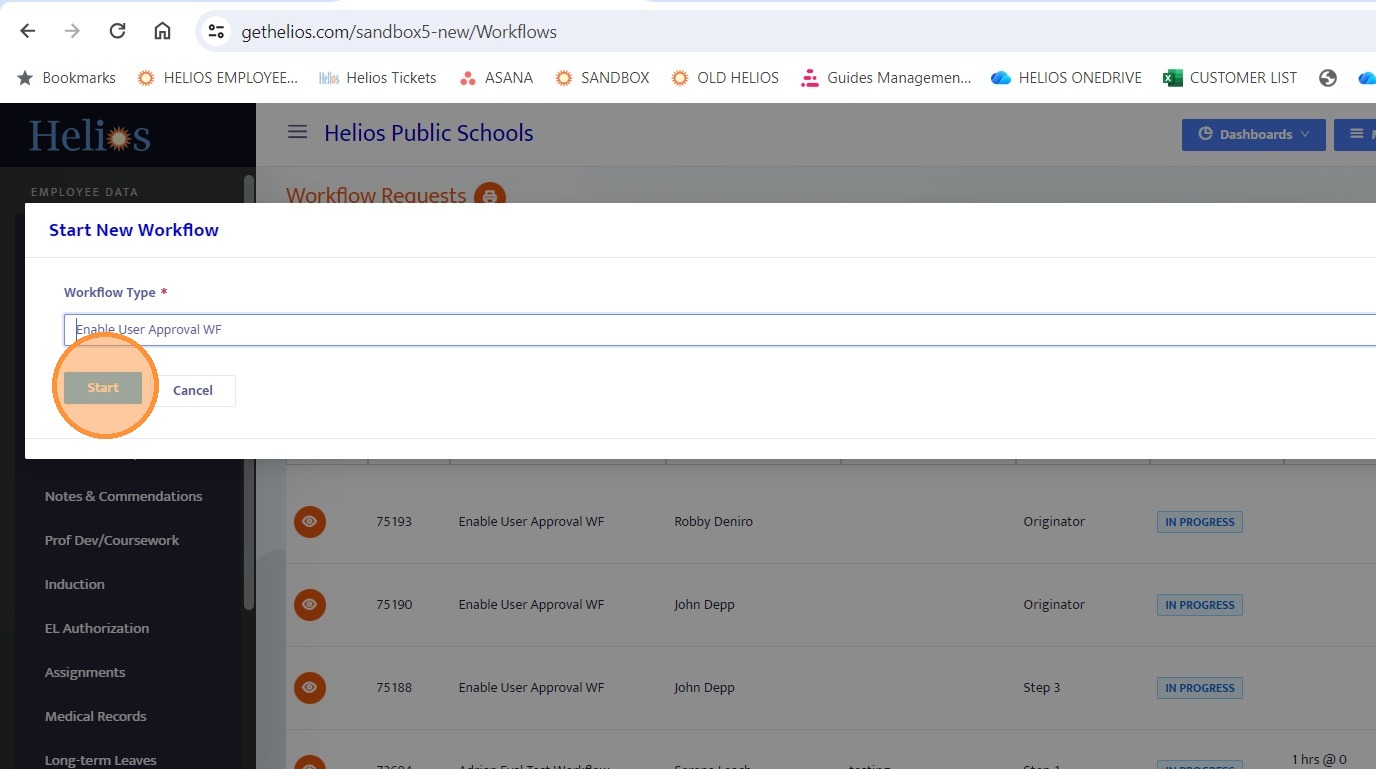
15. Locate and initiate the workflow you just configured.
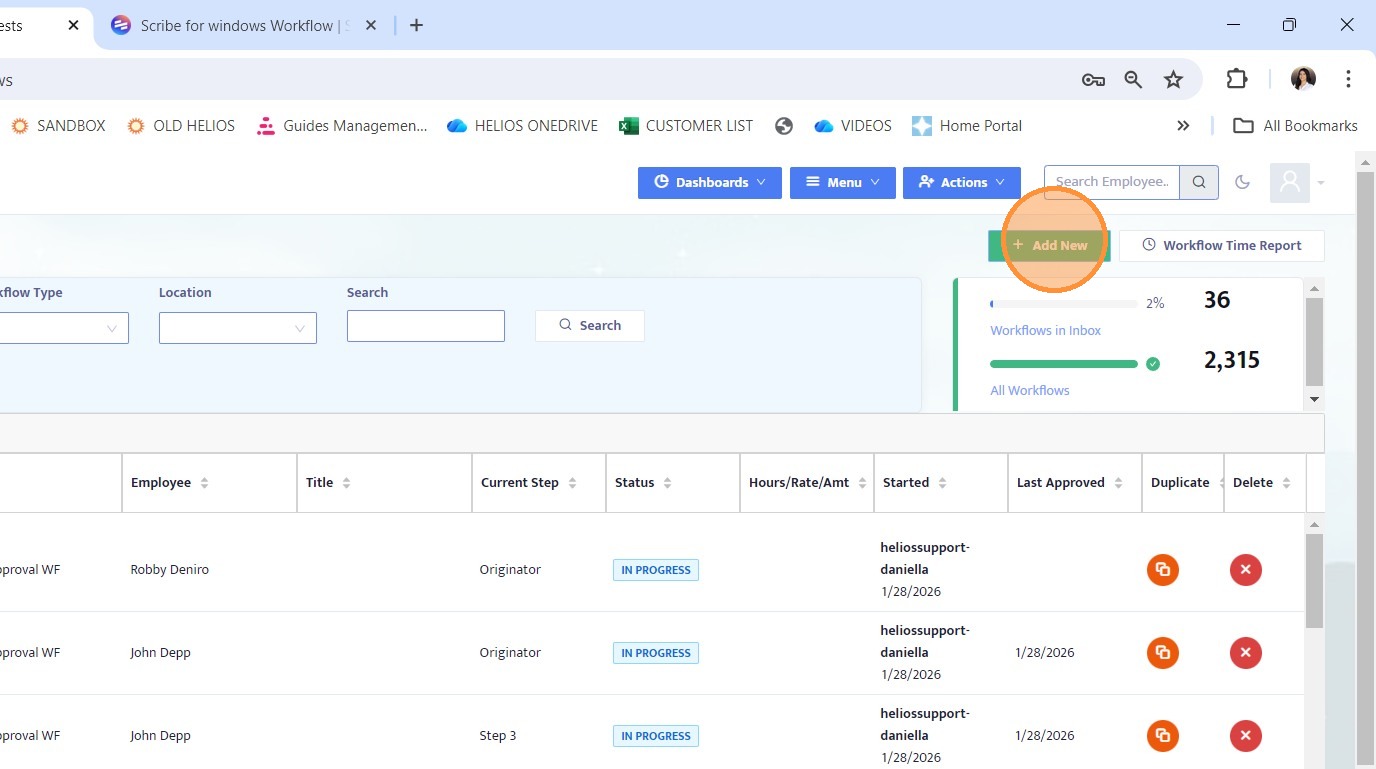
16. Locate and initiate the workflow you just configured.
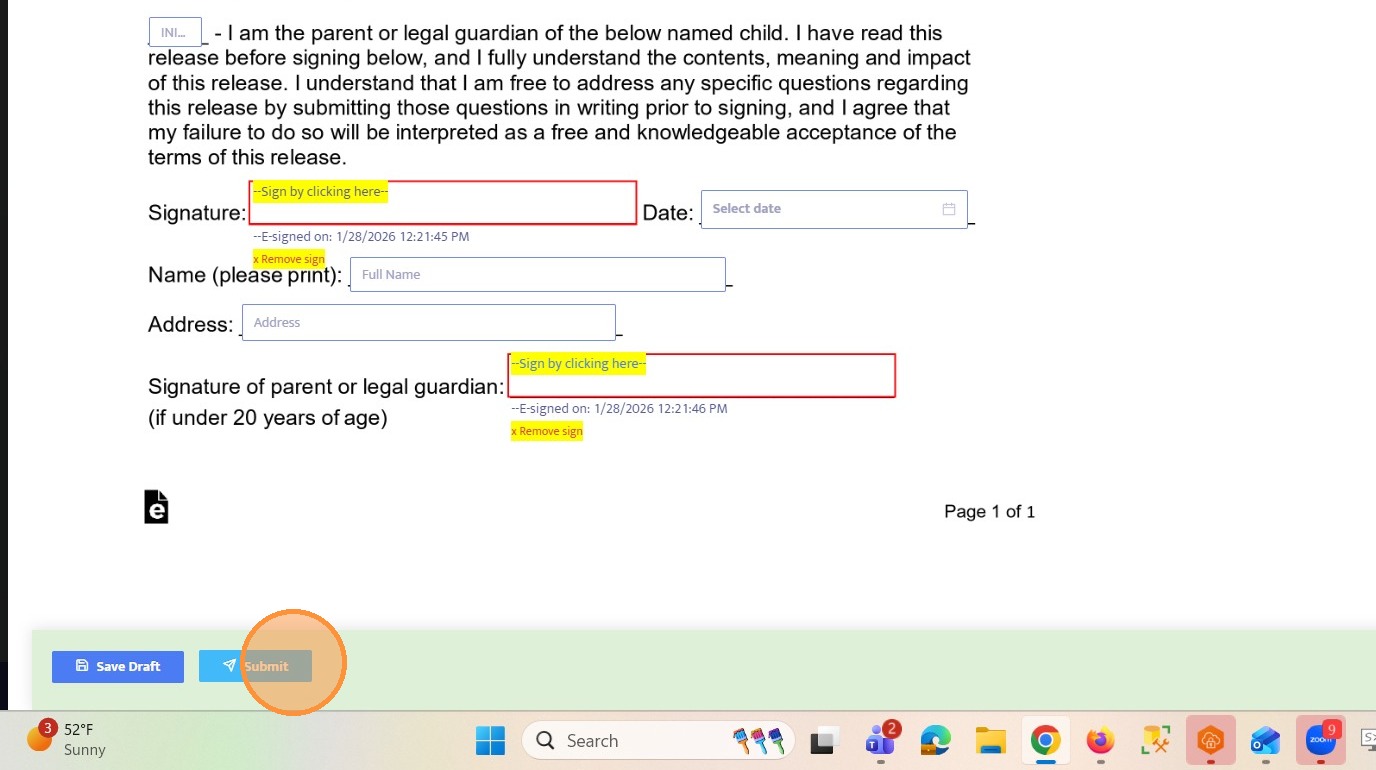
17. Complete all required fields on the workflow form.
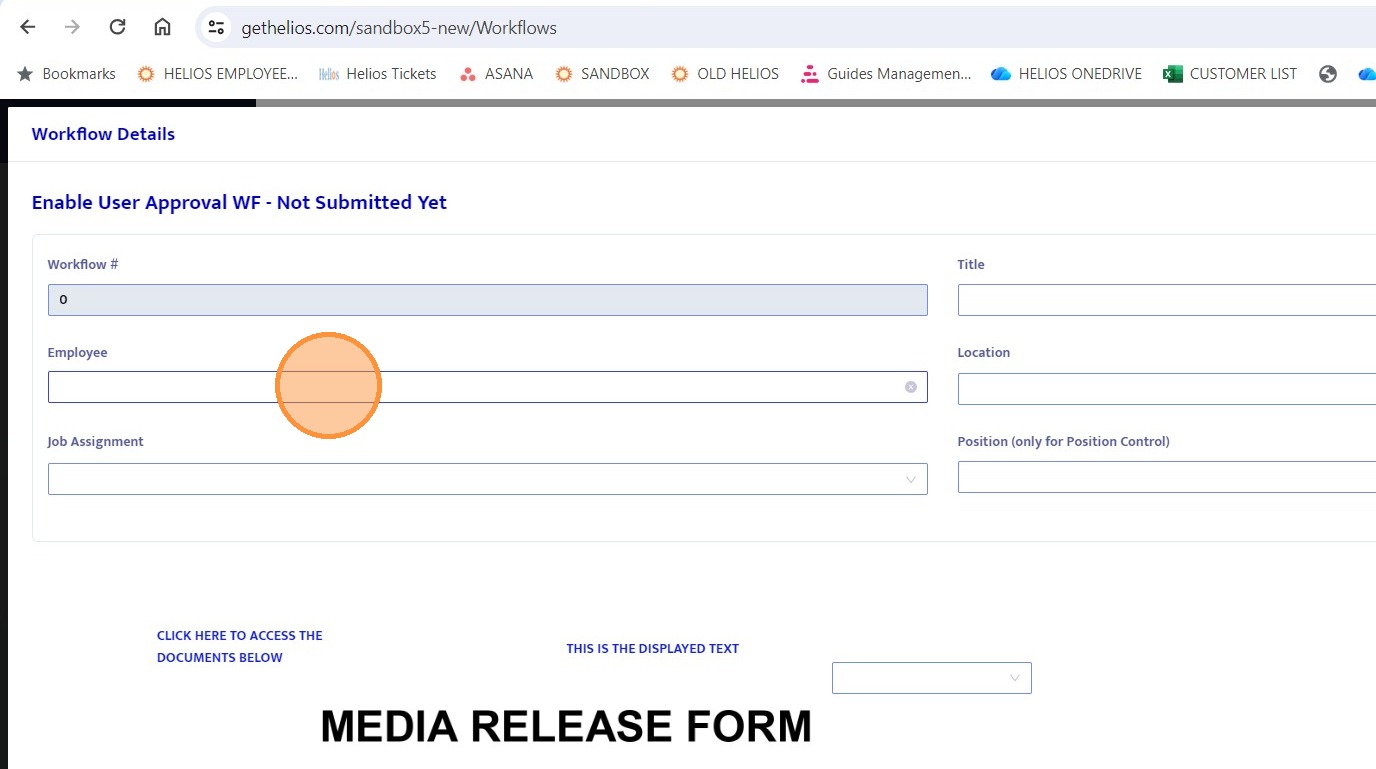
18. Click Submit to send the workflow to the next step.
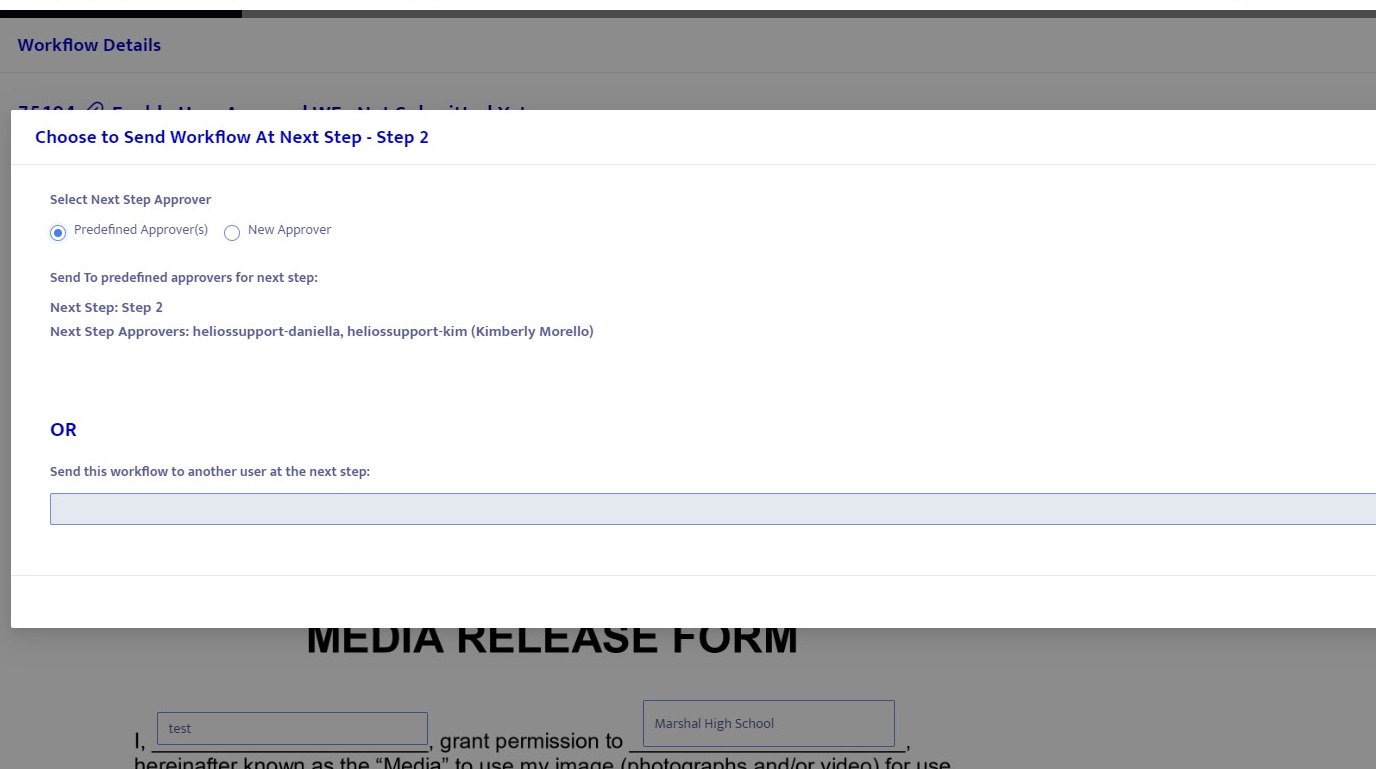
19. After clicking Submit, a pop up appears asking how you would like to route the workflow. You can choose to send it to the predefined approvers or free route it to another user in the system.
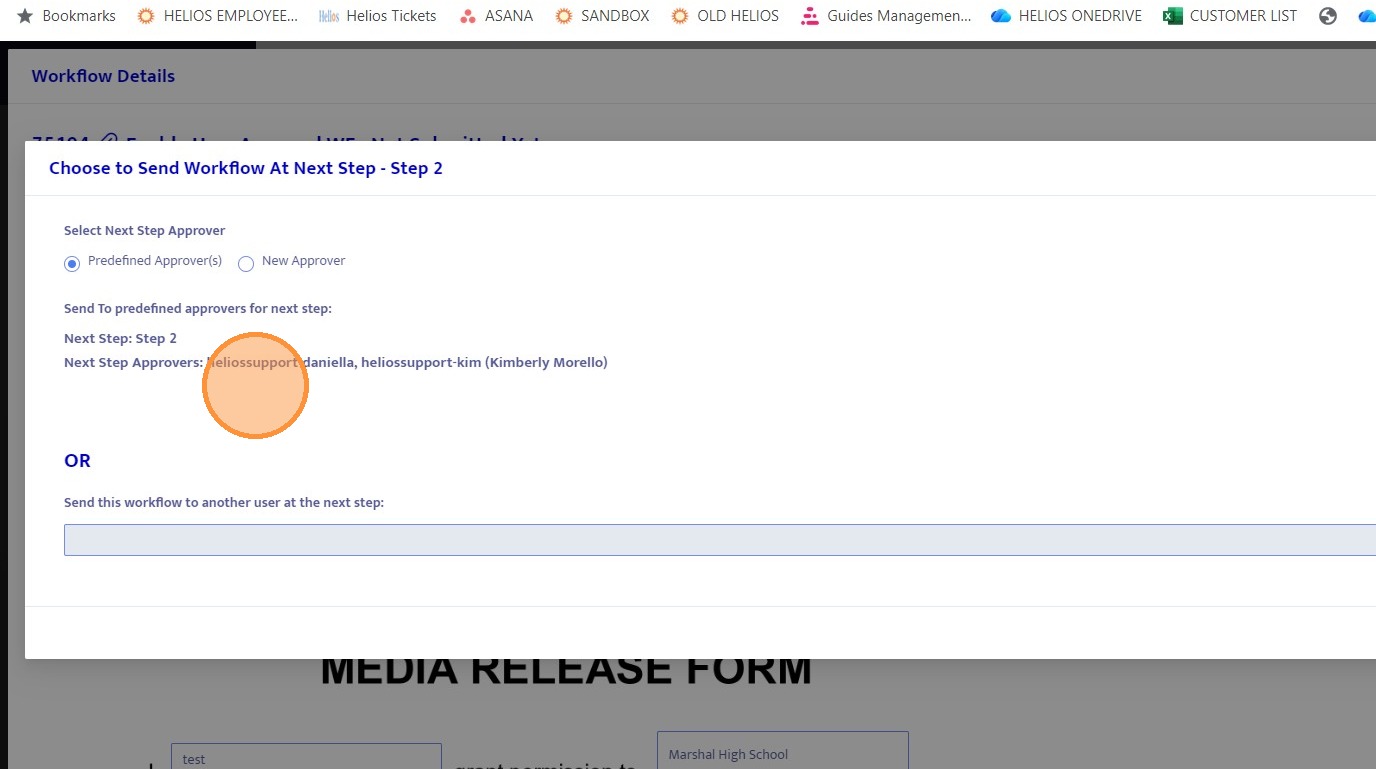
20. This "New Approver" option allows you to route the workflow to a different user not listed in the predefined approvers.

21. This "New Approver" option allows you to route the workflow to a different user not listed in the predefined approvers.

22. For this example, select the predefined approvers option.
23. The workflow is successfully routed to the predefined approvers.
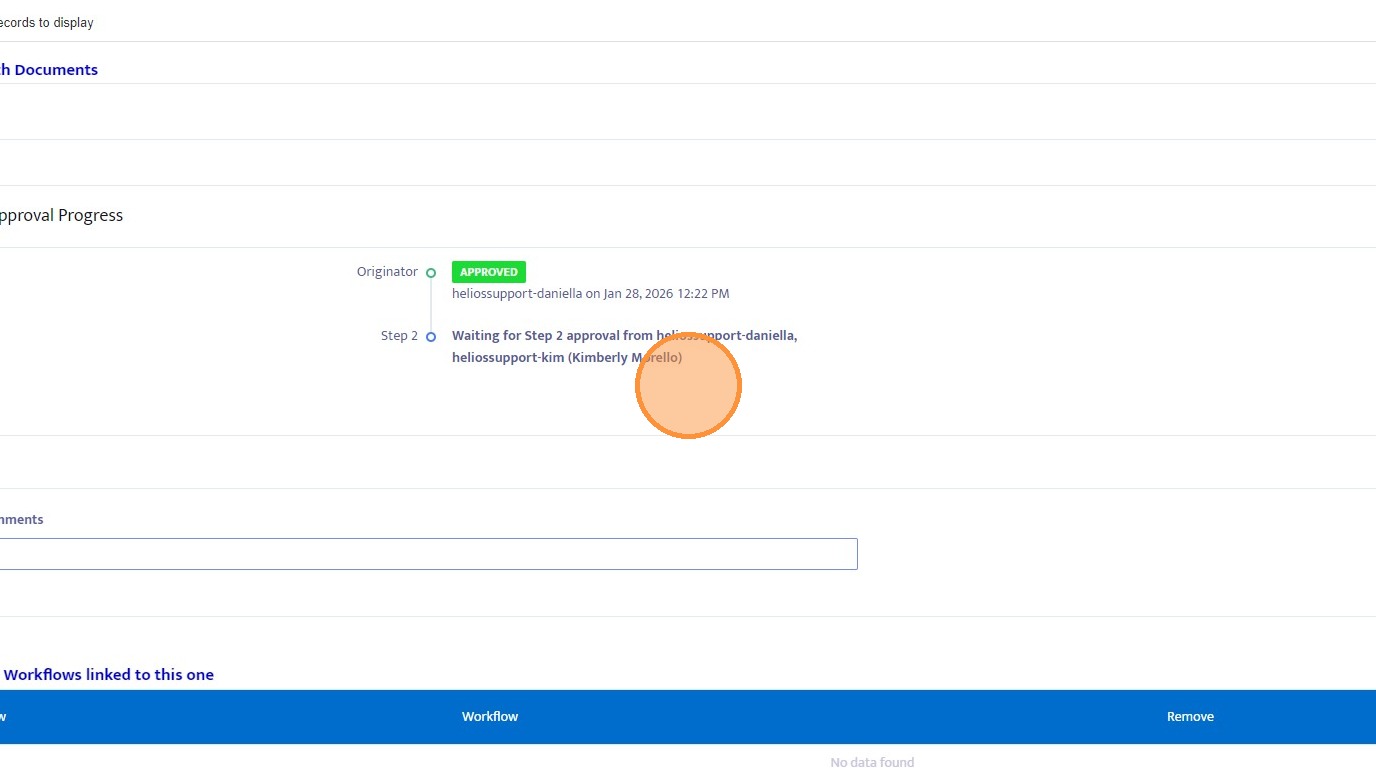
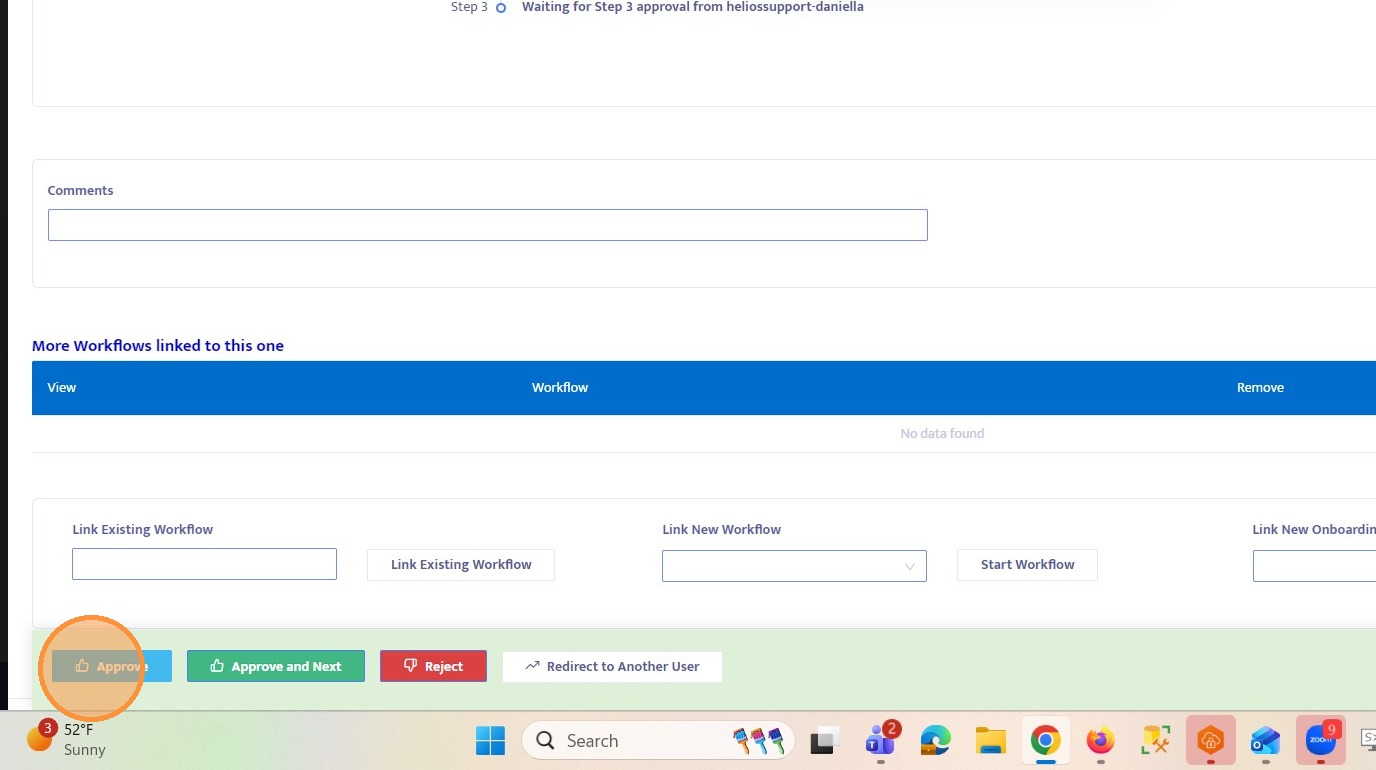
24. Approve the workflow to move it to the next step.
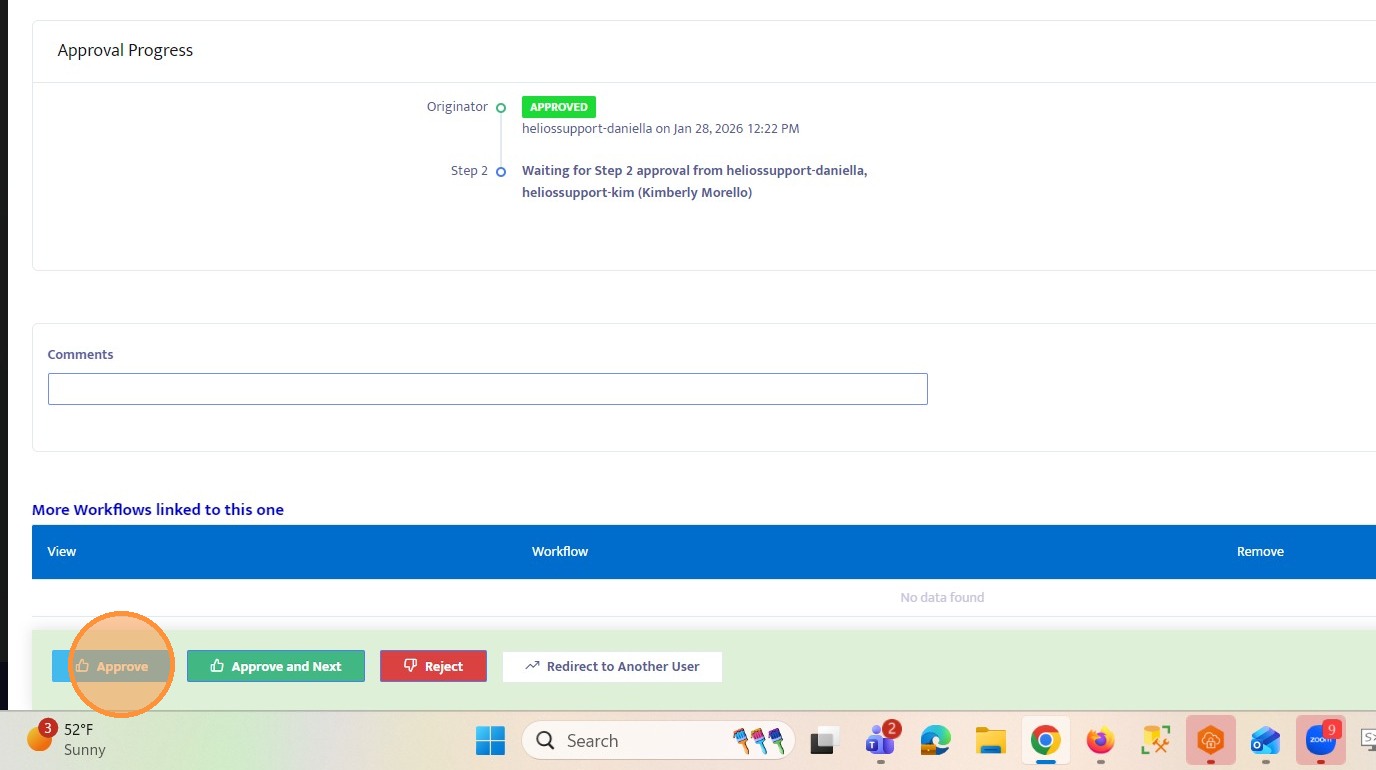
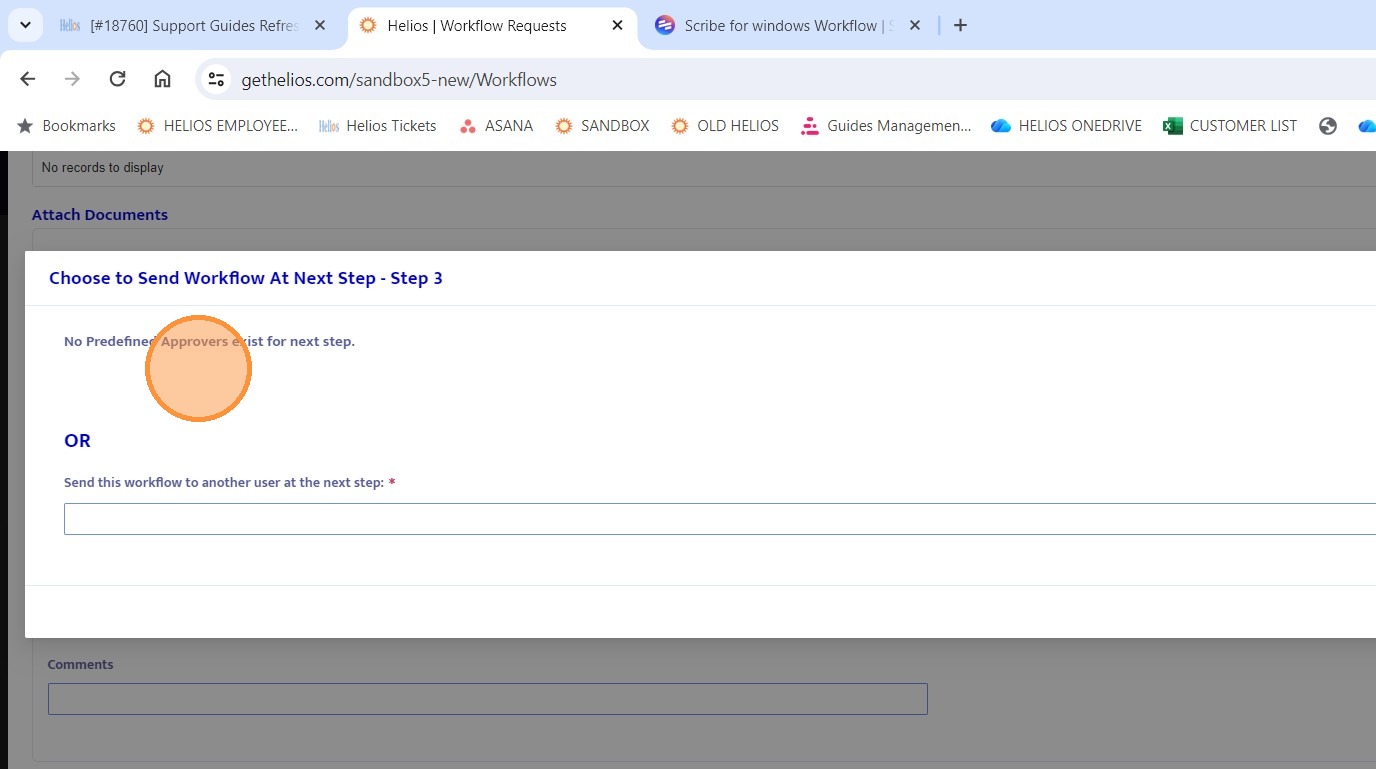
25. Since Step 3 does not have predefined approvers, you must select a user from the dropdown to route the workflow.
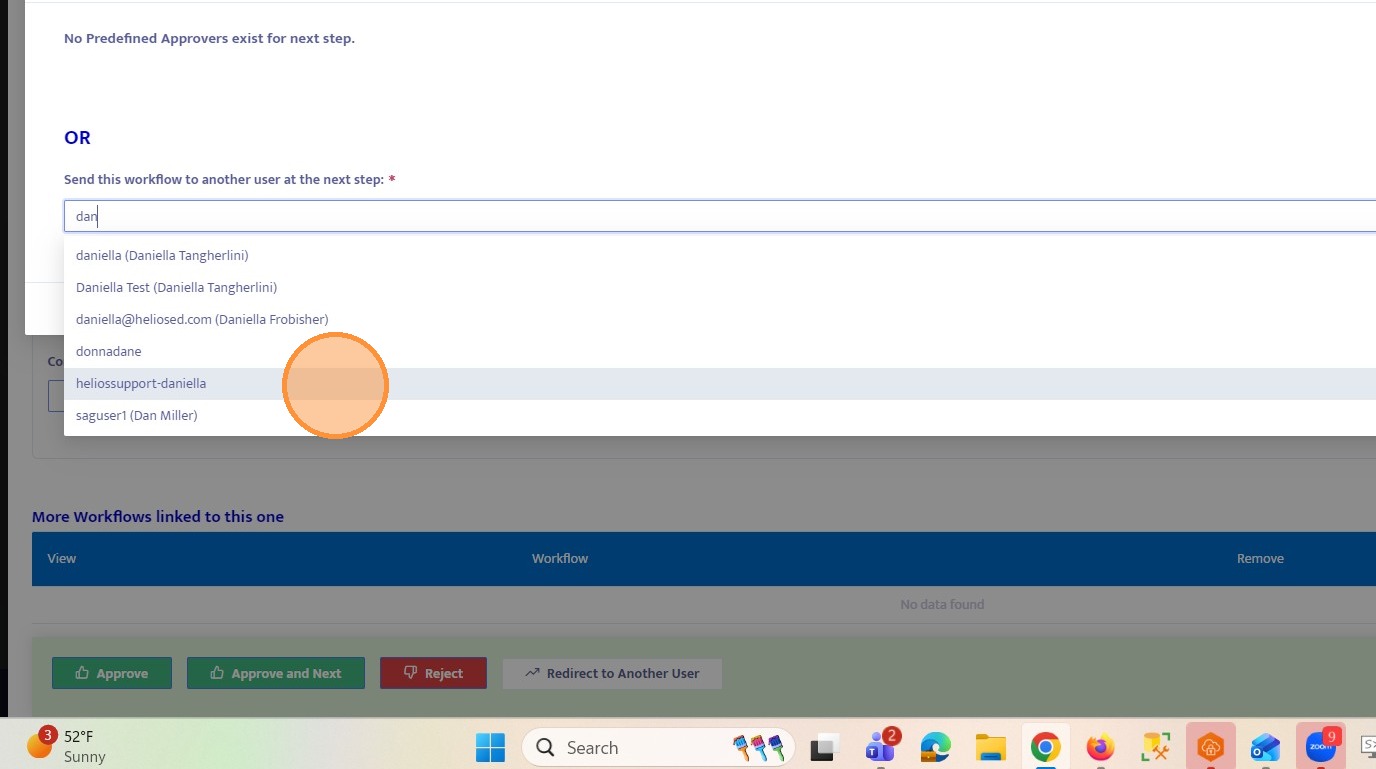
26. Select a user from the dropdown list. The workflow will be routed to the selected user.
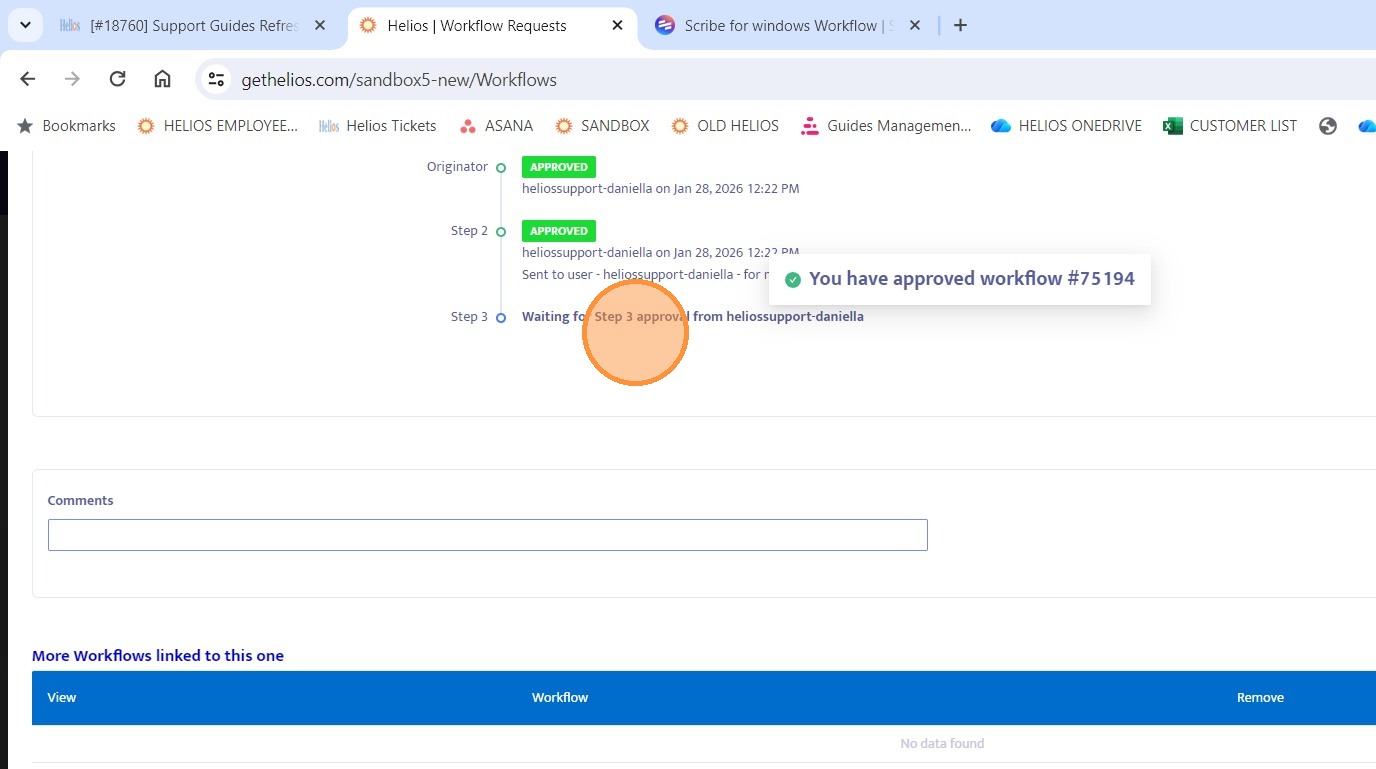
27. The workflow is now successfully routed to the selected user.
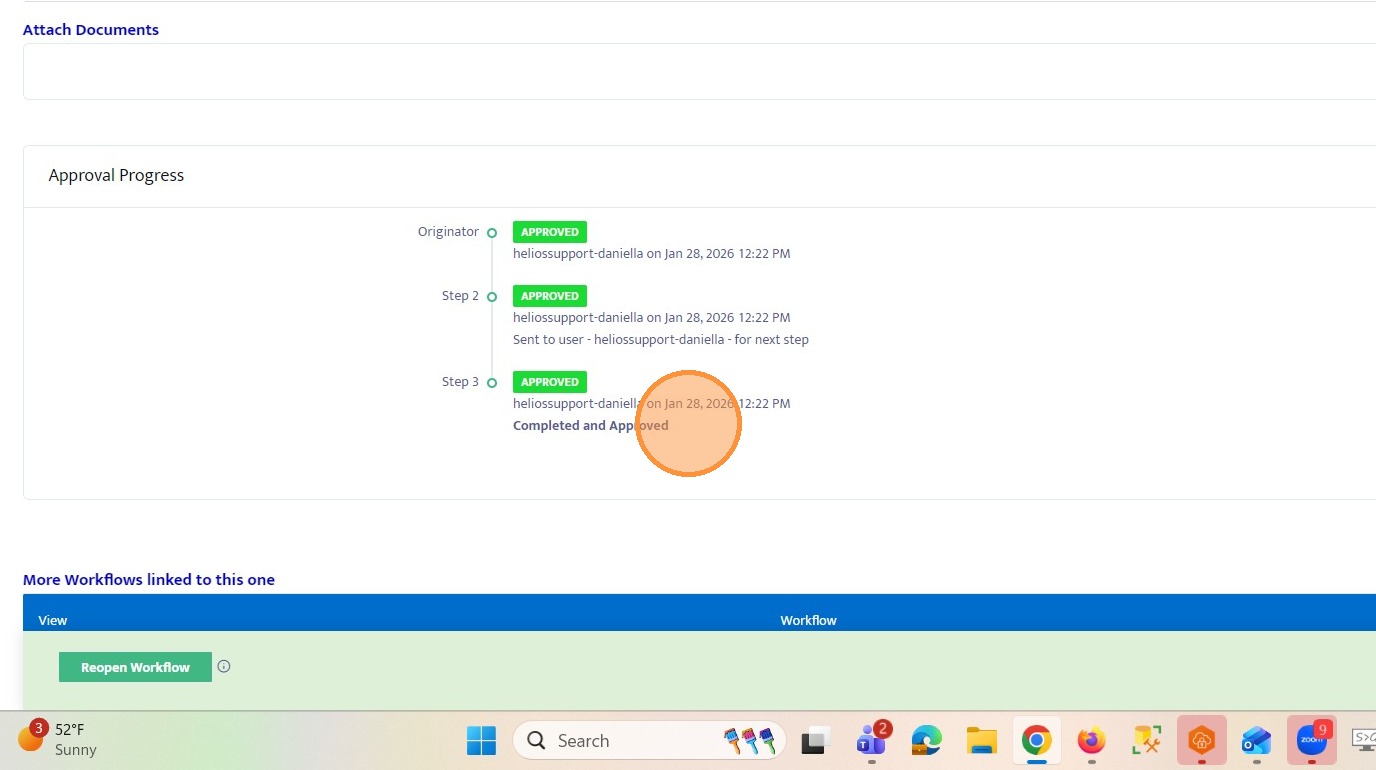
28. Click here to approve the Workflow
29. Click here
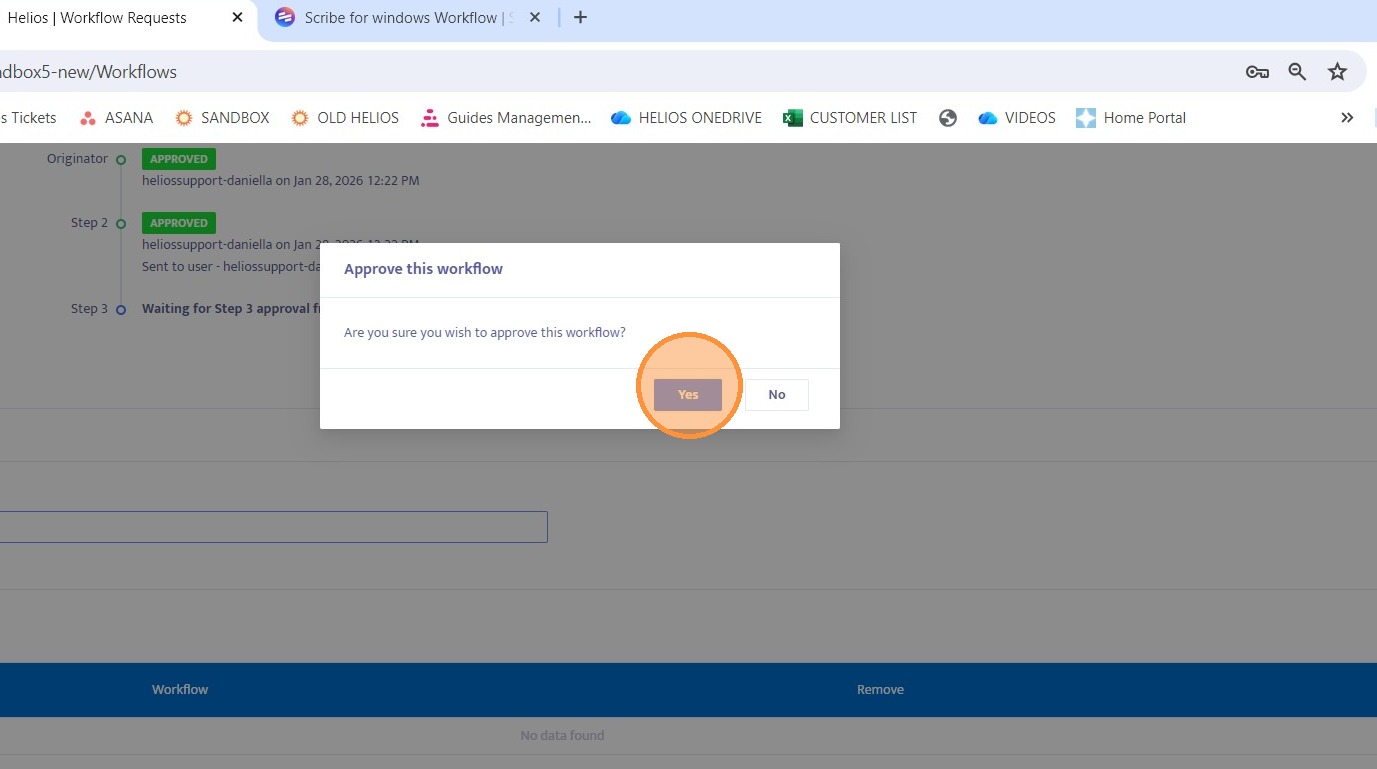
30. If the selected user approves the workflow, it will be completed and marked as approved.