Testing Onboarding Packets in Helios
1. Log in as an Admin.

2. If you have single sign-on, you can just click the "Admin Portal".

3. If you don't have single sign-on, then you use your username and password. Click on "Log In".

4. On the main page click "Dashboards".

5. Click "Onboarding".

6. Click "Add New".

7. Here you should already have an onboarding packet set up. You're going to find the onboarding packet by typing the name in "Onboarding Type".

8. Select the name.

9. The first way to test this is with an existing testmemployee in the system.
When creating this test employee:
- Important: In the "Home Email" field, enter a personal (non-district) email.
- Using a district email in an SSO-enabled district can cause login issues.
- If the email is already linked to another account in the system, it can cause conflicts.
- Use a personal email to replicate a real new hire’s experience
If you do not have a test employee you can click "For New Employee" and fill out the required fields. Make sure the home email is unique and not one already existing in the system as it can cause issues with Single-Sign On.
Click "For Existing Employee"

10. Type the name of the test Employee you created. Click the name once it appears.

11. Click "Start".

12. If you don't have a test user Click "For New Employee"

13. Fill all the required fields in red.
- Important: In the "Home Email" field, enter a personal (non-district) email.
- Using a district email in an SSO-enabled district can cause login issues.
- If the email is already linked to another account in the system, it can cause conflicts.
- Use a personal email to replicate a real new hire’s experience

14. Once done click "Save and Start Onboarding".

15. Whether using existing or new test employee once submitted you return to the Onboarding screen and you can see the record and note "Email Sent" date and time stamp.

16. Click the "View" button to preview how the employee will see the packet.

Tip: Completing the Packet as the Employee
Two options for logging in as the employee.
18. Option 1- Steps 18-21
Access the email sent to the test employee home email account and click the link.

19. Enter the home email used for the test employee. Click "Request Reset Code".

20. Here is a new email with the OTP code.
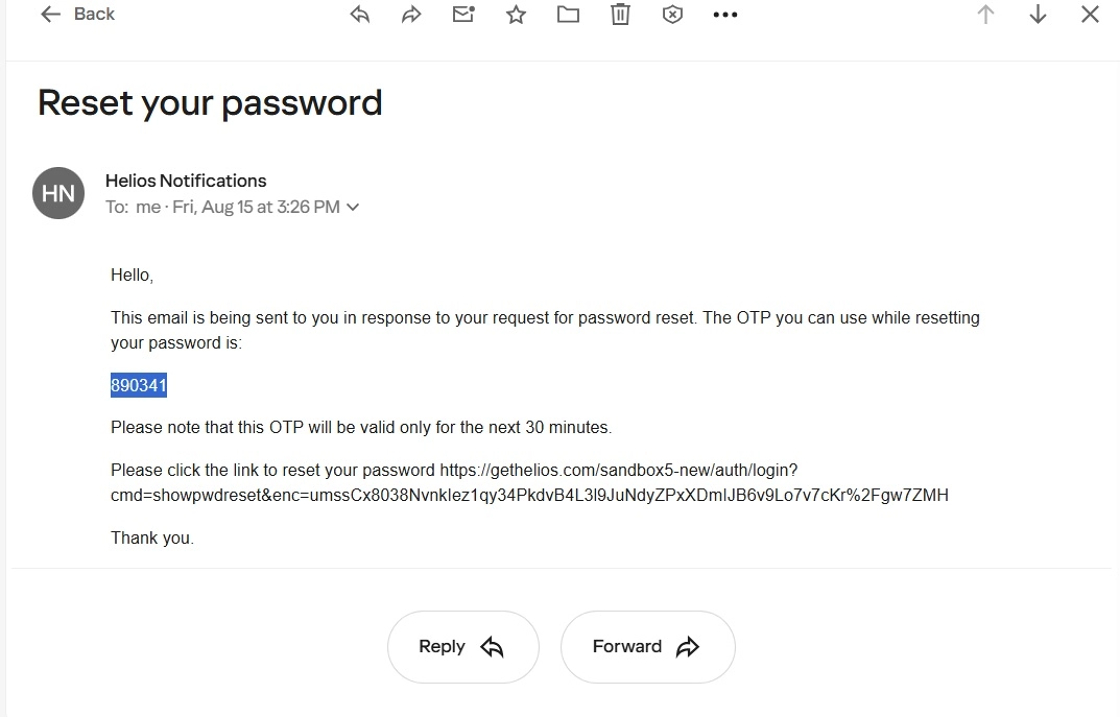
21. Enter the OTP code, note the tip for creating acceptable passwords. Click "Change Password" when ready.

22. Option 2
Logged in as an Admin search for the test employee name.

23. A drop down will appear with the possible matches. Choose the name you sent the packet to.

24. Here you can see the test employee email and ID (100920).

25. Log in with the email or Helios employee ID for the test employee and the default password (birth date) entered as MMDDYYYY.

27. Click "I accept the terms of Use and Privacy Policy".

28. Click "Accept and Login".

29. Start filling in the Onboarding documents as if you are a new hire.

30. Click "Save and Continue".

31. Go through all of the steps and fill in required fields.
- Pay close attention to:
- Required fields: The system should prevent moving forward without completing them.
- Form content: Check for missing or incorrect information.

32. Once all sections have been completed and verified in the last step you can click "Submit" located in the bottom left corner.

34. Message pop-up stating your onboarding documents have been submitted.

35. The email sent to the people designated to review the onboarding documents for the first step. Click the link below to start reviewing the Onboarding documents.

Tip: ### Repeat for Different Scenarios
- Test multiple routing scenarios to ensure all possible paths work as expected.
- Adjust forms or routing as needed, then retest until all onboarding processes route and function correctly.