An eSign document is one that the employee reviews and then electronically signs by clicking 'Sign and Save' to acknowledge that they have reviewed the document. You can send eSign Documents, for employees to sign, either individually or to a group of employees. E-sign documents differ from E-forms in that there are no fields for the employee to complete on a document for a guide on E-Forms, click here.
Individual Employee
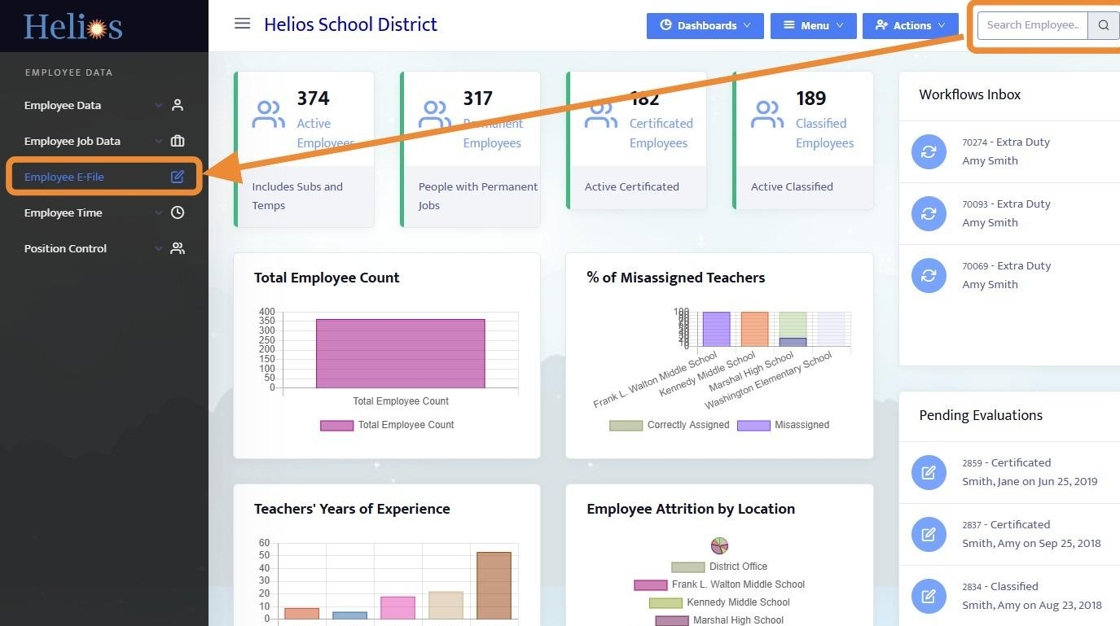
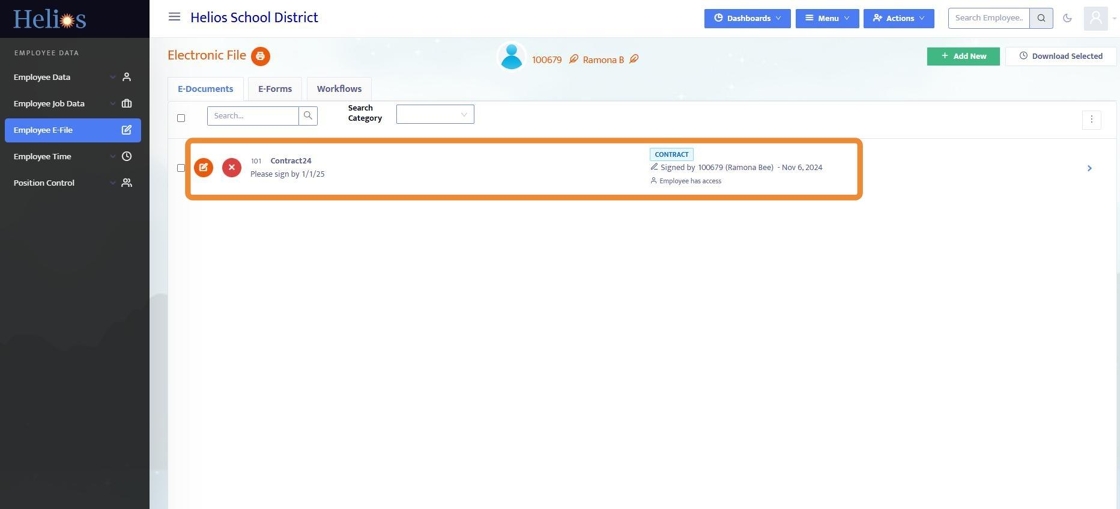
Search for a particular employee and then Click "Employee E-File"
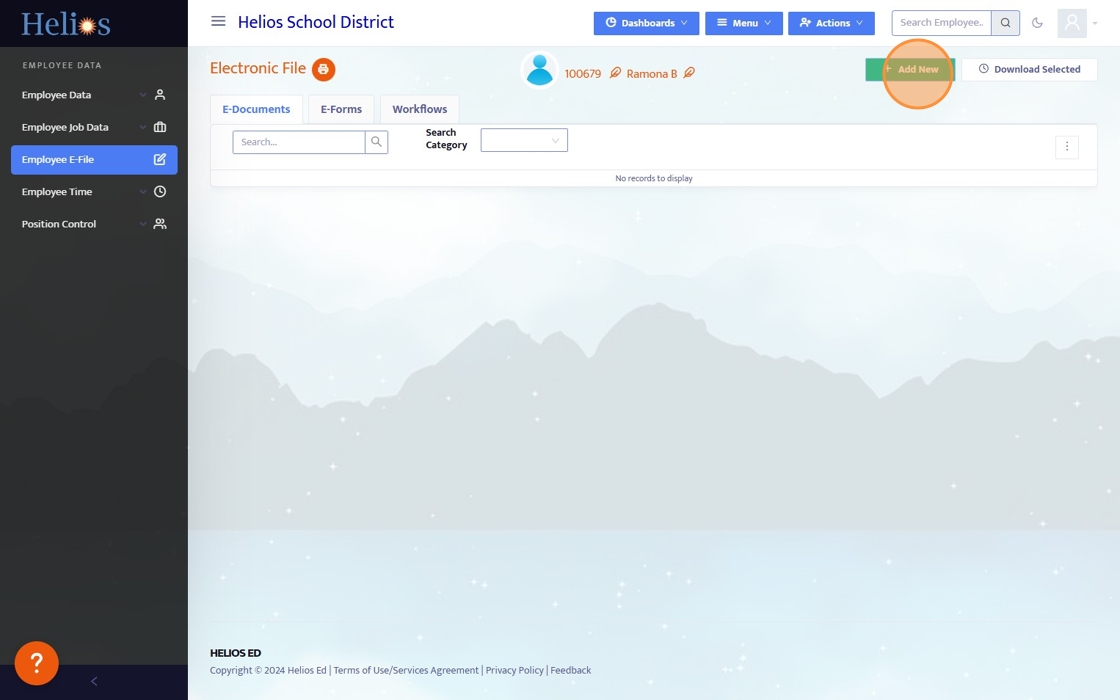
Within the Employee E-File, to add a new E-Document, E-Form, or Workflow click + Add New
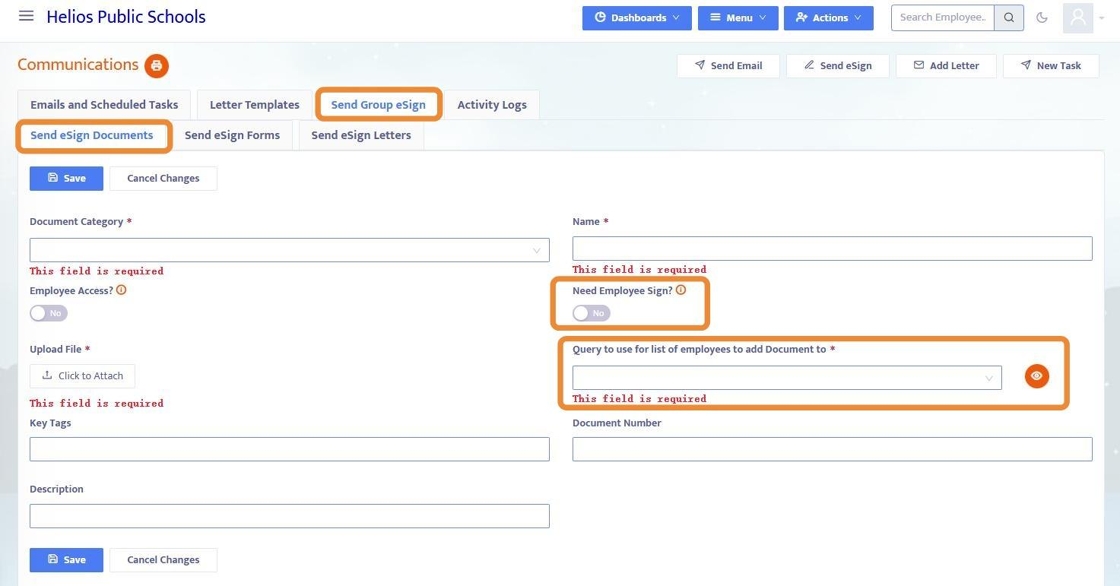
Name the Document and fill in all required fields

If an employee e-signature is required, toggle the tab to Yes - this will automatically also toggle Employee has Access to Yes.

Clicking "Save" will add the document to the employee's E-File AND also send an email to the employee letting them know that there is a document for them to sign along with a link to the Employee Portal.

Group of Employees
From the Communications Menu (accessible to District Admin)Sending eSign documents to a group is very similar to sending them individually, however you use a query to identify what employees will get the document to esign. For more information on creating a query, click here.
Employee View
After hitting Save, an email is automatically generated and sent to the employee's work email address informing them of a document to sign.
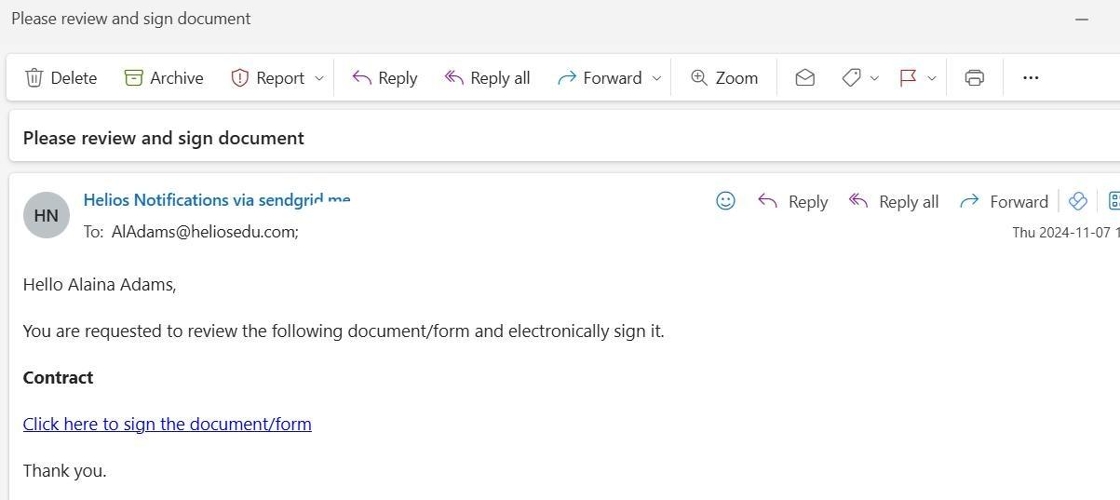
9. When the employee clicks the link in the email, they will login to the Employee Portal and in the eSign Documents menu they will see all documents they need to sign. There is a tab for Documents You Need to Sign, and another for Signed Documents
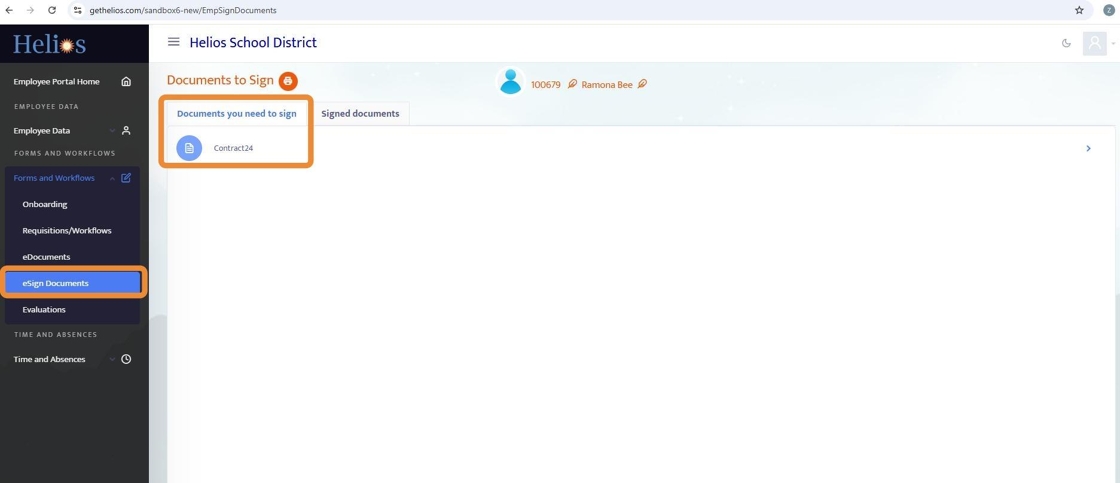
10. Clicking into the document, the employee can review, print, and Save and Sign.
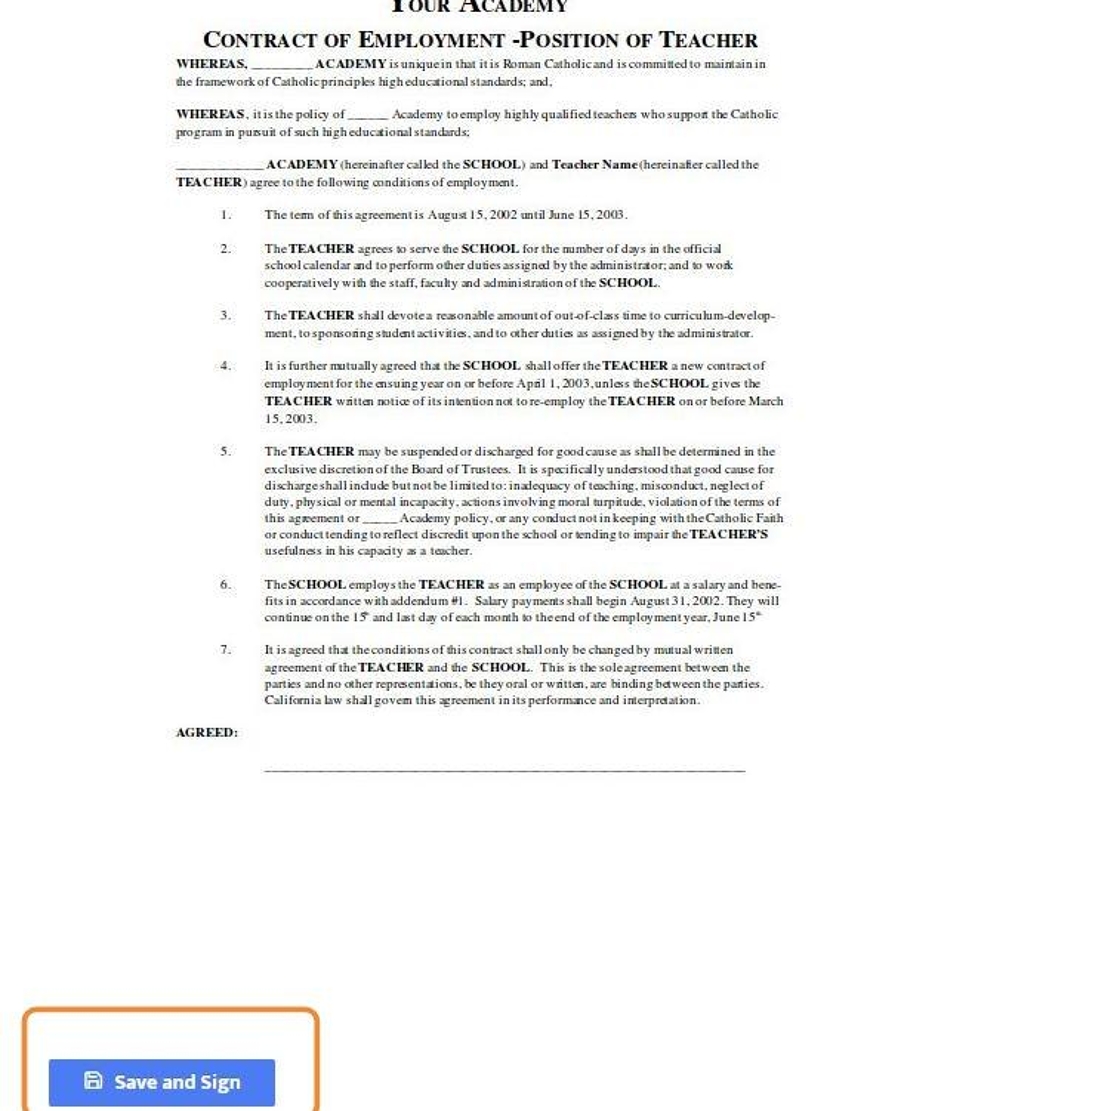
11. Once Save and Sign is clicked, the document now has an employee signature tied to it along with date and time stamp.
Admin View of Signature
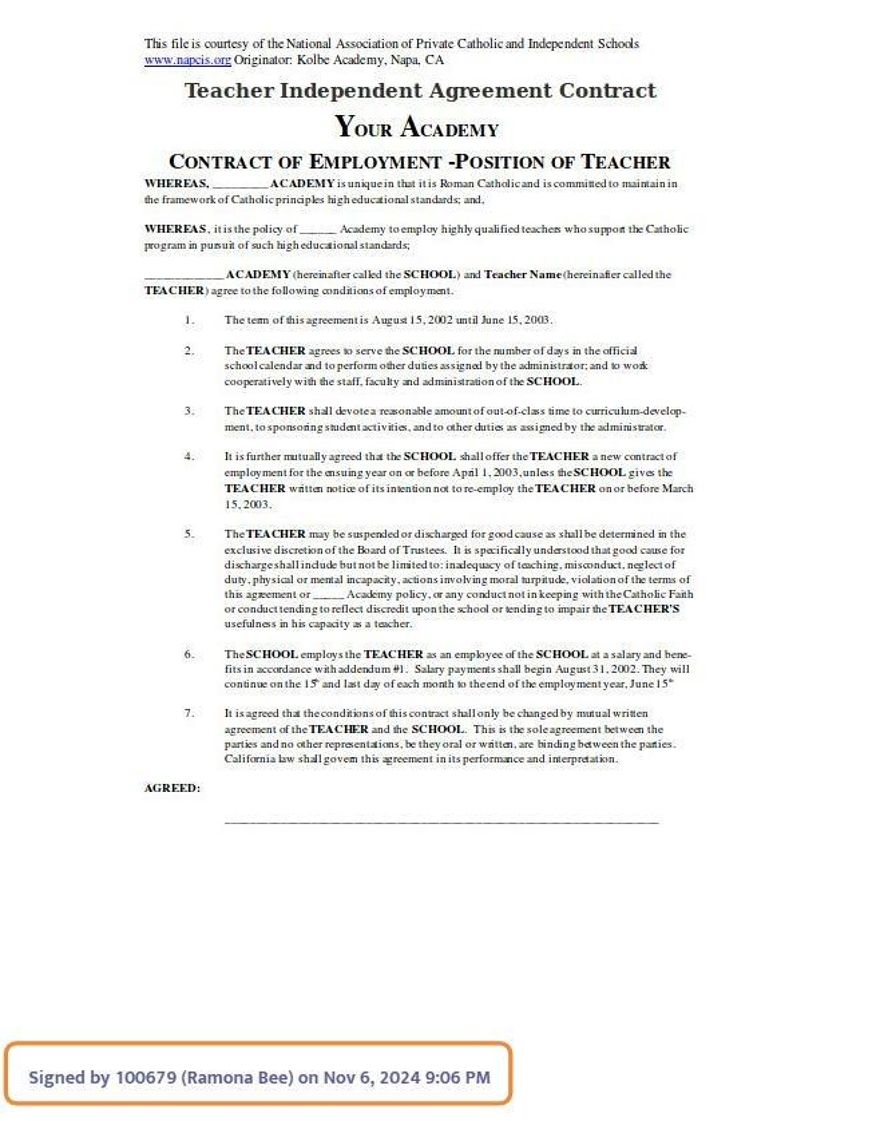
12. Back in the Admin Portal, the document has an employee signature and time stamp attached to it. Admin can also open the document and see the eSign / date / time stamp at the bottom of the document.
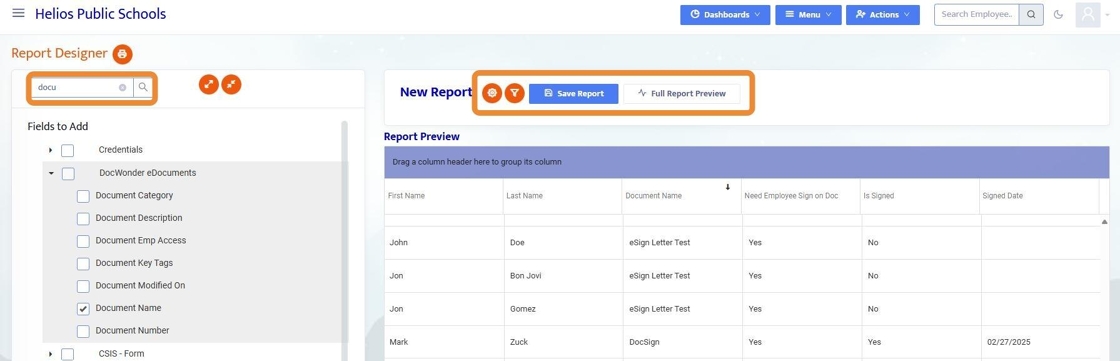
13. Admin can also user Report Designer to create reports that identify who signed or did not sign the document. For more information on Report Designer, click here.
Use the search box to add fields to the report. Key fields to add are:
- Name
- Document Name
- Need Employee Sign on Doc
- Is Signed
- Signed Date
You can then filter the report to only show the Document Name you're focused on, and only show those that either signed (yes) or did not sign (no).