Google Chrome Workflow
Single Sign-On (SSO), often abbreviated as SSO, is a security-enhancing option that is offered by Helios to streamline the login process. This guide will provide step-by-step instructions on how to set up SSO, ensuring a secure and efficient login experience. Let's get started!
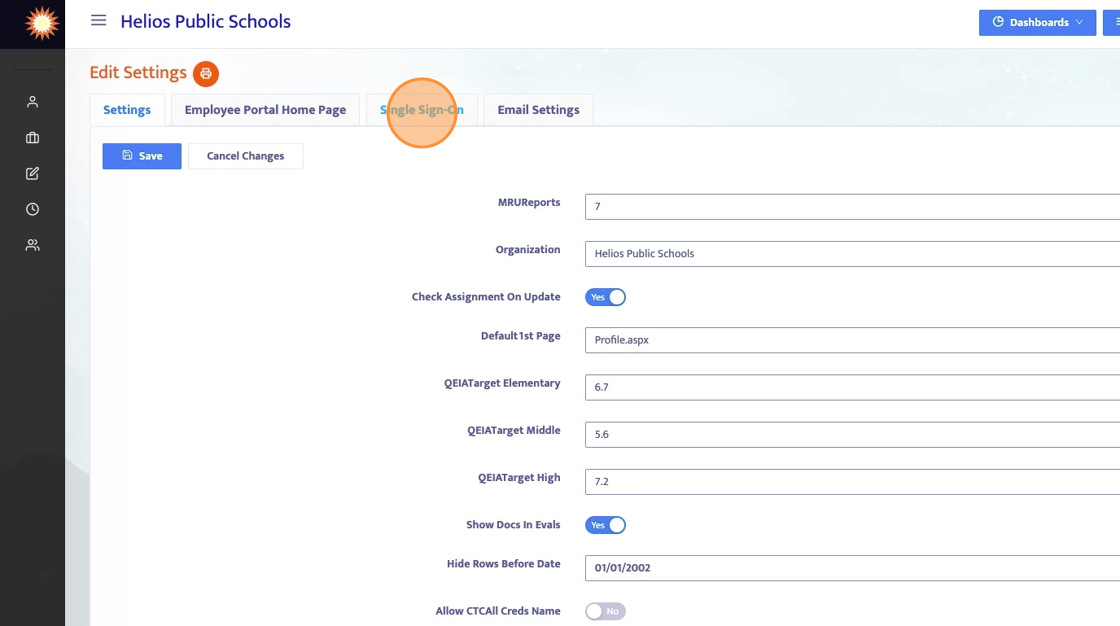
1. Let's open up the Menu.

2. Then select Settings.

3. ## Navigate to the Single Sign-On Tab
4. When set to yes, the employee and admin accounts will be able to sign on using single sign-on.
When set to no, only admin accounts will have the ability to sign in using single sign-on.

5. This toggle option allows for single sign-on settings to be enabled and displayed below.

6. SSO Provider
Depending on your email system, this value should be:
- "Google" if you use Gmail
- "AD" if you use Office 365
- "OneLogin" if you have OneLogin

7. Here are the links on how to add new SAML apps in Google and Microsoft Azure/Office 365. You will need to complete the setup there first before you can finish the configuration in Helios.
Microsoft Azure: https://learn.microsoft.com/en-us/power-pages/security/authentication/saml2-settings-azure-ad
Google: https://support.google.com/a/answer/6087519?hl=en
Now that we have got the setup started, let's gather some information from this screen we are going to need for the setup in Google or Azure.
8. What you will need for Setup.
In Google/Azure you will be creating 2 separate apps (if you do not have the employee portal module then you will only create 1).
App #1 is the Admin portal. For this you will need the following information from the Helios SSO Settings page:
1. "Helios Admin Portal Url to Redirect to" value will be used for the ACS URL in Google or the Reply URL in Azure.
2. "SSO Certificate" will be used for the Entity ID in Google and Azure.
App #2 is the Employee portal. For this you will need the following information from the Helios SSO Settings page:
1. "Helios Emp Portal Url to Redirect to" value will be used for the ACS URL in Google or the Reply URL in Azure.
2. "SSO Emp Certificate" will be used for the Entity ID in Google and Azure.
Take these and input them accordingly when creating the new SAML apps according to the directions you found in the link.
9. Field Mappings
You will also need these field mappings as well. Take a copy of the attached image for reference.
Now, go ahead and finish the implementation on your end and come back here once complete to input the data on our end so we can link up your newly created SAML apps to Helios.

10. SSO Url
Put the SSO URL from your newly created HR Admin Portal SAML app here.
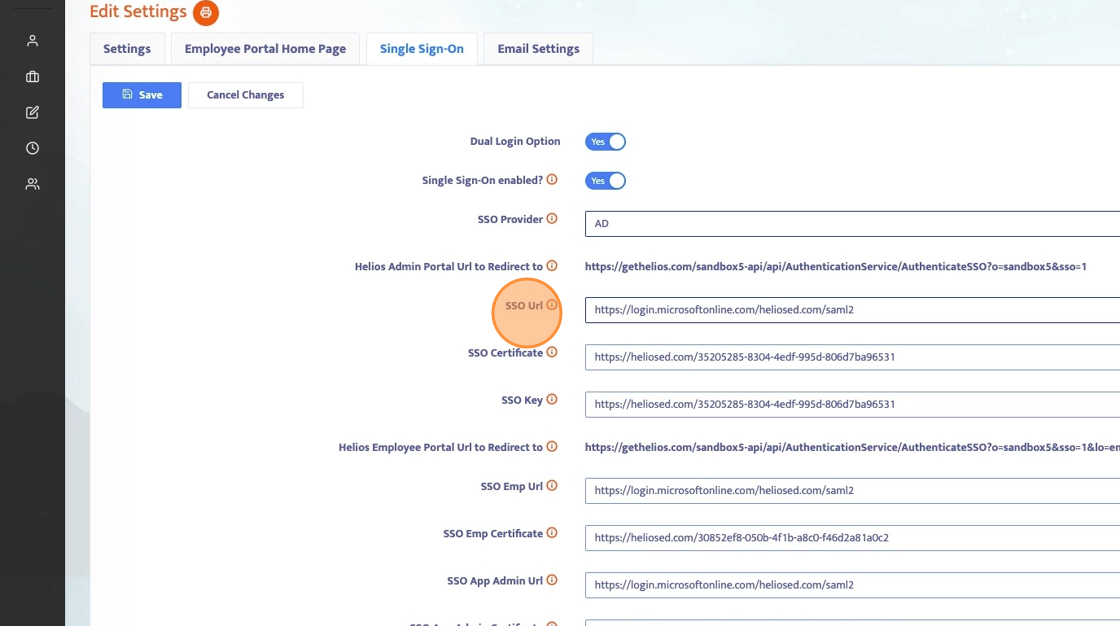
11. SSO Key
Copy the SSO Certificate here. Make Sure to remove the ------BEGIN CERTIFICATE and the -------END CERTIFICATE

12. SSO Key
Copy the SSO Certificate here. Make Sure to remove the ------BEGIN CERTIFICATE and the -------END CERTIFICATE

13. Save the Changes

14. You have finished the SSO settings.
It usually takes Google or Microsoft about an hour to push the SSO settings so please wait before you test the single sign-on.
When ready, you can test your Settings. Log out of Helios and when you are at the main log-in screen click the Admin and Employee Portal buttons to make sure the configuration is set up correctly.
