Create a Custom Query
Creating queries in Helios is one of the most fantastic features available. This guide will walk you through creating a query that can be used in the following ways. Reviewing a set list of employee profiles Sending Mass Communications Generating Form Letters Scheduling Tasks
1. Click here
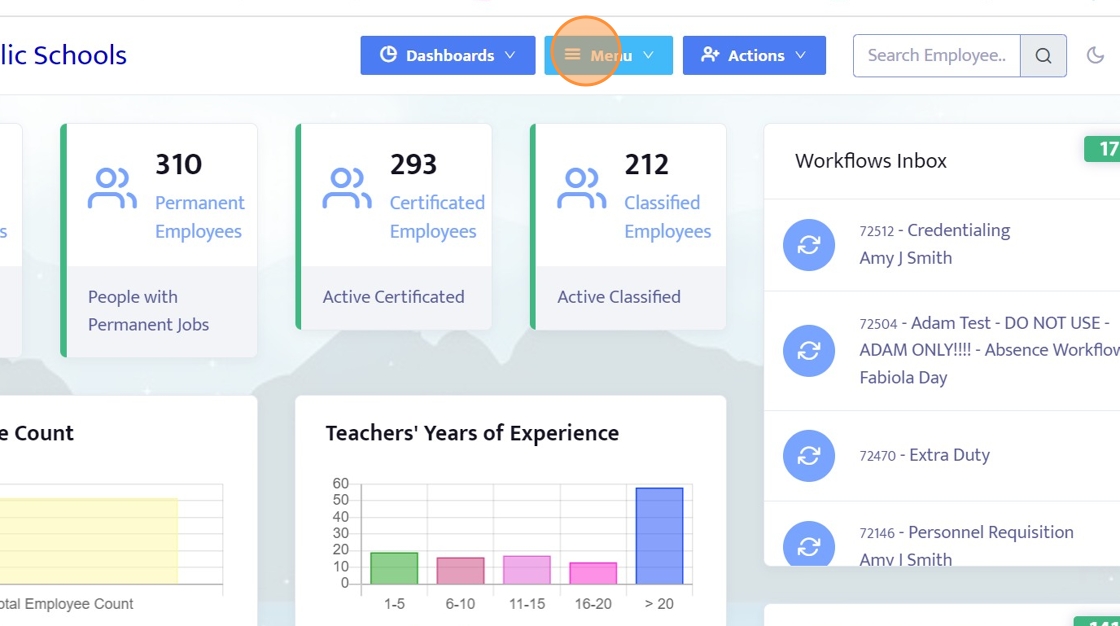
2. Click here

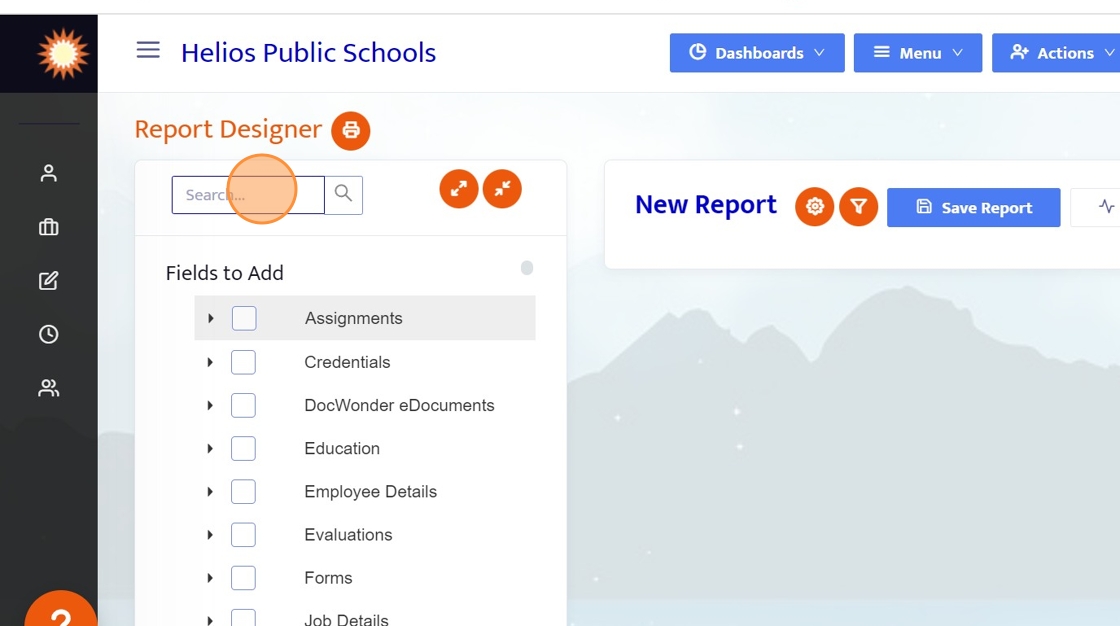
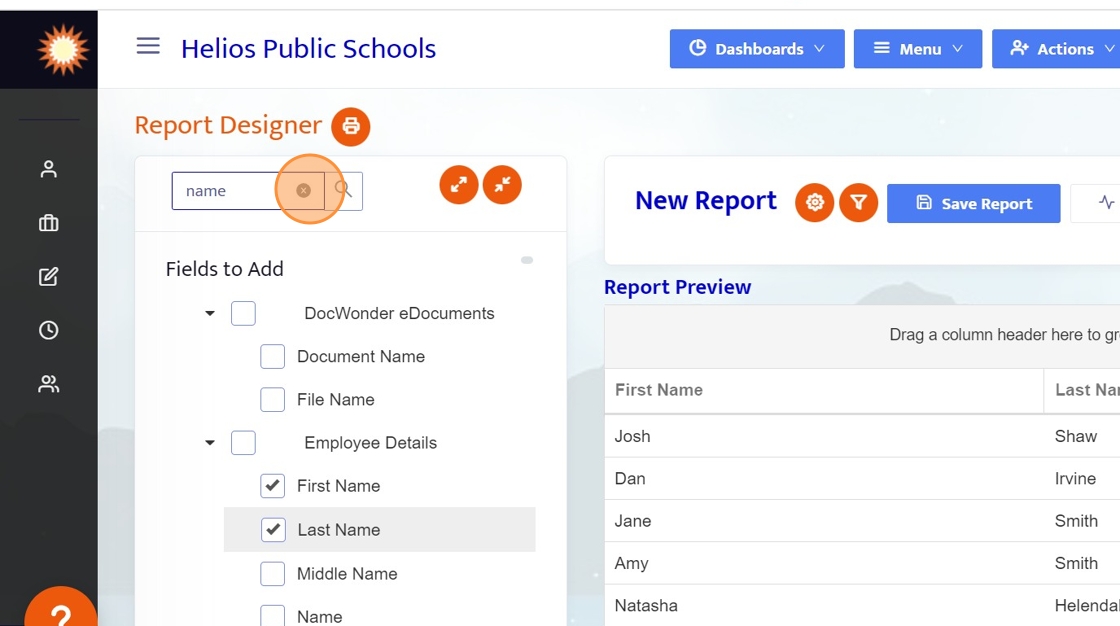
3. Click the search box. And look for the following:
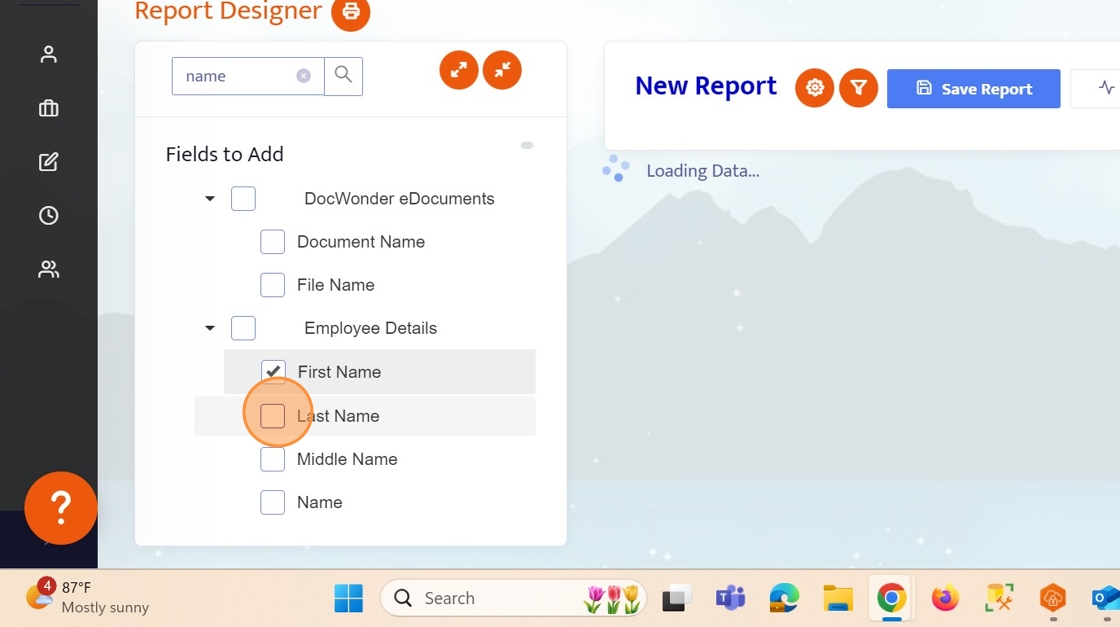
Type name and select...First Name and Last Name
4. Click here

5. Click here
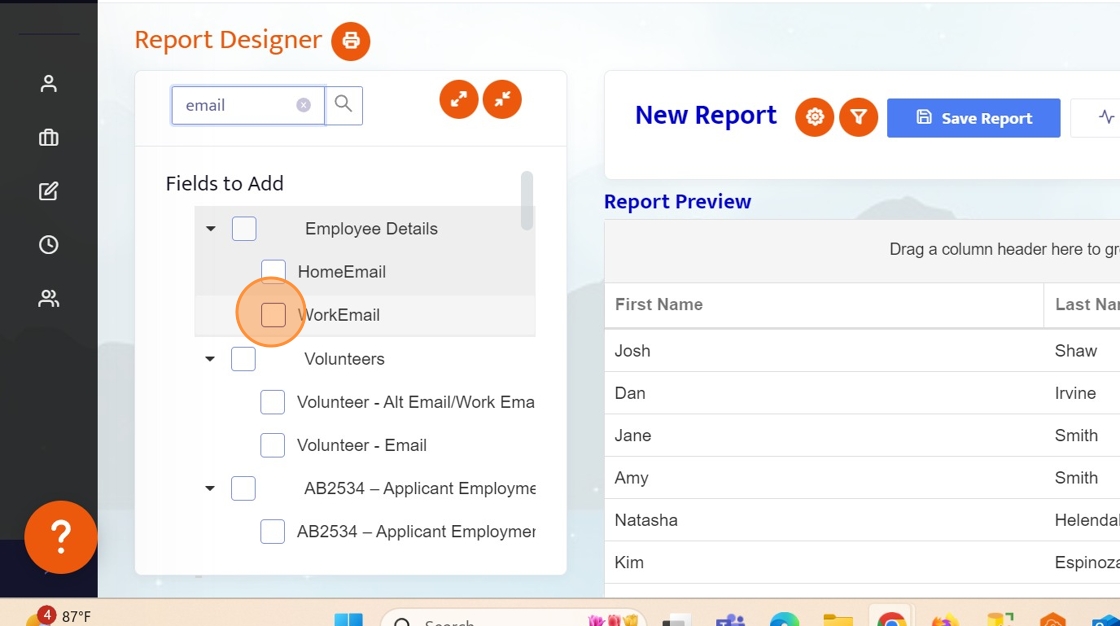
6. Next, clear out the search box by clicking the little 'x'.
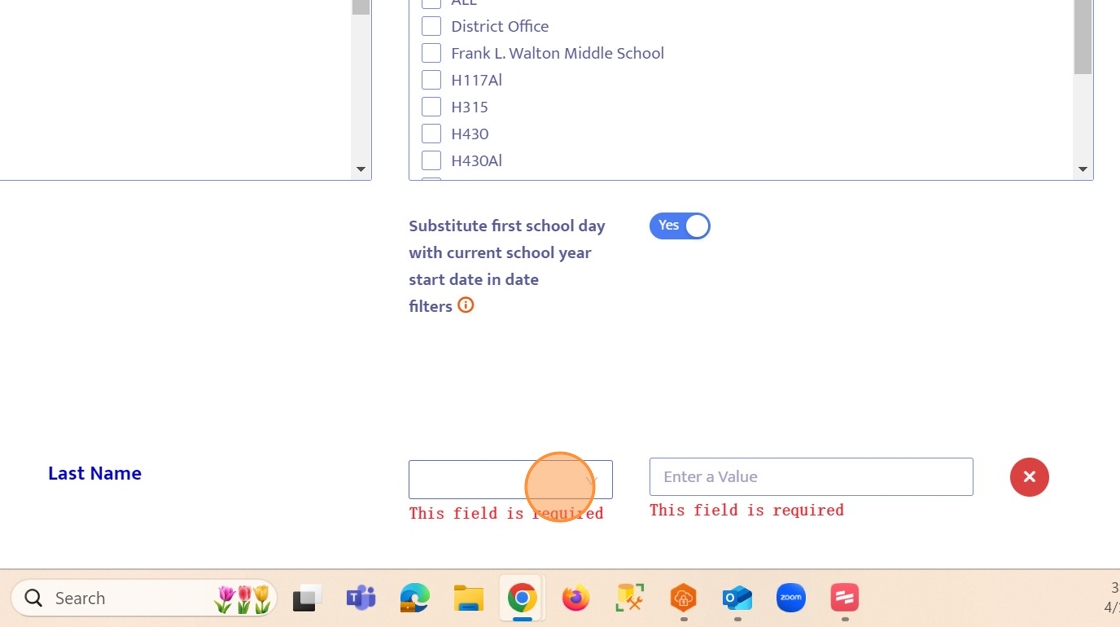
7. Locate the Work Email field. This is REQUIRED in the query so that Helios knows who to send emails to. (Type email in the search box and check "WorkEmail")
*If WorkEmail does not appear, click the arrow in front of "Employee Details" to expand those fields.
Add any other fields you wish to see in the query that will make it easier to ensure that you are sending the communication to the correct group such as location or supervisor. These fields will also help in filtering.
NOTE: We'll be conducting a test by sending this exclusively to ourselves. Please ensure your record is included in the list.
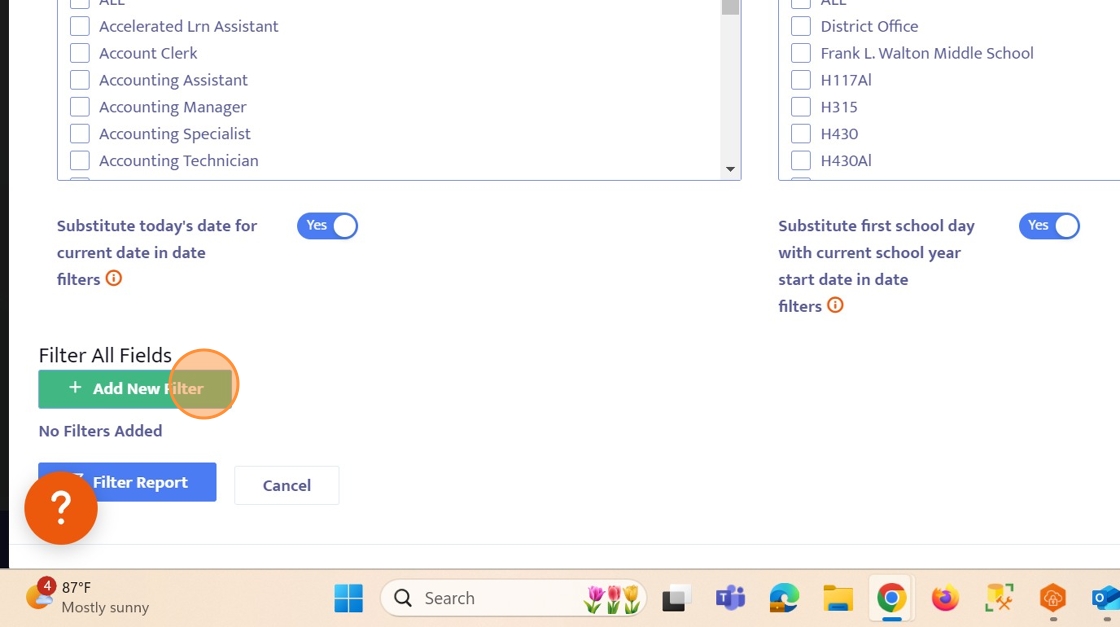
8. Now that we have all the fields we need. Let's filter this query by some sort of criteria.

9. Click "Add New Filter".
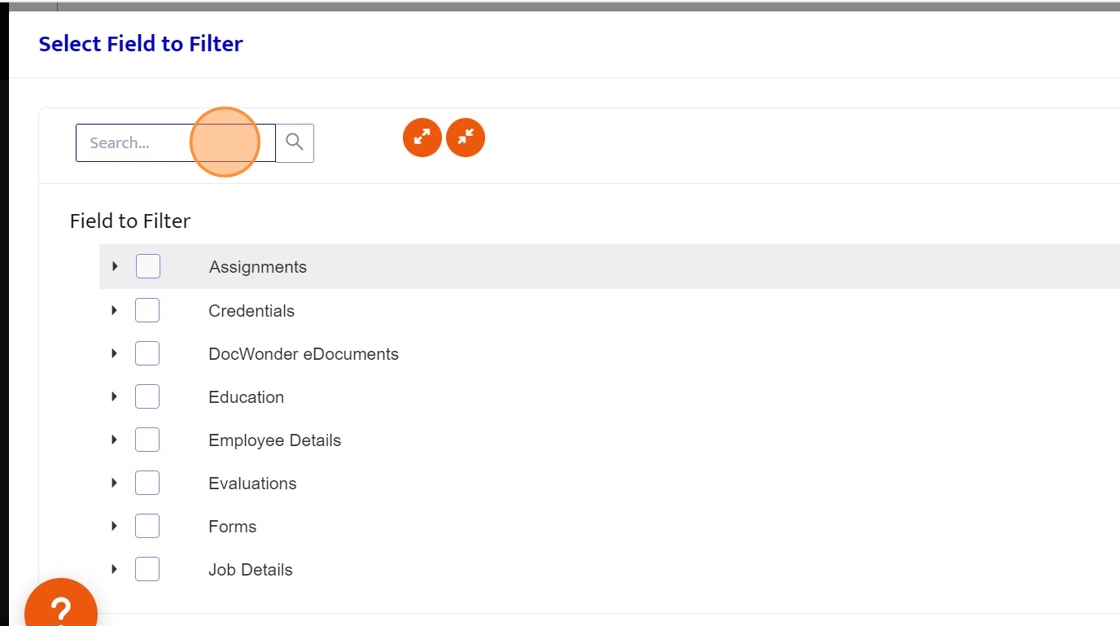
10. Use the search field or the field List to find the "Name" field and check the box. Once complete, the window will close, click "NEXT" to continue on in the tour.
11. Click here

12. Click here
13. Next to "Name" you will see a blank field with the following filter operators (the value will be specified next):
For this example, we will be selecting "EQUAL".
Equal - Only display rows in which the field value is equal to the value entered in the next step. (Must be typed exactly how it appears on Helios)
Not Equal - Only display rows in which the field value does not equal the value entered in the next step. (Must be typed exactly how it appears on Helios)
Greater Than (Or Equal) - Only display rows in which the field is greater than (or equal to) the value specified.
Less Than (Or Equal) - Only display rows in which the field is less than (or equal to) the value specified.
Begins With - Only display rows in which the field begins with the value.
Ends With - Only display rows in which the field value ends with the value.
Contains - Only display rows in which the field value contains the text that is detailed in the value.
For example: If "sm" is entered here, all values containing "sm" like smith and smalls will be displayed.
Not Contains - Only display rows in which the field value does not contain some text that is detailed in the value.
For example: If "sm" is entered here, all values that contain "sm" like smith and smalls will be excluded.
In - Only display rows in which the field value exists in the entered, delineated value list.
For example, first name IN Amy, Ben
(Think of it like "includes")
Not In - Only display rows in which the field value does not exist in the entered, delineated value list.
For example, first name NOT IN Amy, Ben
*This will provide results for all first names that are not Amy or Ben
Is Blank - Only display fields in which the field is empty.
This is great for finding fields in a report that have no values, such as employees who are missing a field in their employee details.
IS NOT BLANK - Only display fields in which the field is not empty.
This is great for finding fields in which a specific value is present.
*These options vary by field type.
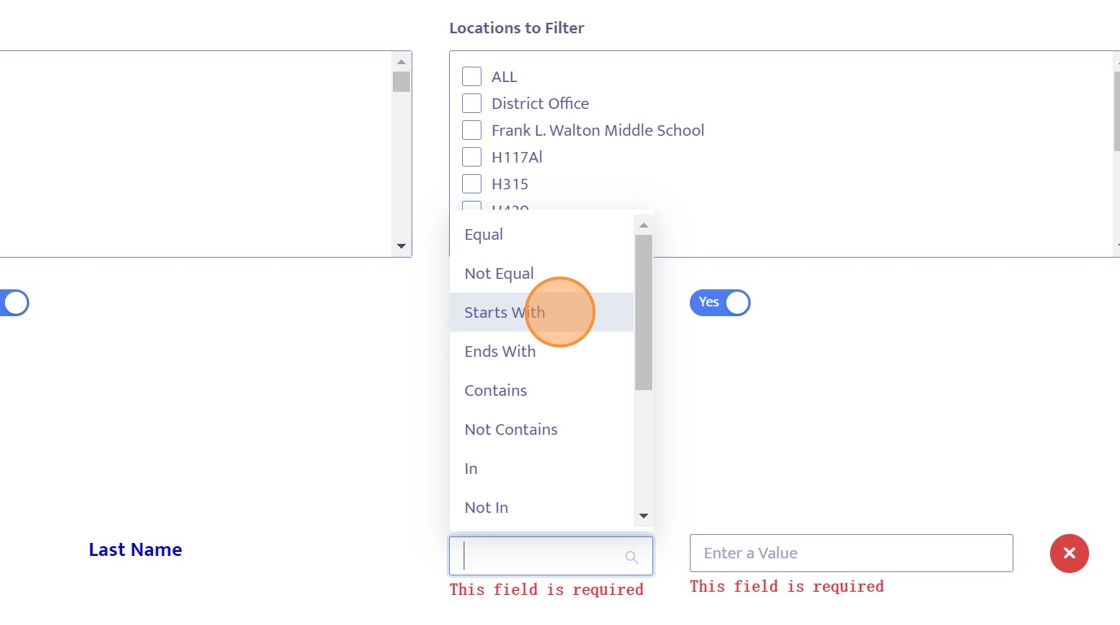
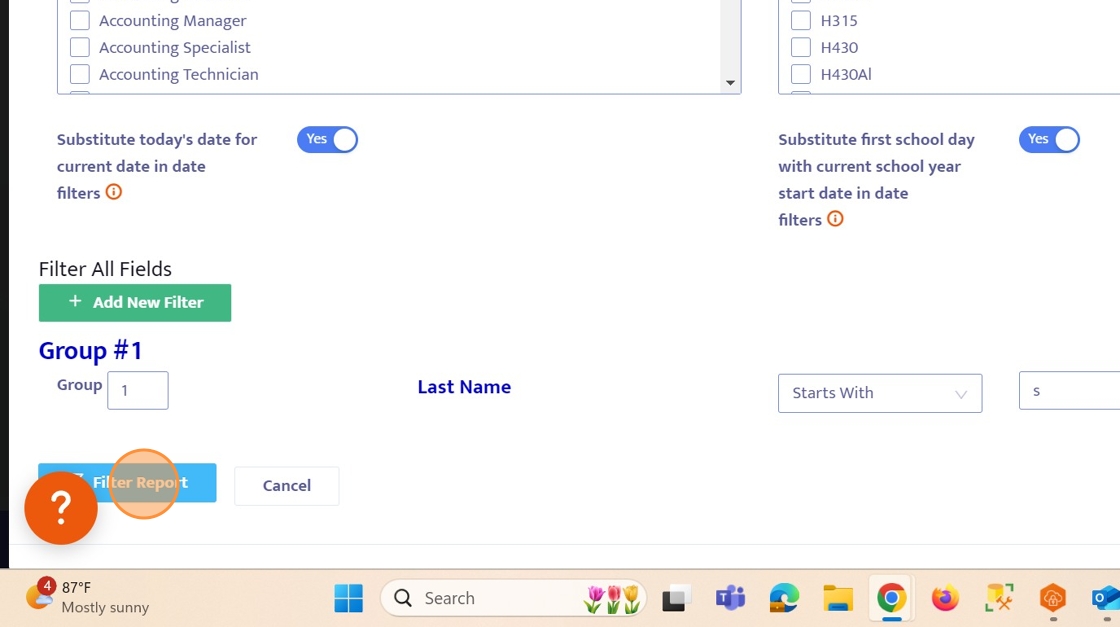
14. Type a letter here, to indicate that we want this query to ONLY include employees whose last name starts with that letter.

15. Click the "Filter Report" button.
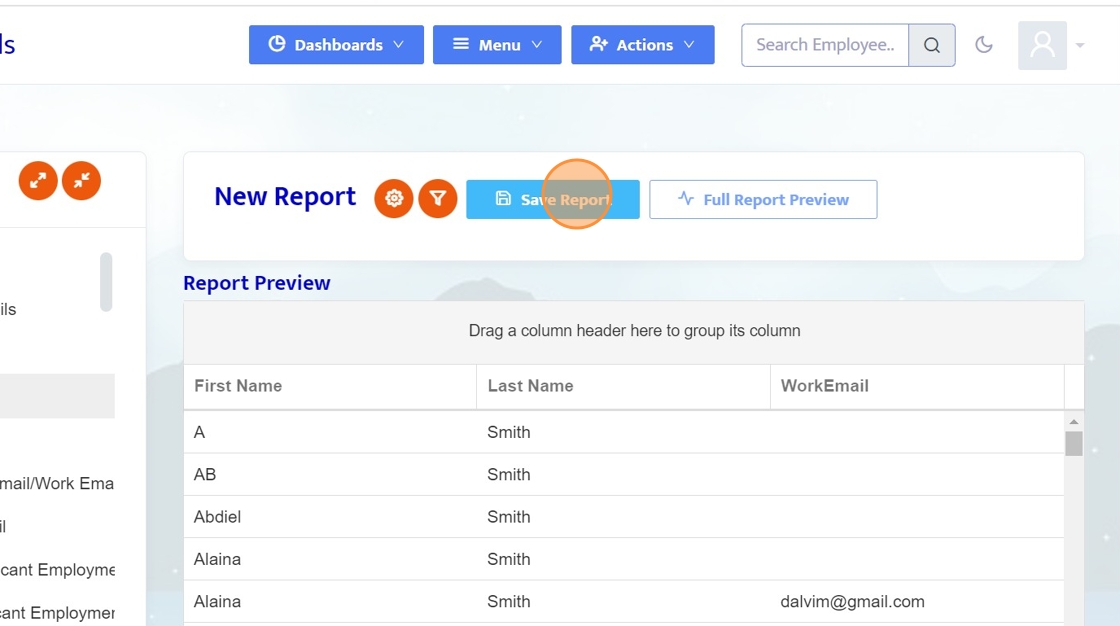
16. Click here to save the report.
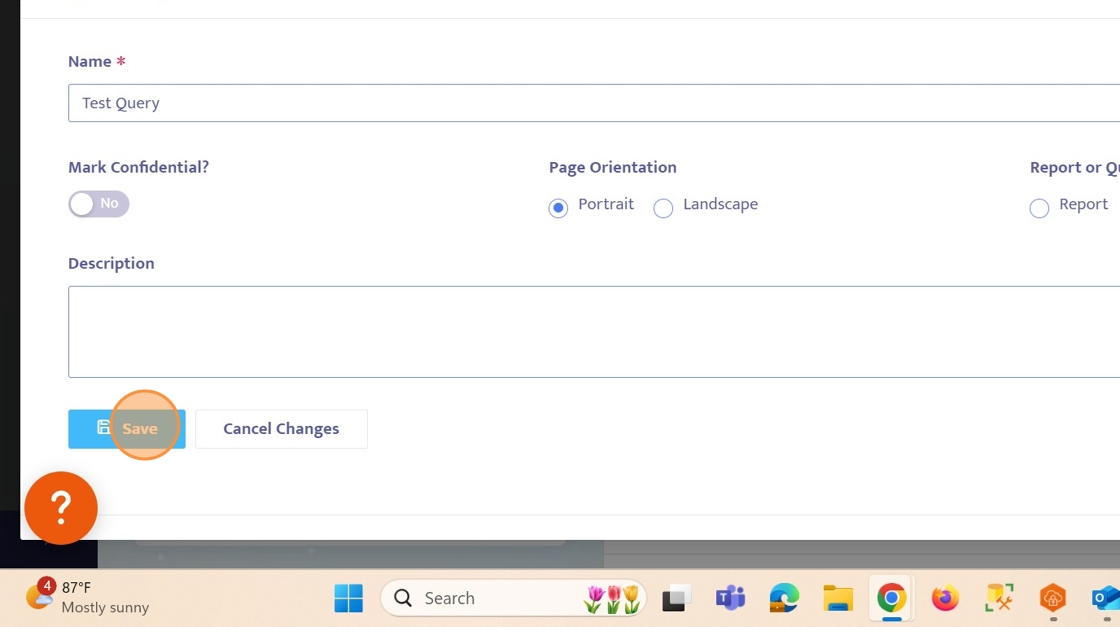
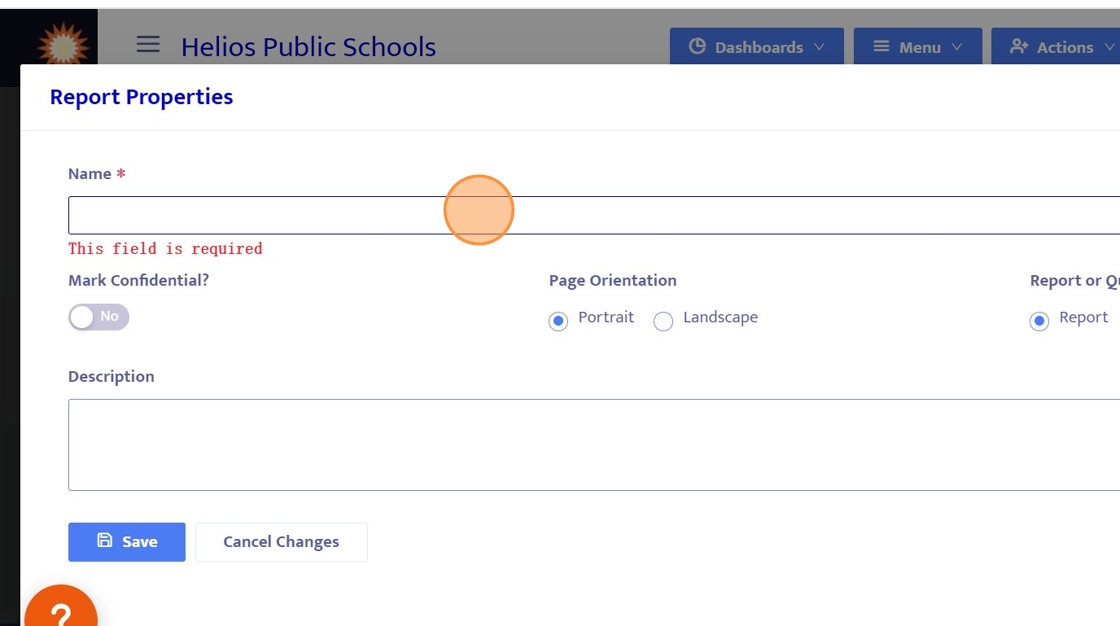
17. Let's give this Query a name.
For this example, we can name this query something like "Test Query".
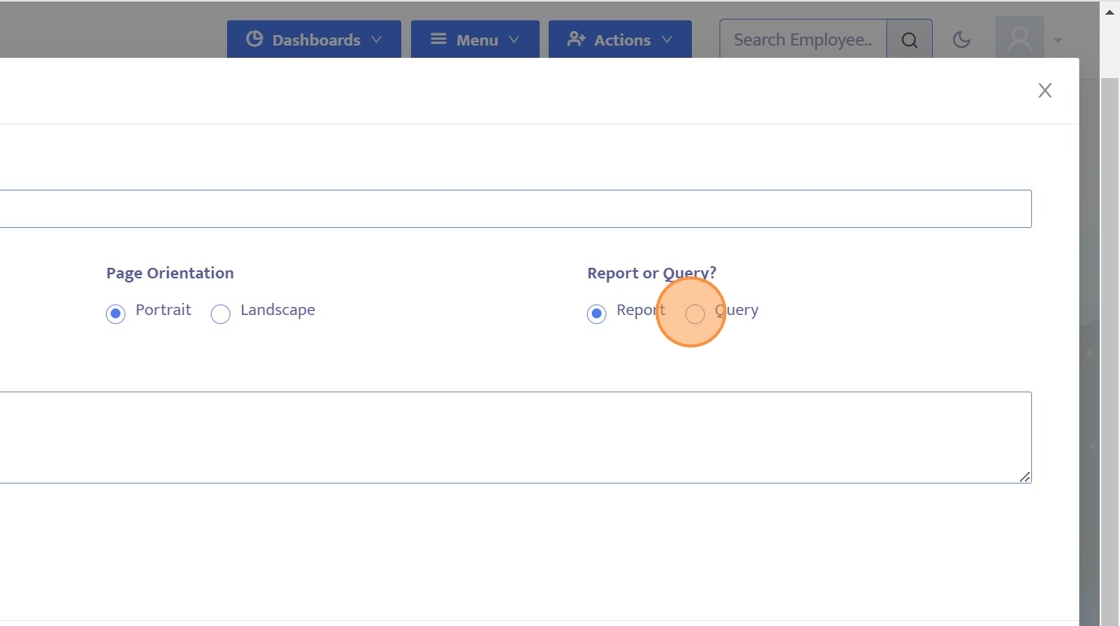
18. This option allows users to choose between a traditional report or a query.
Queries define specific groups of people for tasks like scheduled assignments or group communication.
For more information on creating reports, we offer a guide on creating custom reports. When you complete this guide, feel free to check it out in the "Reports" folder.
For this example, we will select "Query".
19. Save the Query