Workflow Designer Overview
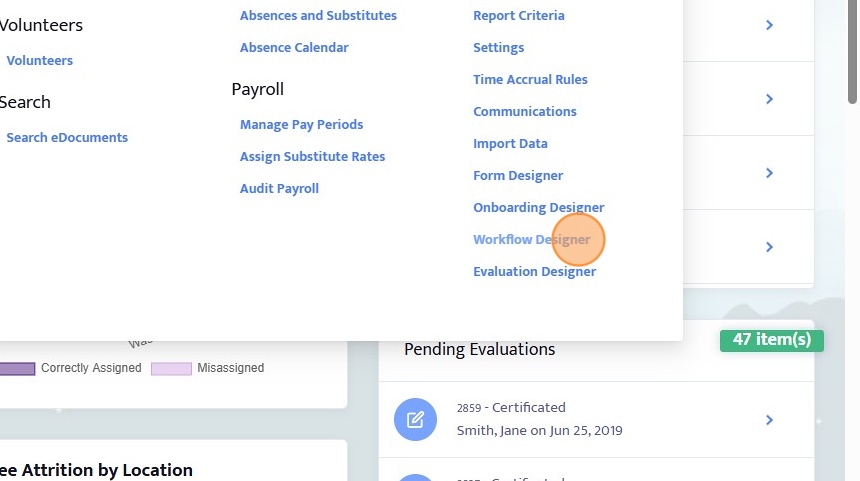
1. Click "Workflow Designer"
2. In the Workflow Designer menu, you can edit existing workflows or Add New workflow.
Each workflow is unique and has it's own set of approvals, criteria, and data that it collects once initiated.
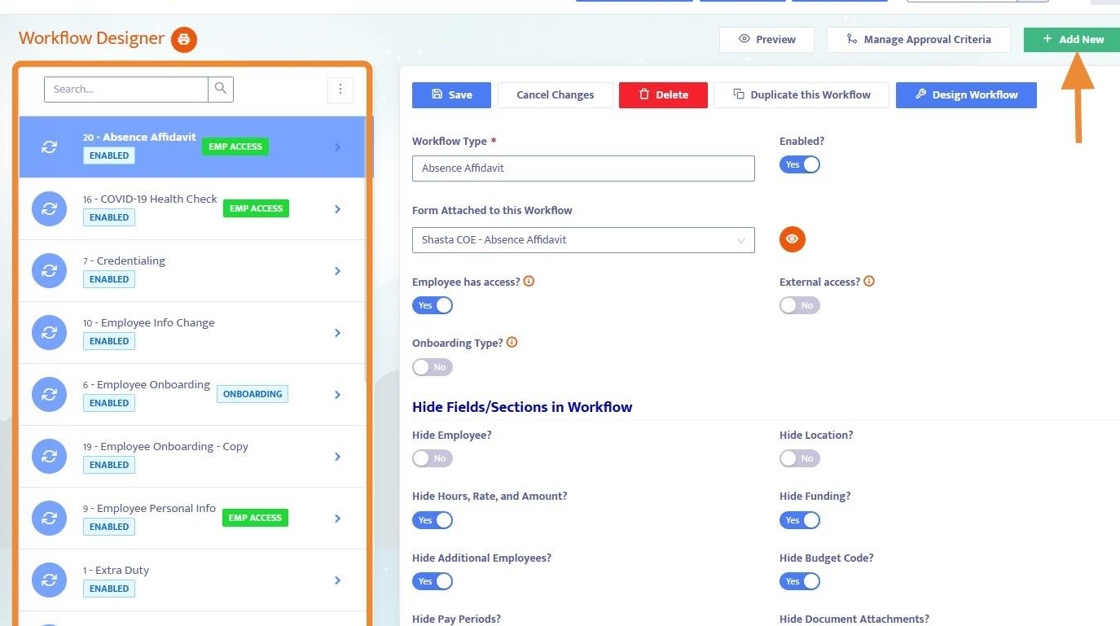
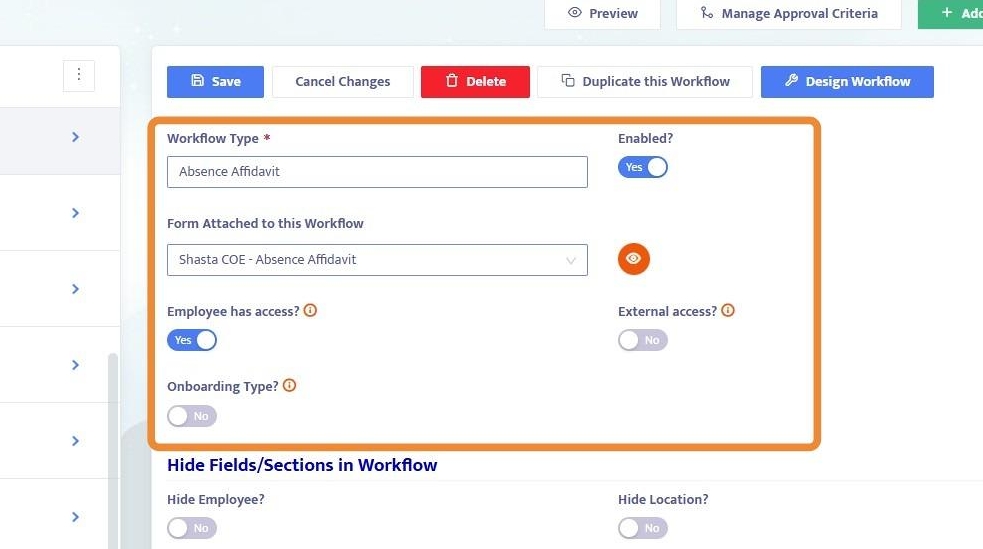
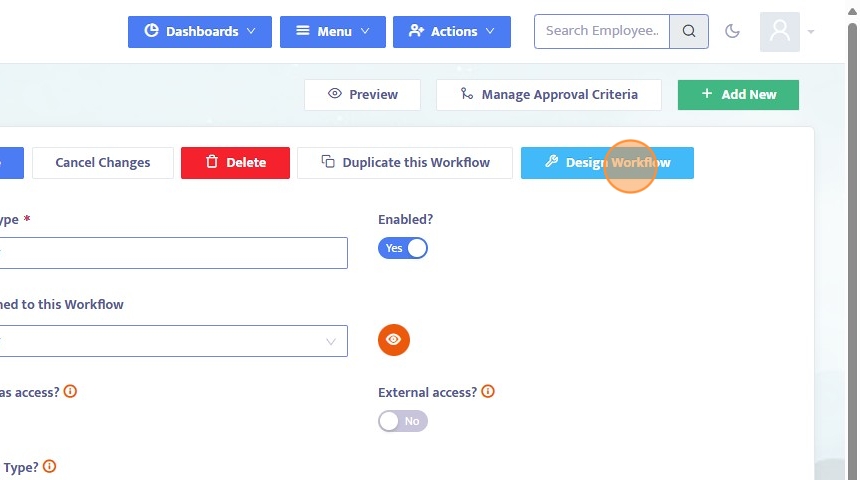
3. Whether adding new, or editing an existing workflow, basic settings can be managed on this initial screen.
Name the workflow and enable it (when ready for use), attach a form to the workflow (optional, designed first in the Form Designer), and set whether employees have access, external access (non-Helios users, and if an Onboarding workflow, toggle the Onboarding Type to yes.
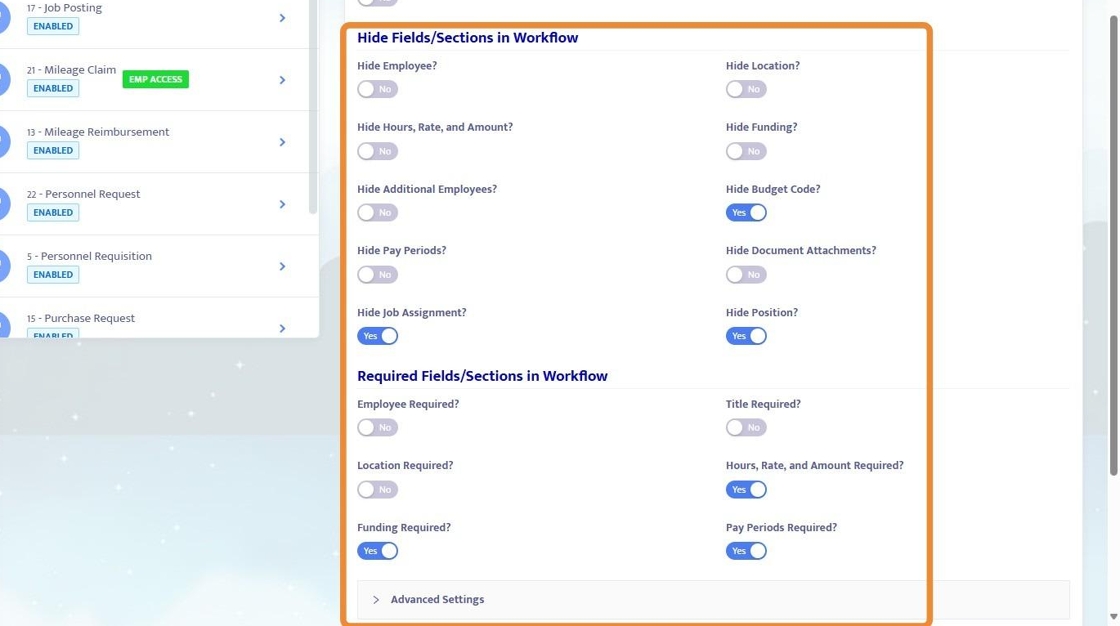
4. Beneath the initial menu, find custom options like hiding/showing certain fields, and making fields required.
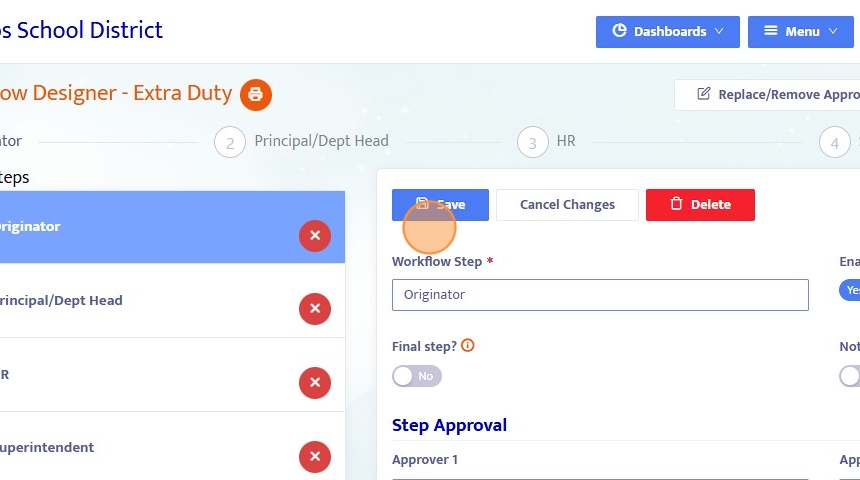
5. Click "Design Workflow" to access the menu where routing is set.
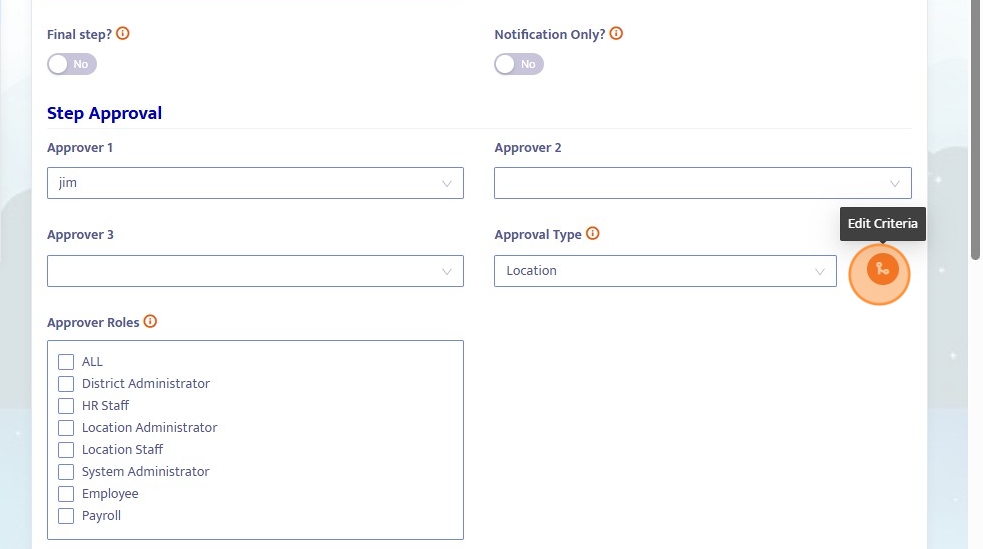
6. Here, we set a list of steps that the Workflow should advance through on its way to completion and approval.
Each step has a title, and Approver(s), where certain steps can have multiple approvers or be dependent on information from within the Workflow form (like job class, location, budget code, etc.) to determine who it will route to.
Note: the first step should not have any Approvers listed as it is the Originator strep.
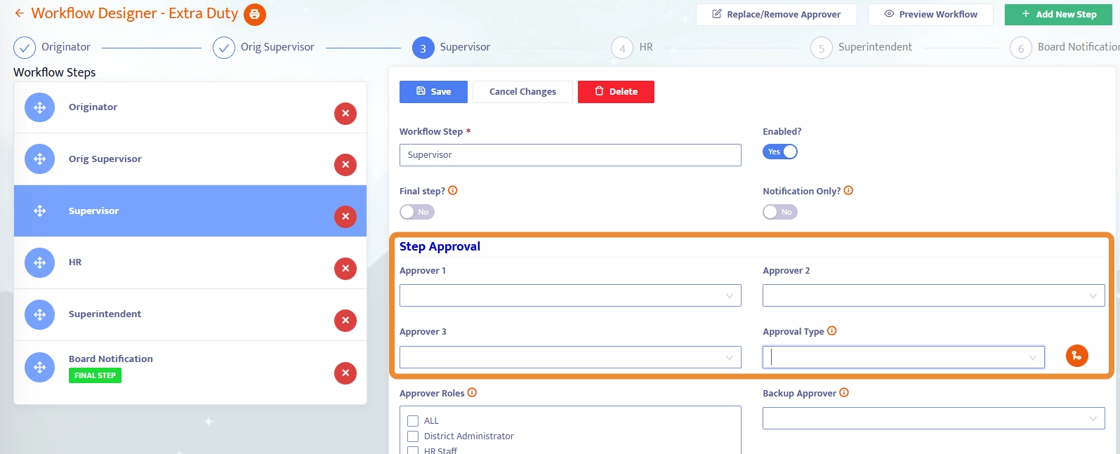
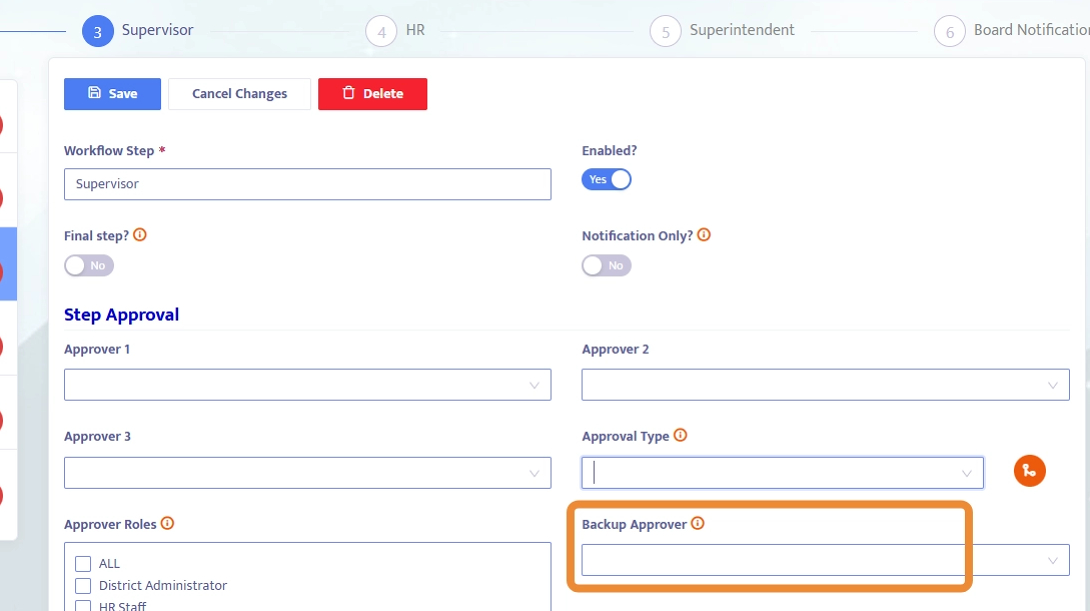
7. You can set a Backup Approver for any given step, this way if an Approver is not found for a step it will be routed to the Backup Approver. Set a Backup Approver especially if there is complex routing rules that may create situations where no approver is identified.
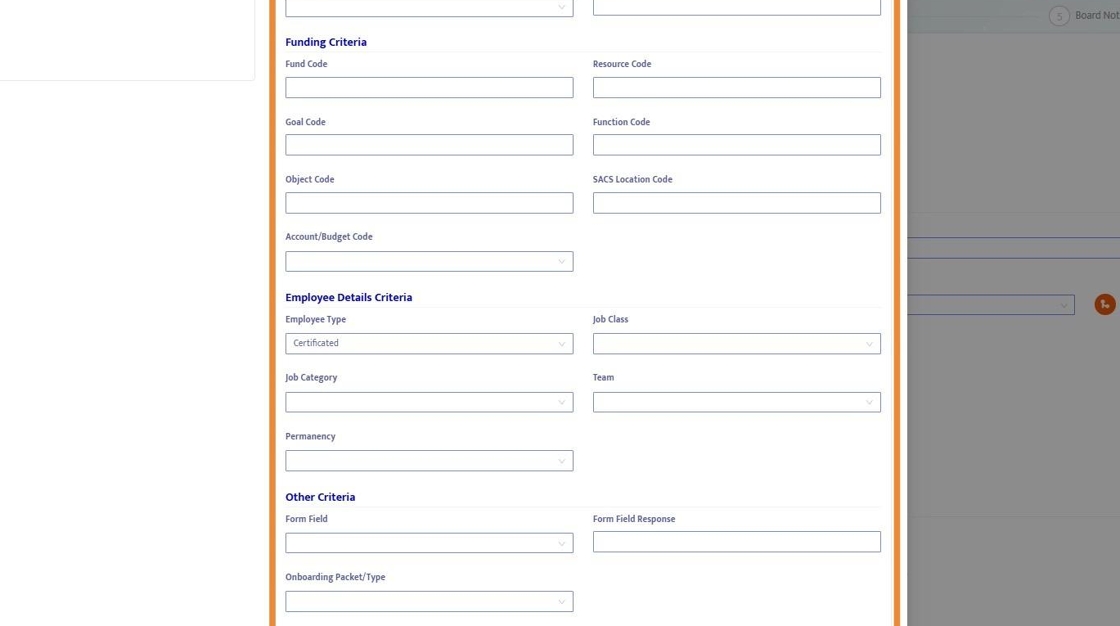
8. To set approvers based on criteria in the Workflow (like job class, location, budget code, etc.) click on Edit Criteria.
9. Here, criteria can be set for a given step based on the information within the Workflow form. In this example, location X could route to Brian, while location Y could route to Christina.
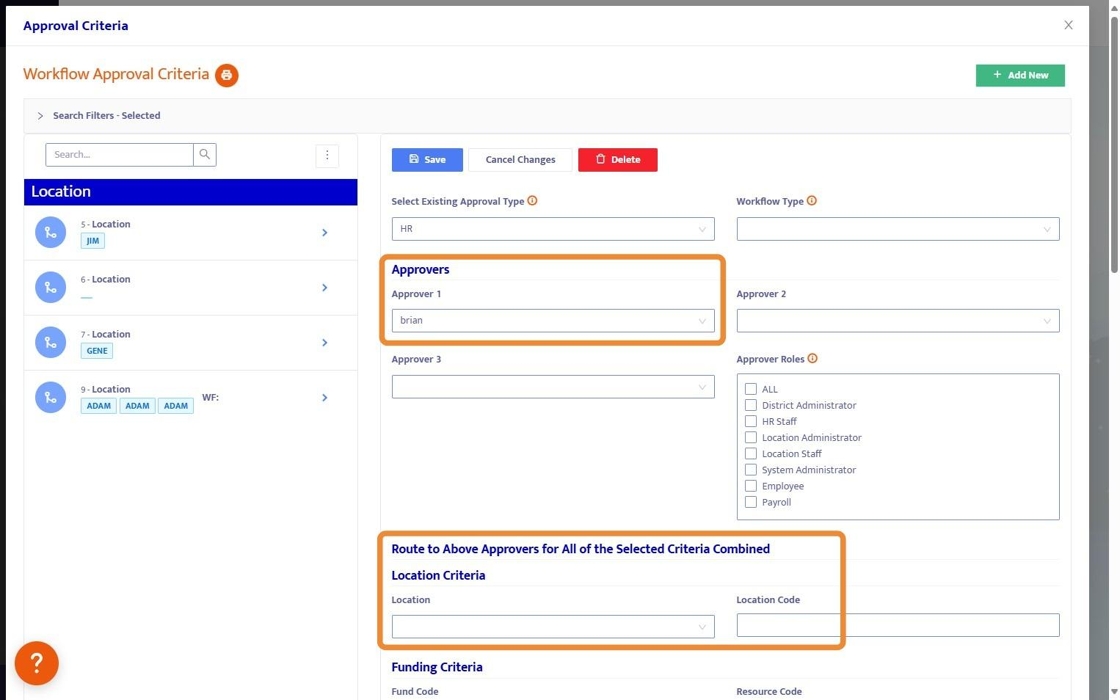
10. Any of these criteria can be used to set routing.
11. To add a new step to the routing process, click "Add New Step"
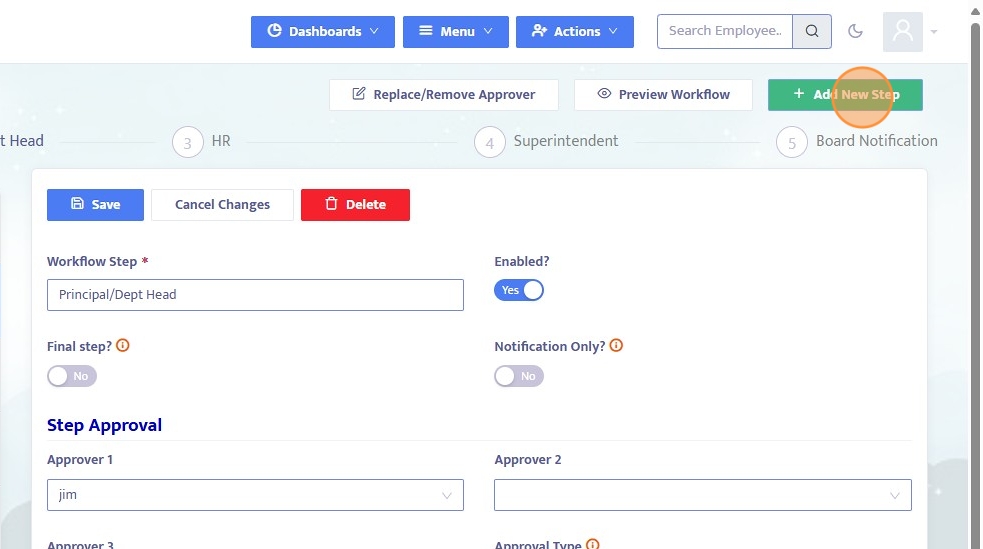
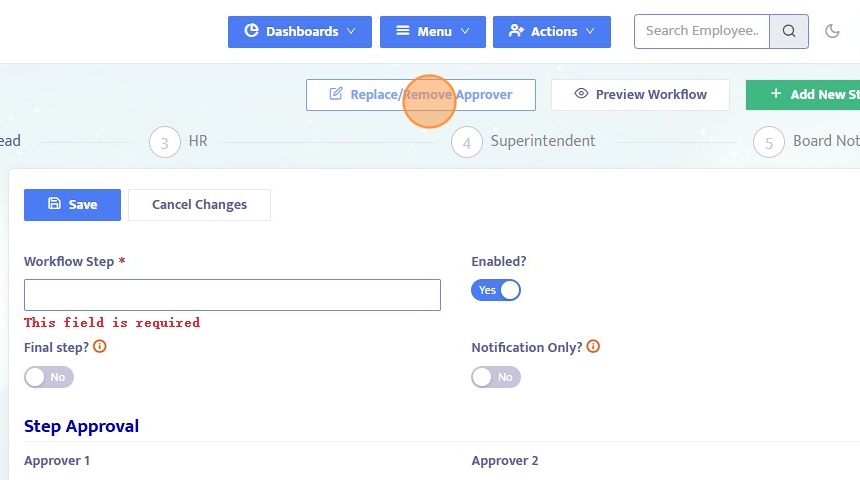
12. You can also "Replace/Remove Approver" if you have a shift in personell for easy management of Workflows.
13. Be sure to save your work, and test your workflow.