Updating Forms/Docs in an Onboarding Packet
This guide provides a straightforward process for updating forms and documents within an onboarding packet, ensuring that your materials are current and relevant. By following these steps, you can easily modify existing forms, add new ones, and manage eSign documents, streamlining the onboarding experience for new hires. It is an essential resource for HR professionals looking to maintain an organized and efficient onboarding process. Viewing this guide will empower you to enhance your onboarding packets with minimal effort.
1. Click "Menu"

2. Click "Onboarding Designer"

3. Select the desired onboarding packet from the list on the left-hand of the screen

4. Click "Design Packet"

Update Existing eForm (like W-4)
5. Click Forms

6. The left-side shows all forms associated with this Onboarding packet. To update a form, click from on the Forms list on the left and select the new Form Type from the drop-down list.
The new Form Type needs to already be created in the Form Designer for it to be visible in the dropdown.
*Helios automatically adds new versions of yearly tax forms like W-4, making them easy to update in an Onboarding packet. **You may need to customize the W-4 to include your district name/address and EIN number - *for instructions on how to customize the W-4 please click here.

7. Select the new form from the list.

8. Preview the form by clicking the eye icon.

9. Once you have confirmed the form is correct, you can click the X to exit out of this screen.

10. Save the changes

Add a New Form
11. Click Forms

12. If you need to add a form to the onboarding packet that's not already listed, click here to add a new form

13. Name the form

14. Select the form from the drop-down list

15. Select the form. This must have already been created in the form designer.

16. Preview the form

17. Click the X to exit out of this preview screen

18. Save the changes

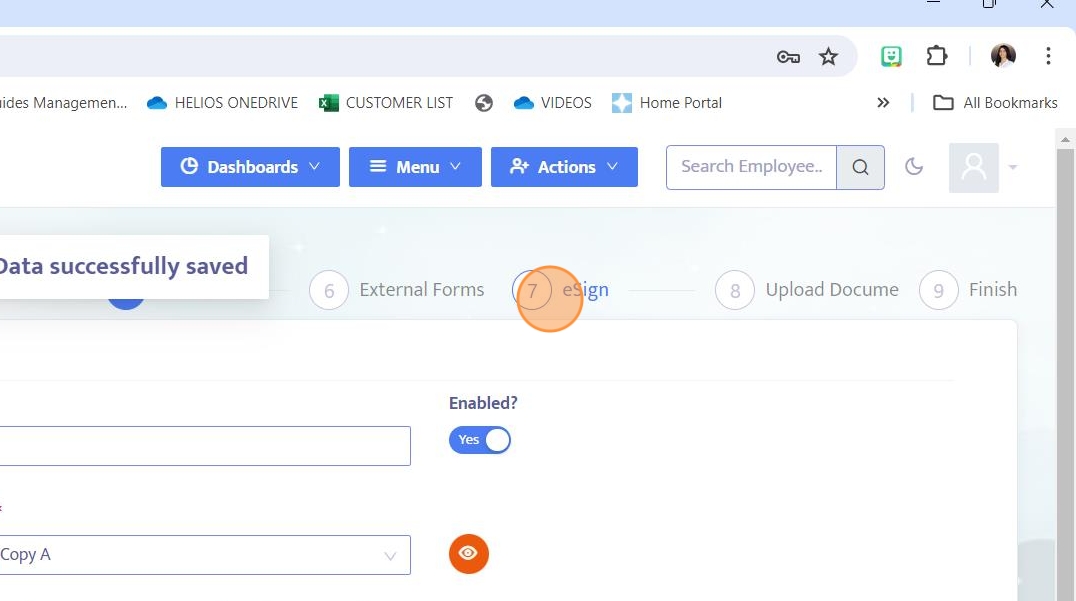
Update Existing eSign Doc
19. Click the eSign icon

20. Select the existing document from the list

21. Click here to attach a new document to this existing eSign document. This will replace the existing document.

22. Select the new document from your system browser

23. Save the change

Add a new Esign Document
24. Click the eSign icon
25. Click here to add a completely new document to the onboarding packet.

26. Click here to name the document.

27. Click here to attach the document

28. Select the file from your system's browser

29. Save the changes

30. Click here to preview the document.

31. Click here to exit out of the preview
