Onboarding Dashboard Overview
1. Click "Onboarding" from the Dashboard menu

2. From the Onboarding Dashboard, sort by Onboarding Type, Progress, or Search.
Get a high level visual of the progress of all Onboarding packets, with a green check for complete and a red x for incomplete.
From here you can also kickoff a new Onboarding packet.
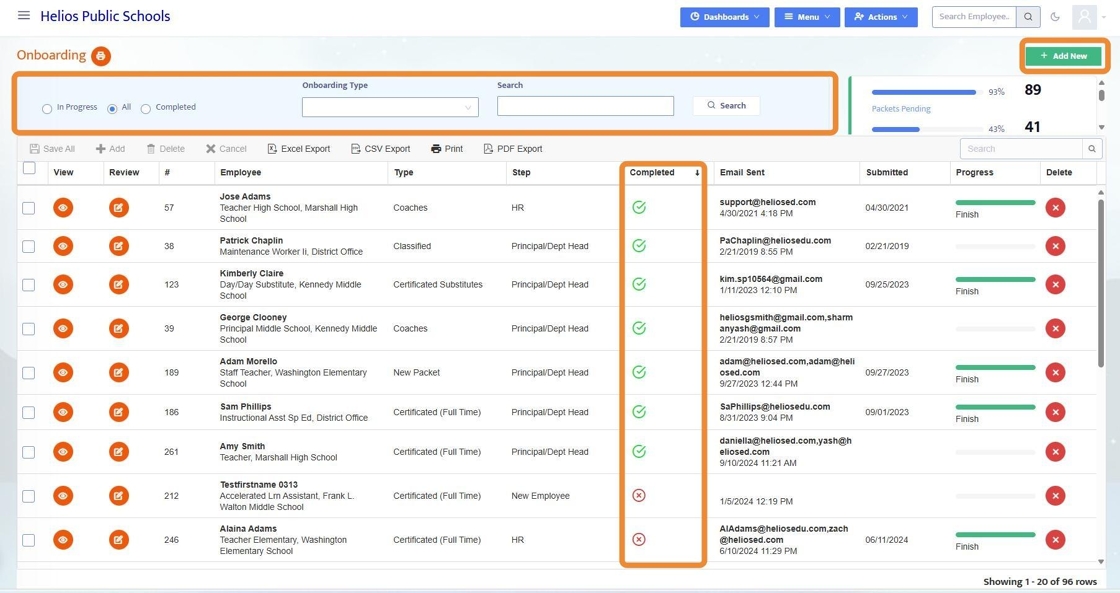
3. To initialize a new Onboarding packet and add it to the Onboarding Dashboard, click + Add New

4. When adding a new Onboarding packet, select the Onboarding Type from the Dropdown (this is customized in the Onboarding Designer) and select if this is for an existing or new employee. If for an existing employee, select them from the dropdown.
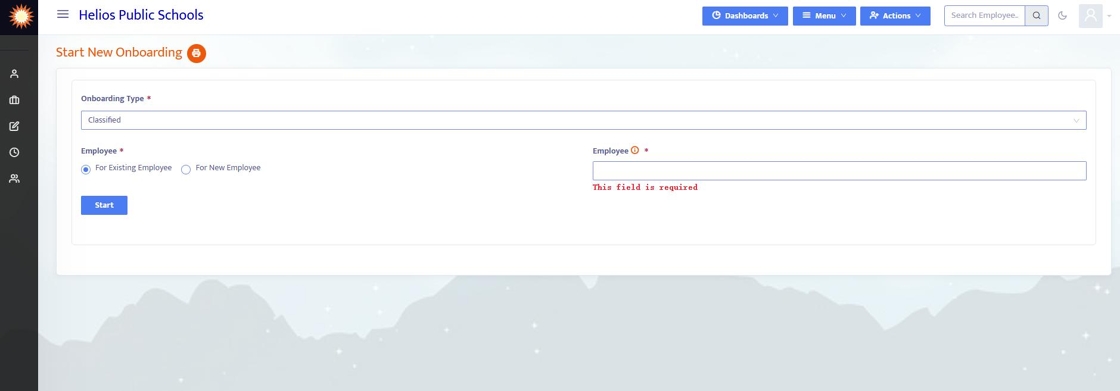
5. If this Onboarding packet is for a New Employee, enter all of the required information and Helios will send a Welcome email to that employee to begin the Onboarding process.

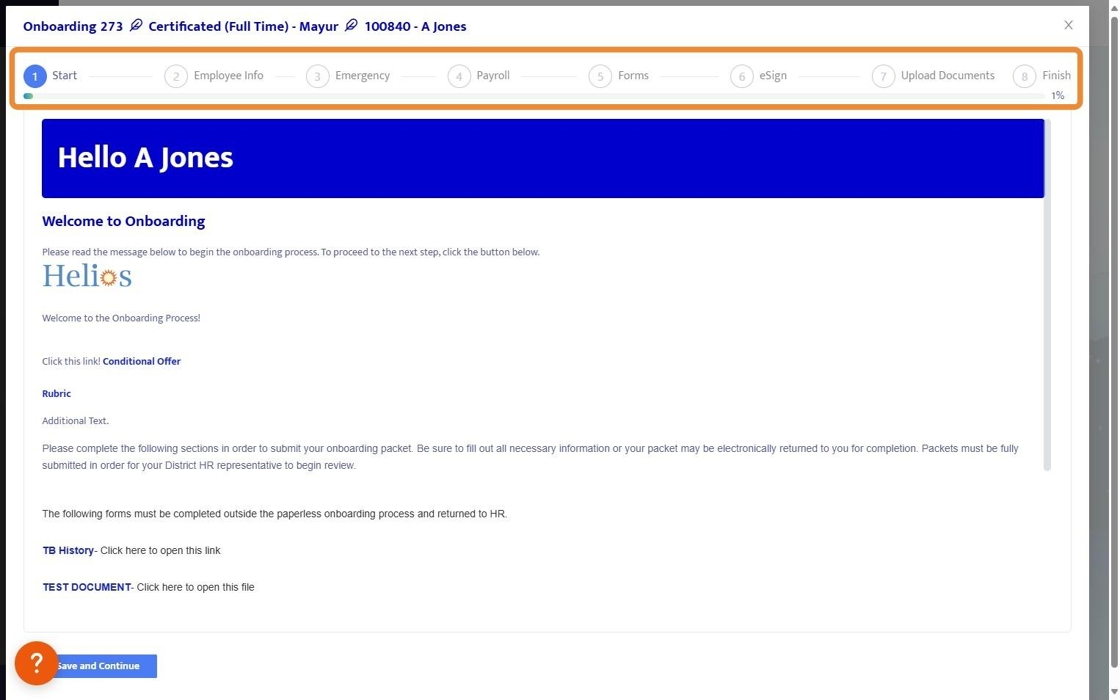
6. From the Dashboard: to view an Onboarding Packet, click on the View icon. This will open the Onboarding packet as if the Employee was completing the packet.
Note: any changes that you make here will impact the Employee's Onboarding Packet.

7. Once viewing the Onboarding Packet, you can click through to any of the steps to see the Employee's point of view.
8. To Review a completed Onboarding packet, click on the Review button.

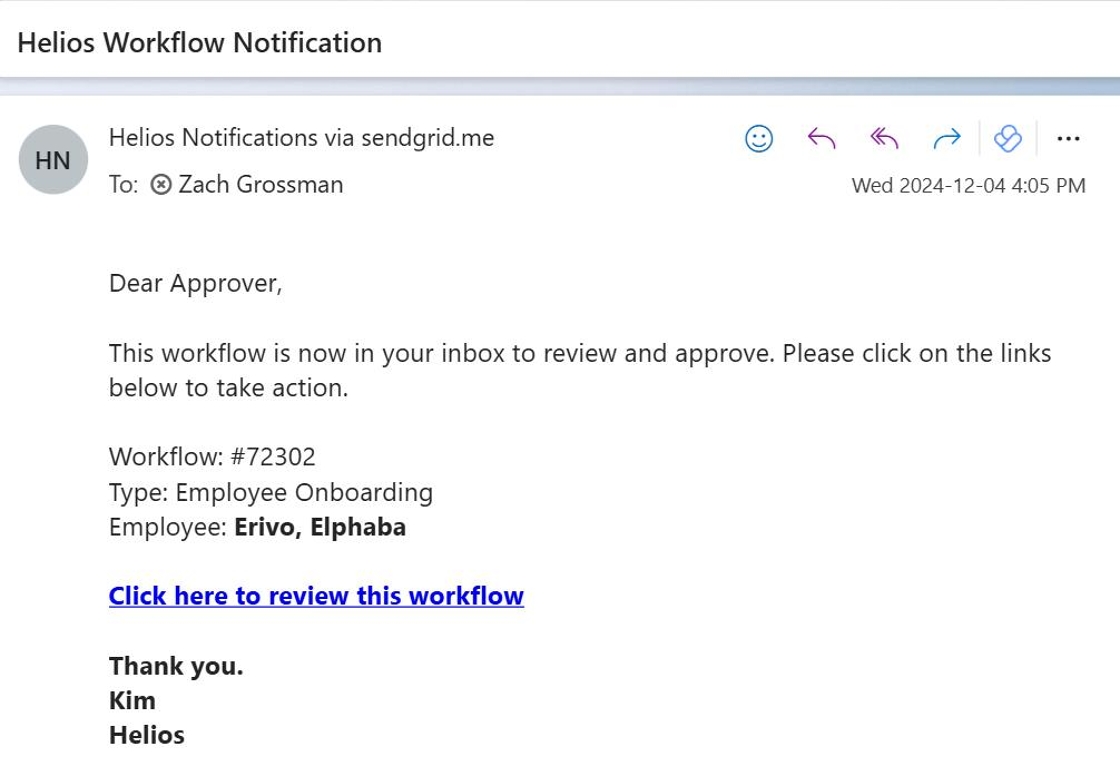
9. If you are a designated Approver in the Onboarding process, you will get an email with a link notifying you to review the workflow once it's your turn to review.
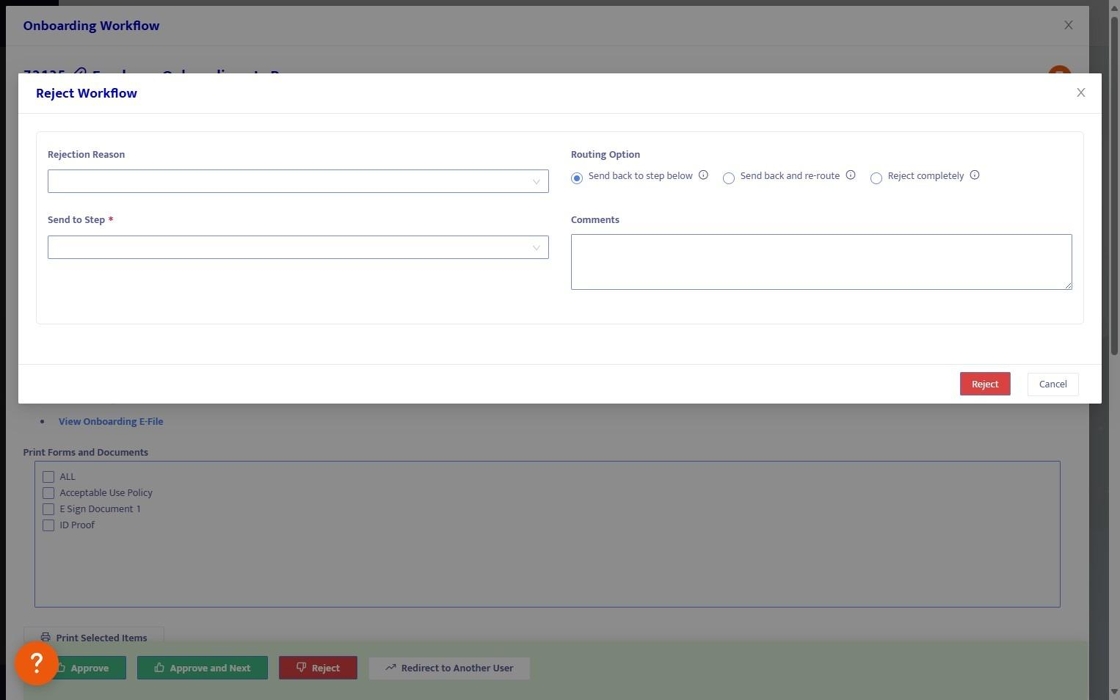
10. When reviewing an Onboarding packet, you can see all of the Onboarding details and documents. From here, you can Approve, Reject, or Redirect the Onboarding Packet.
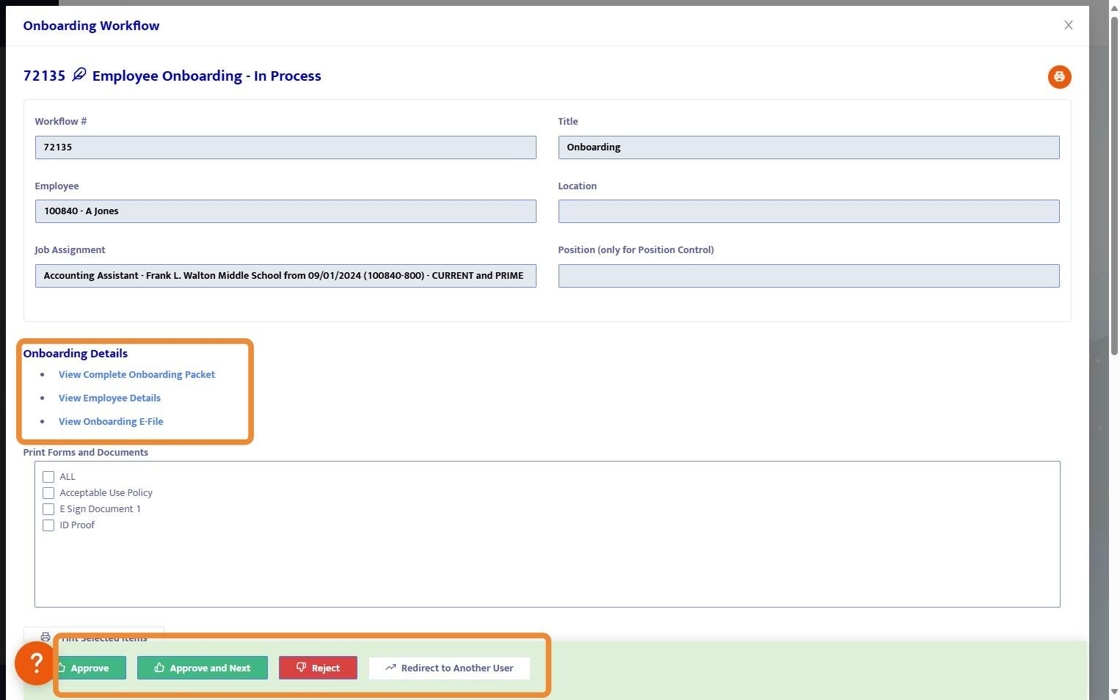
11. If Redirecting to Another User, select the User from the dropdown menu.

12. If Rejecting an Onboarding packet, there are several options:
- Send back to the step below
- Send back and re-route
- Reject completely.
- Leave Comments